Woodforde's Wherry Amber Ale
I'm going back 16 years to the first time I ever brewed beer
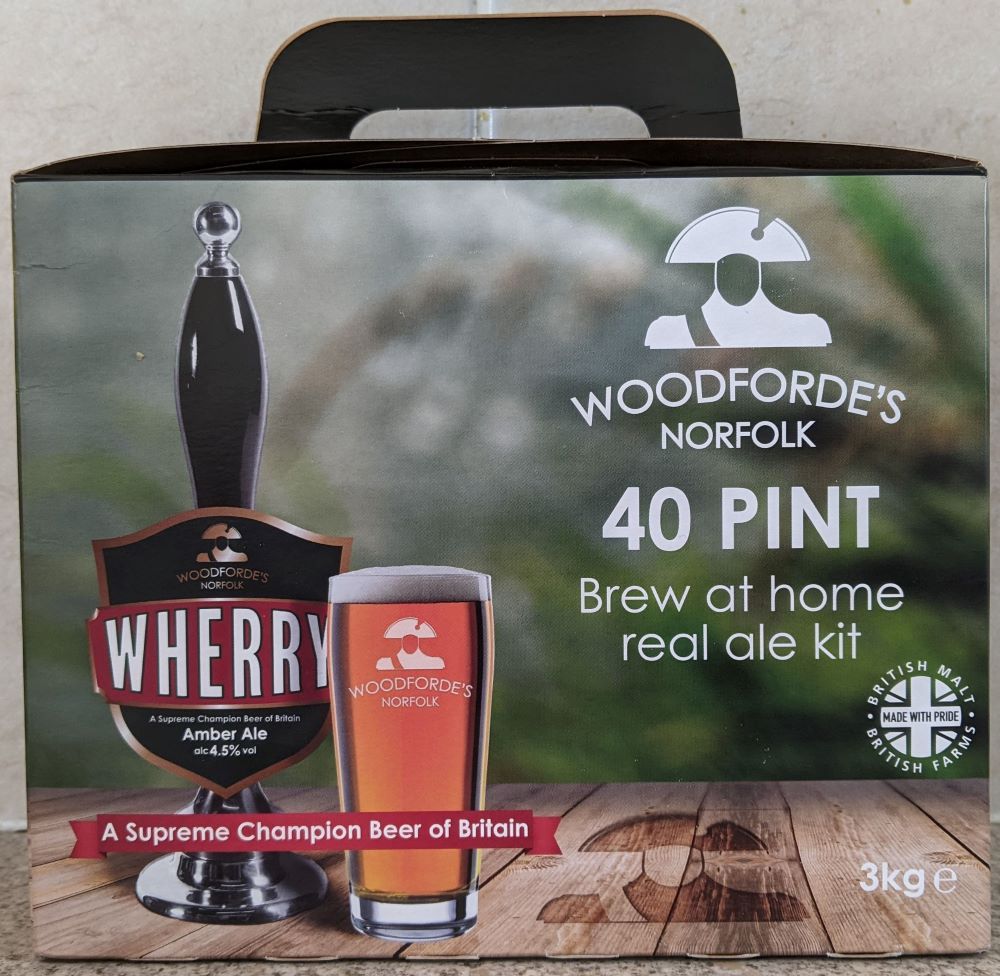
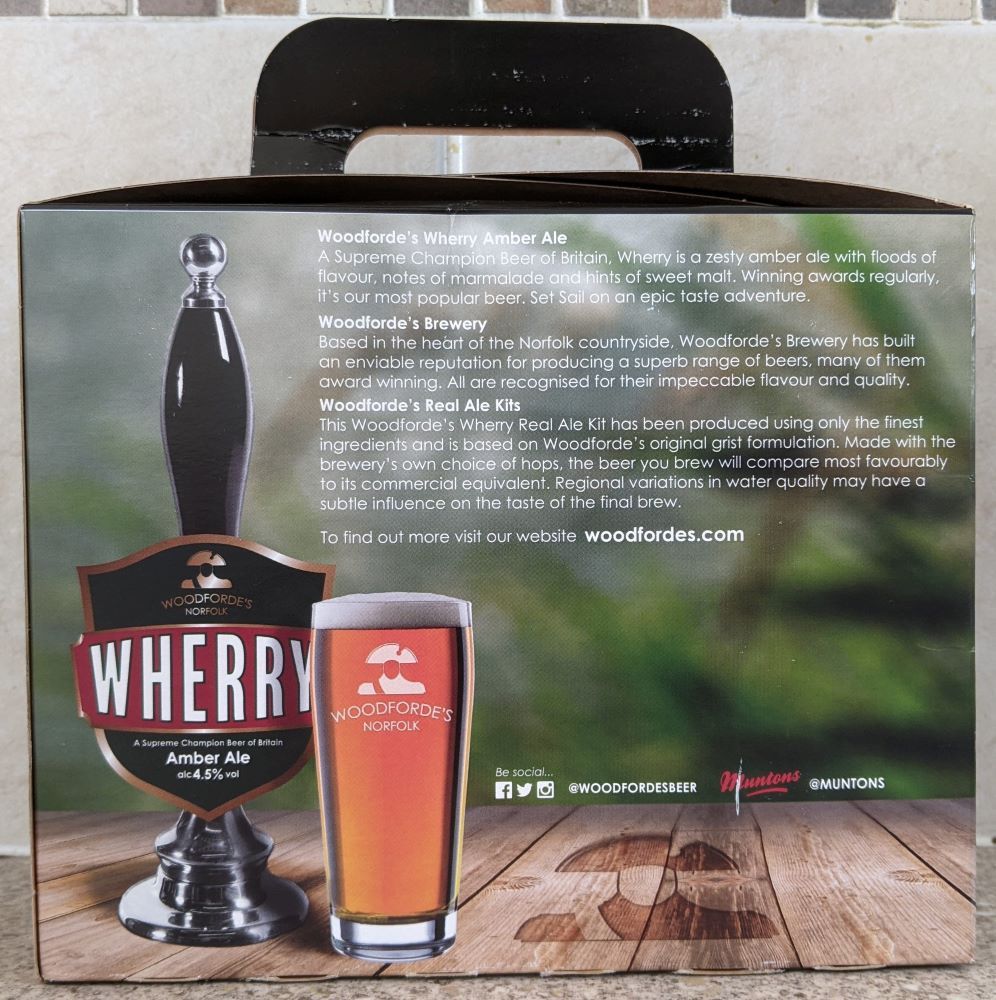
I'm going back 16 years to the first time I ever brewed beer with an all malt kit, I didn't know what an all malt kit was back then, basically it's a brew kit that doesn't need added dextrose sugar to help the yeast start the brew process, most of the kits I've brewed since getting back in to brewing have had a pouch of dextrose sugar to stir in at the mixing stage, and also extras like elderflower of dry hops, so it will be interesting to see if my brewing process today make a good beer with this type of kit.
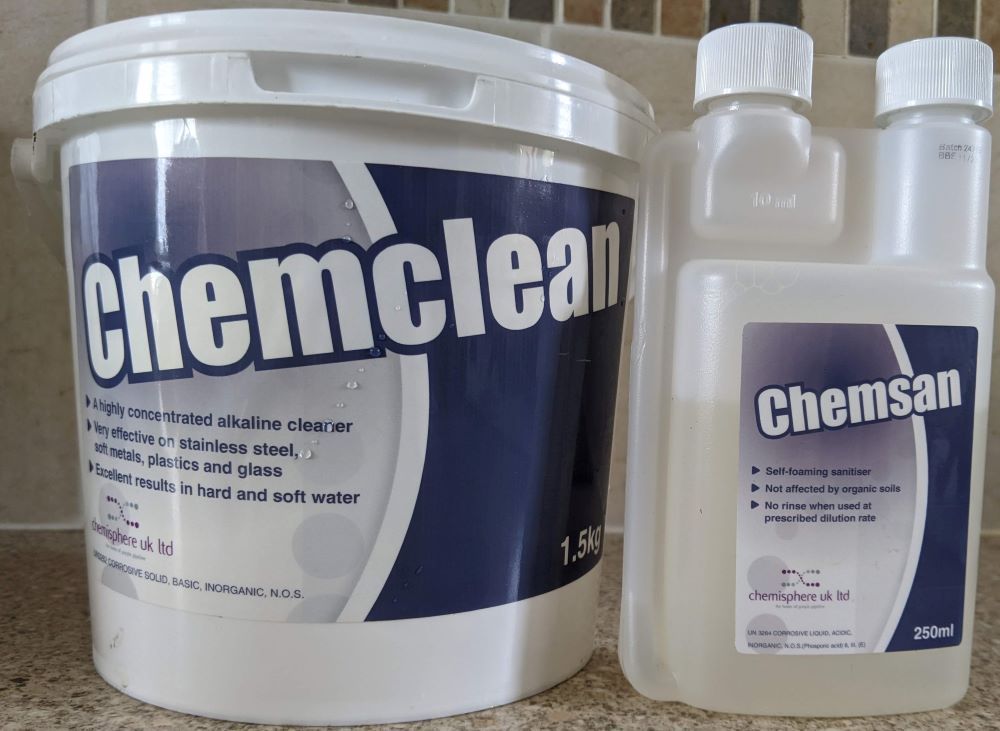

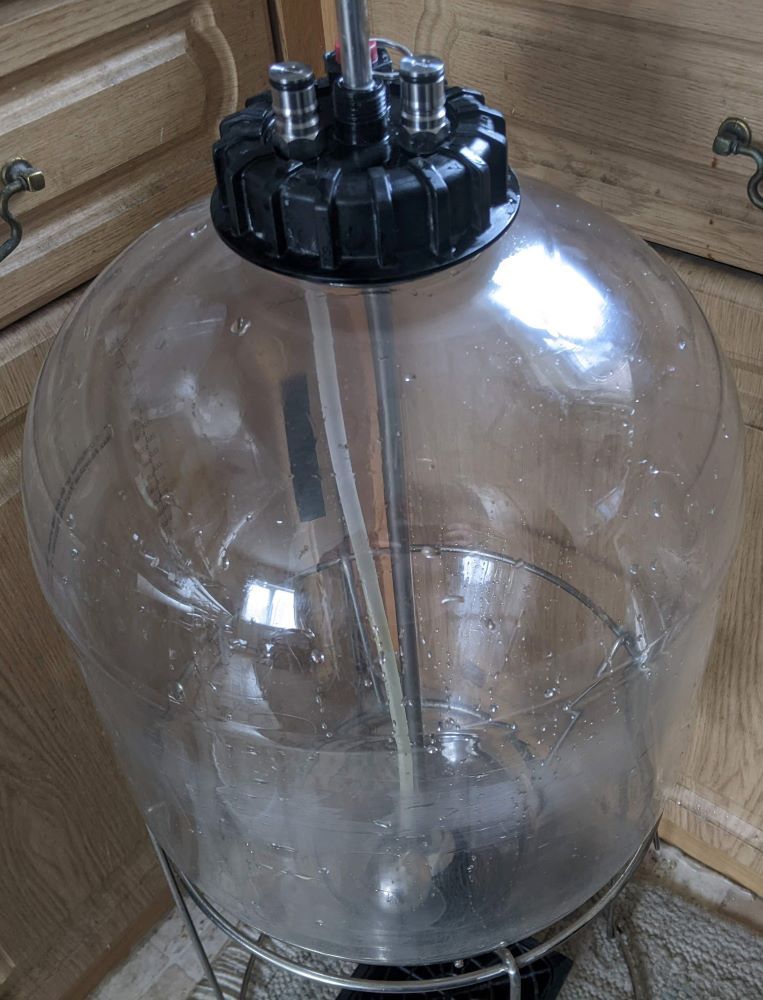
First I gave my fermenter a good clean, it was cleaned after my last brew but you can never clean too much, so gave it a good clean with washing-up liquid, after thoroughly rinsing the fermenter, I took it a step further and cleaned again with Chemclean, once again, I rinsed it thoroughly to remove any traces of the cleaning solution. To ensure optimal sanitation, I then sanitized the fermenter with Chemsan, after allowing it to properly dry, I was confident that my fermenter was in pristine condition, ready for the brewing process.
With all the cleaning any waste cleaning solution was poured in to my brew mixing bucket so I could clean and sanitise my mixing bucket and all the other equipment I needed like my mixing spoon and jug.
With everything for the brewing process cleaned and sanitised I moved on to mixing the brew kit.
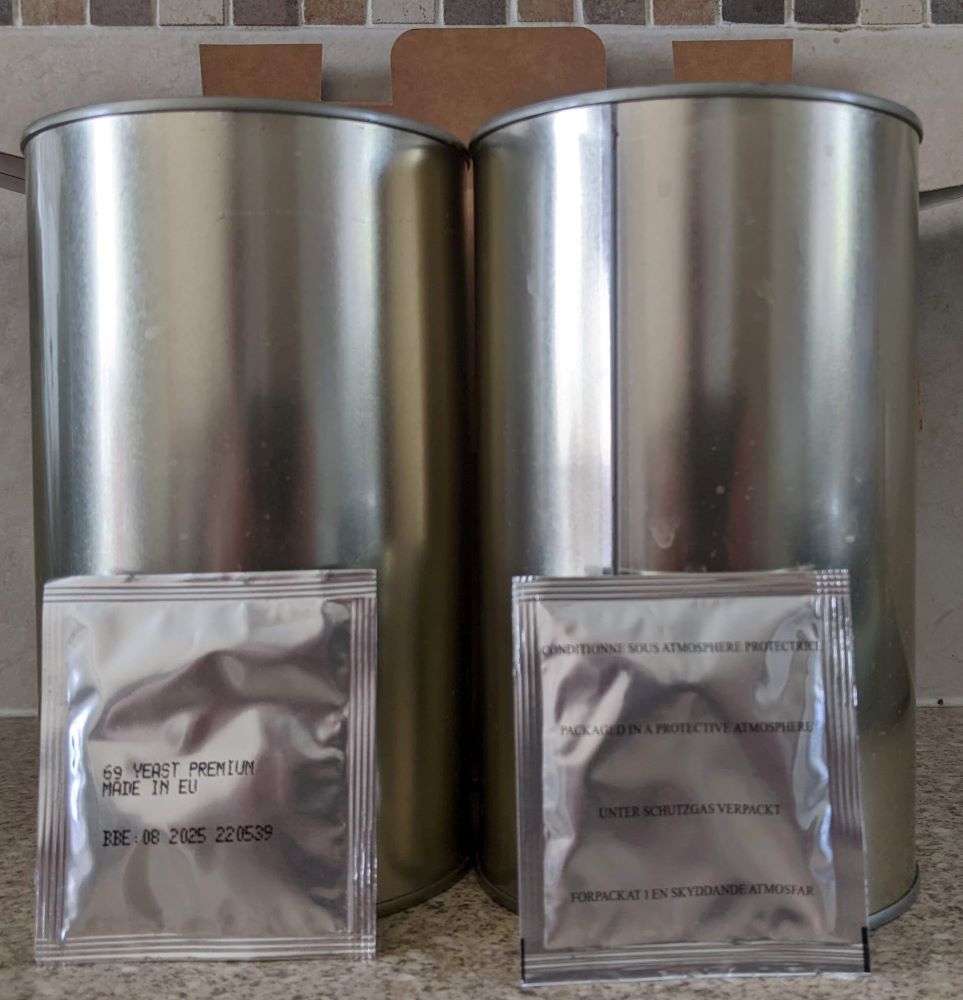
On to the mixing, first as per the instructions I placed the two tins of malt extract in the sink with hot water to soften the contents.
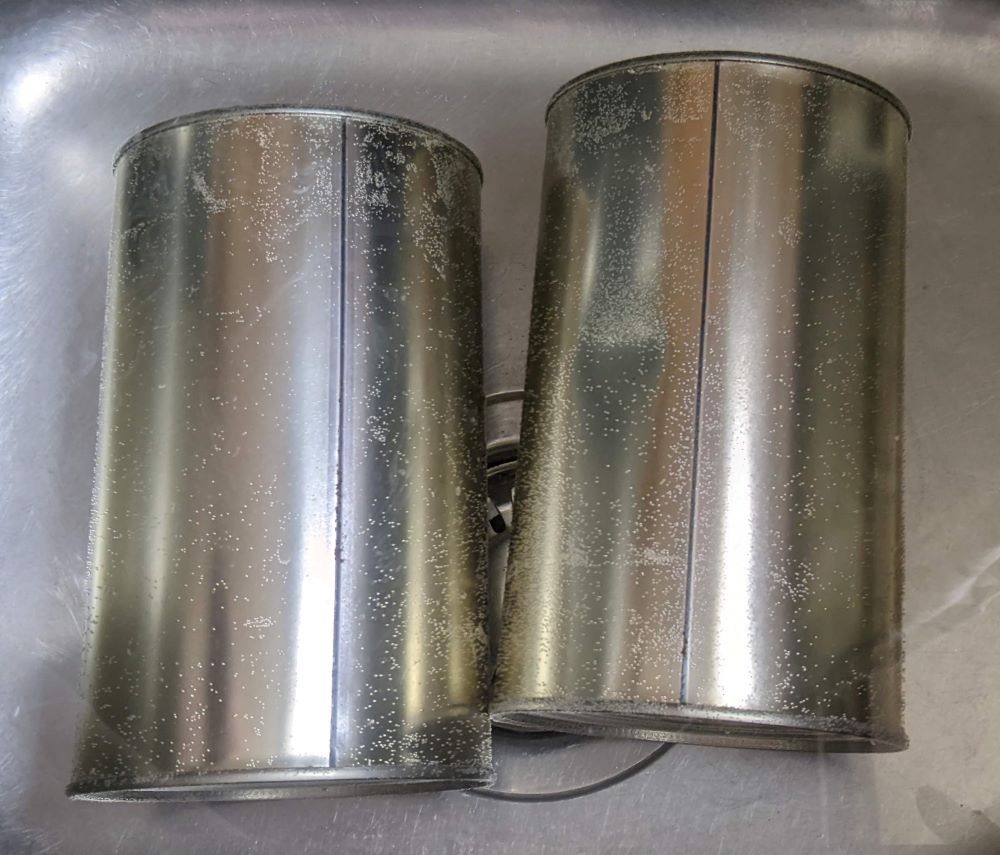
While I was waiting for malt to soften I filled the kettle and set it to boil, I then took my first tin out of the hot water, dried it off and opened it and began to pour it in to the mixing bucket.
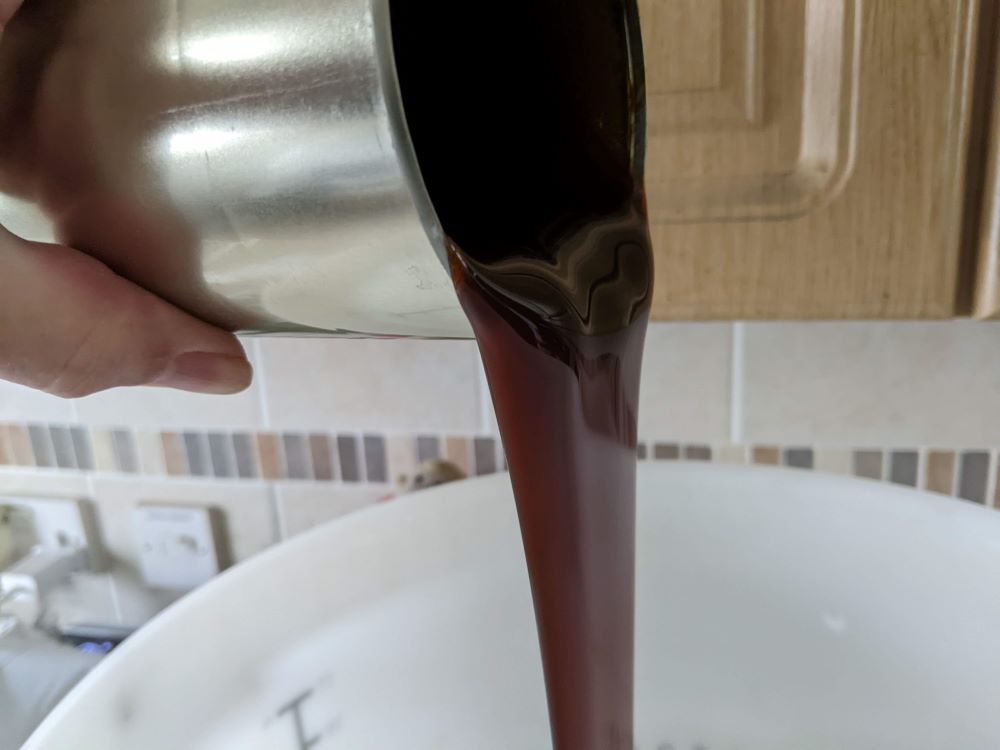
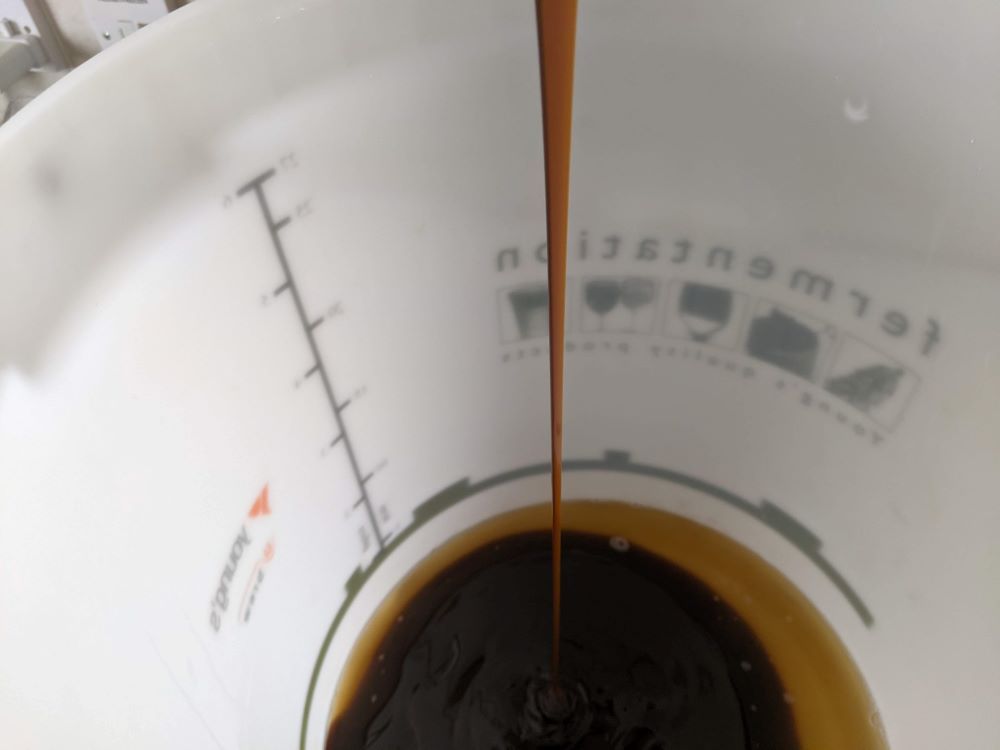
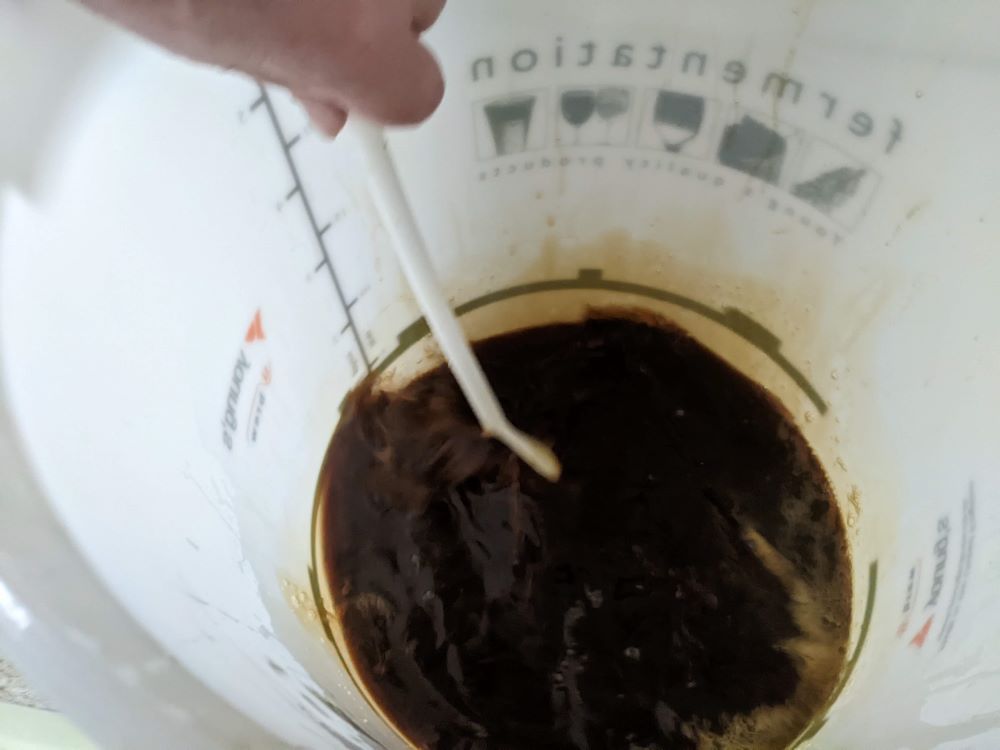
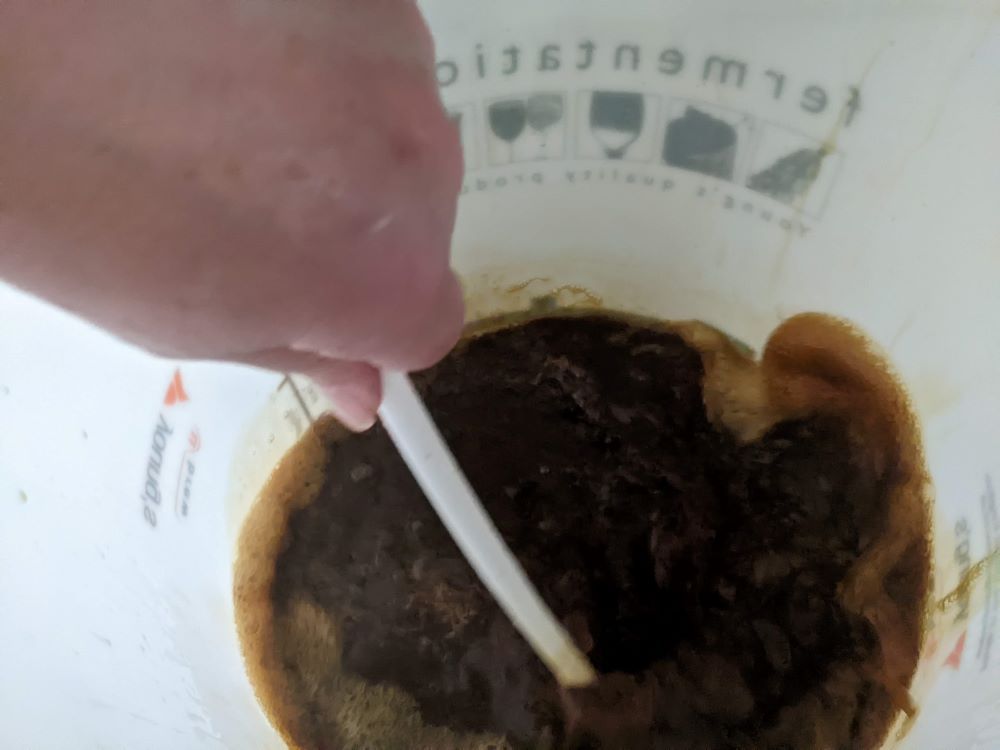
After the tin was as almost empty I poured some of the boiled water over the lid and in to the tin to rinse out and remaining malt in to the bucket. With the first tin poured and the rest of the 1.5 litre of boiling water in the bucket I set about stirring the thick malt in to the water as the malt was very much stuck the the bottom of the bucket.
Once I was happy I had got the malt fully mixed I started on the second tin, boiling up another 1,5 litre of water I opened up the second tin of malt extract.

And as with the first tin I poured the malt in to the bucket stirring all the time, and as with the first tin I poured some of the boiled water over the lid in to the tin rinse out and remaining malt in to the bucket stirring all the time.
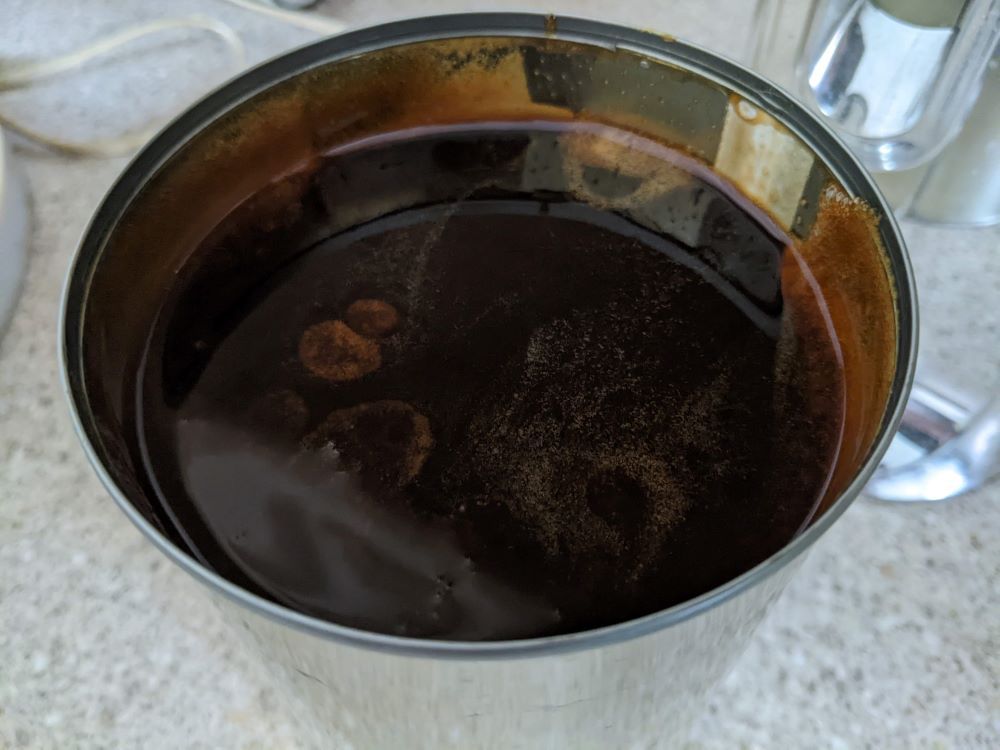
While I was stirring the malt I put the kettle on again for a further litre or so of water to boil, once boiled I poured this water in to both tins for a final rinse.
Having got the last drop of malt extract out of the tins it was on to more mixing and stirring and filling the bucket up with cold water up to 23 litres.

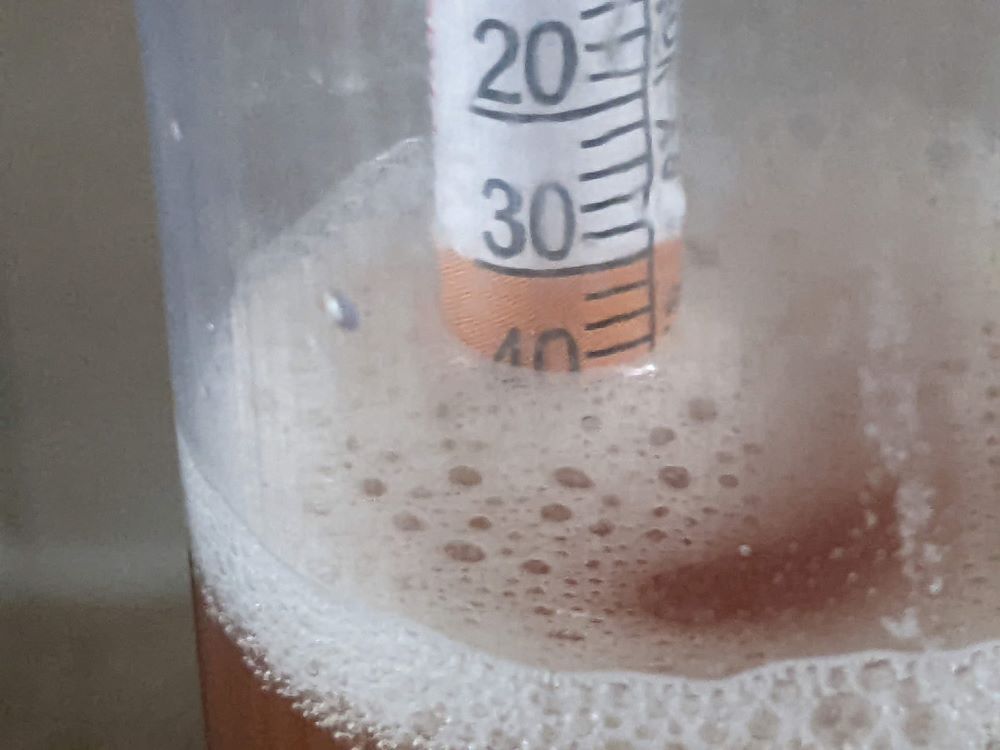
Once the bucket was full and well mixed I took a sample to take a hydrometer reading which came out at 1038, I then started the transfer to the Fermenter King Gen 3, I still need a better was of doing this, I need to modify the bucket so it has a tap at the bottom.
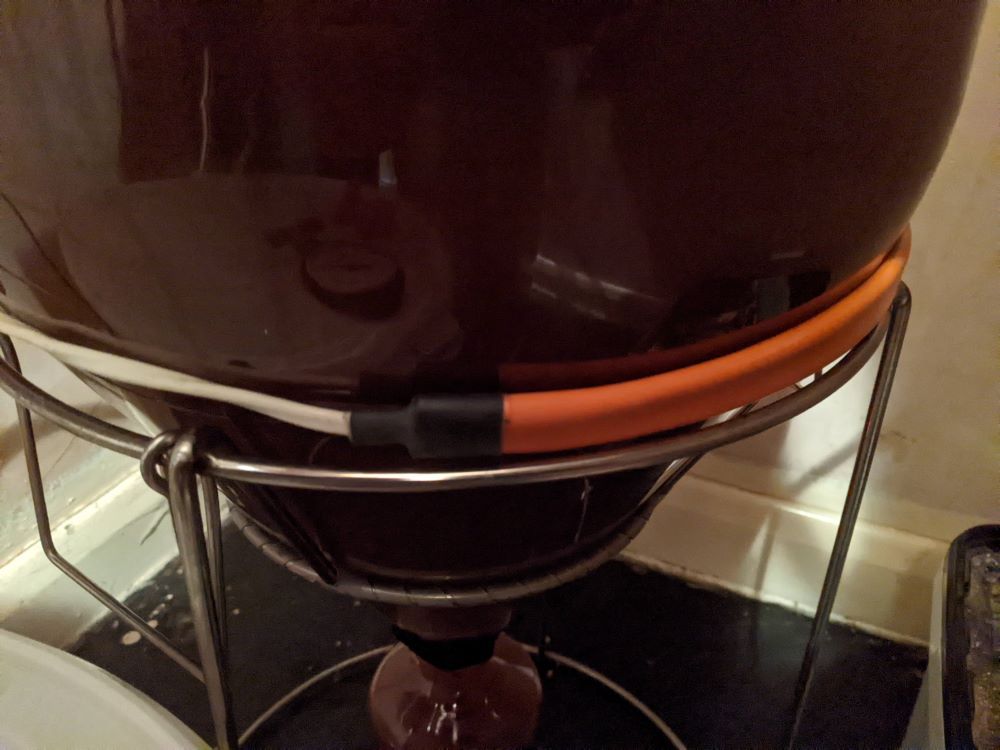
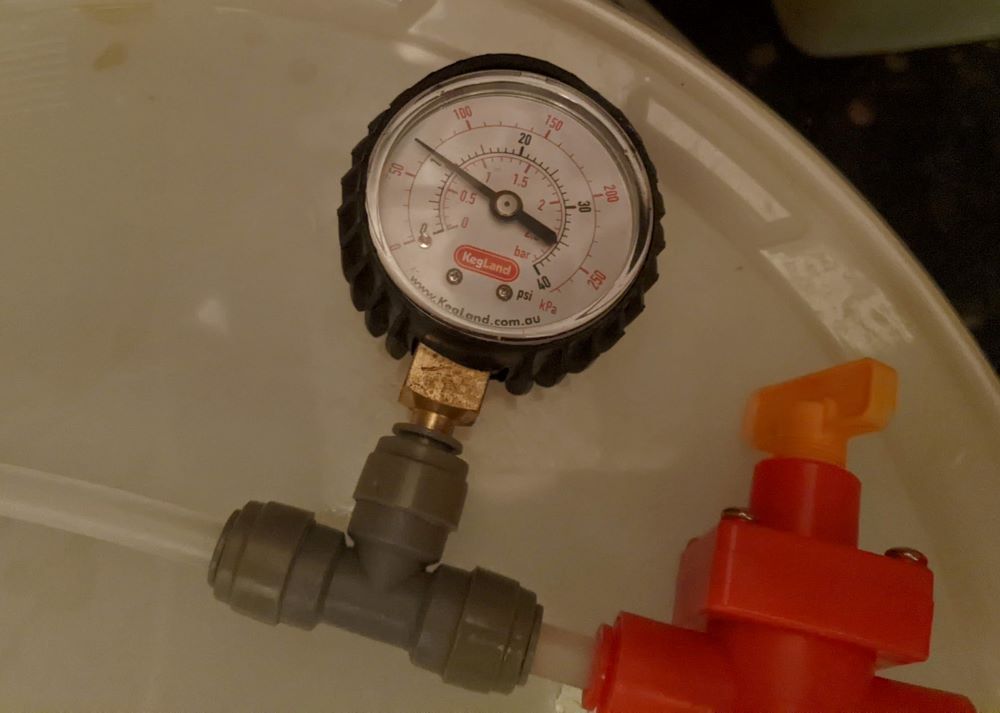
When the Fermenter King Gen 3 was full I cut open the yeast pouches and sprinkled the yeast in then I fitted the lid and made sure everything was tight, and moved the fermenter under the stairs and began connect up the tubing to use the free generated Co2 to purge the keg of sanitiser and oxygen.


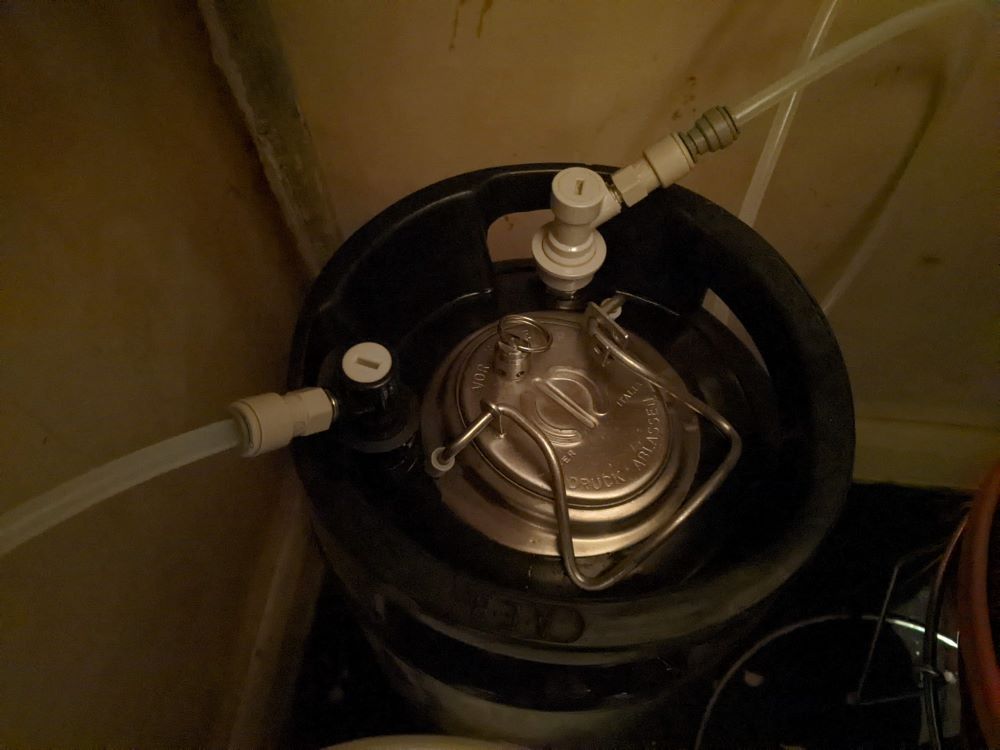
From the Co2 connector on the fermenter to the spunding valve set to about 10 PSI to the Co2 in on the keg, to the beer out on the keg to the bucket, this way the pressure build up of Co2 in the fermenter over 10 PSI will purge the oxygen and push Co2 in to the keg pushing out the sanitiser in to the bucket leaving the keg free of oxygen and clean.
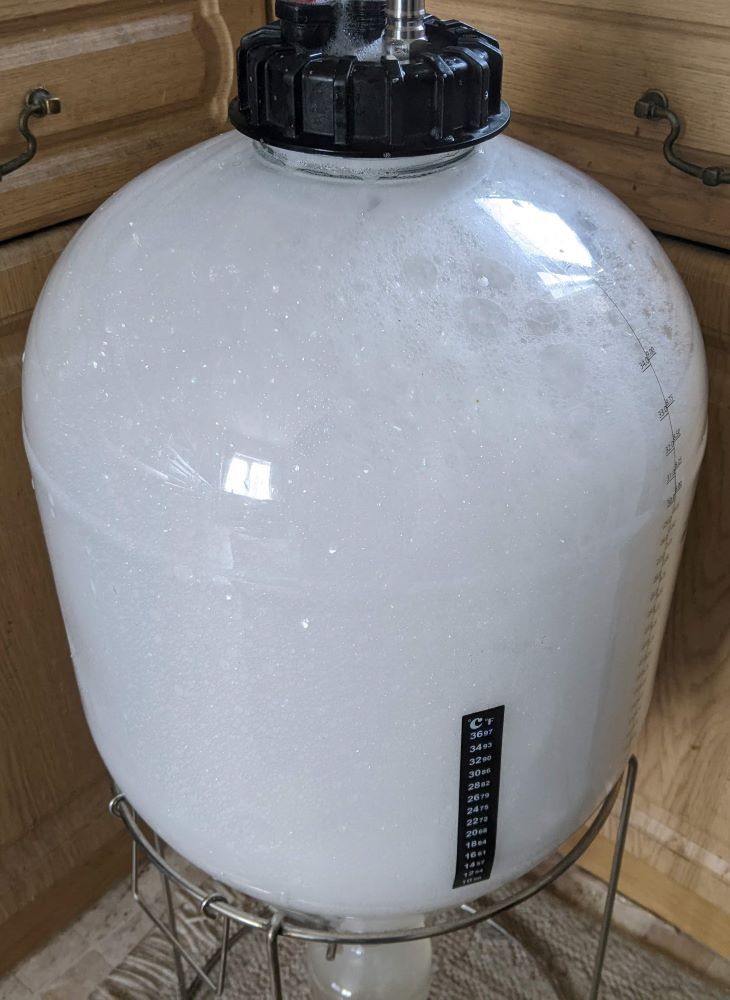
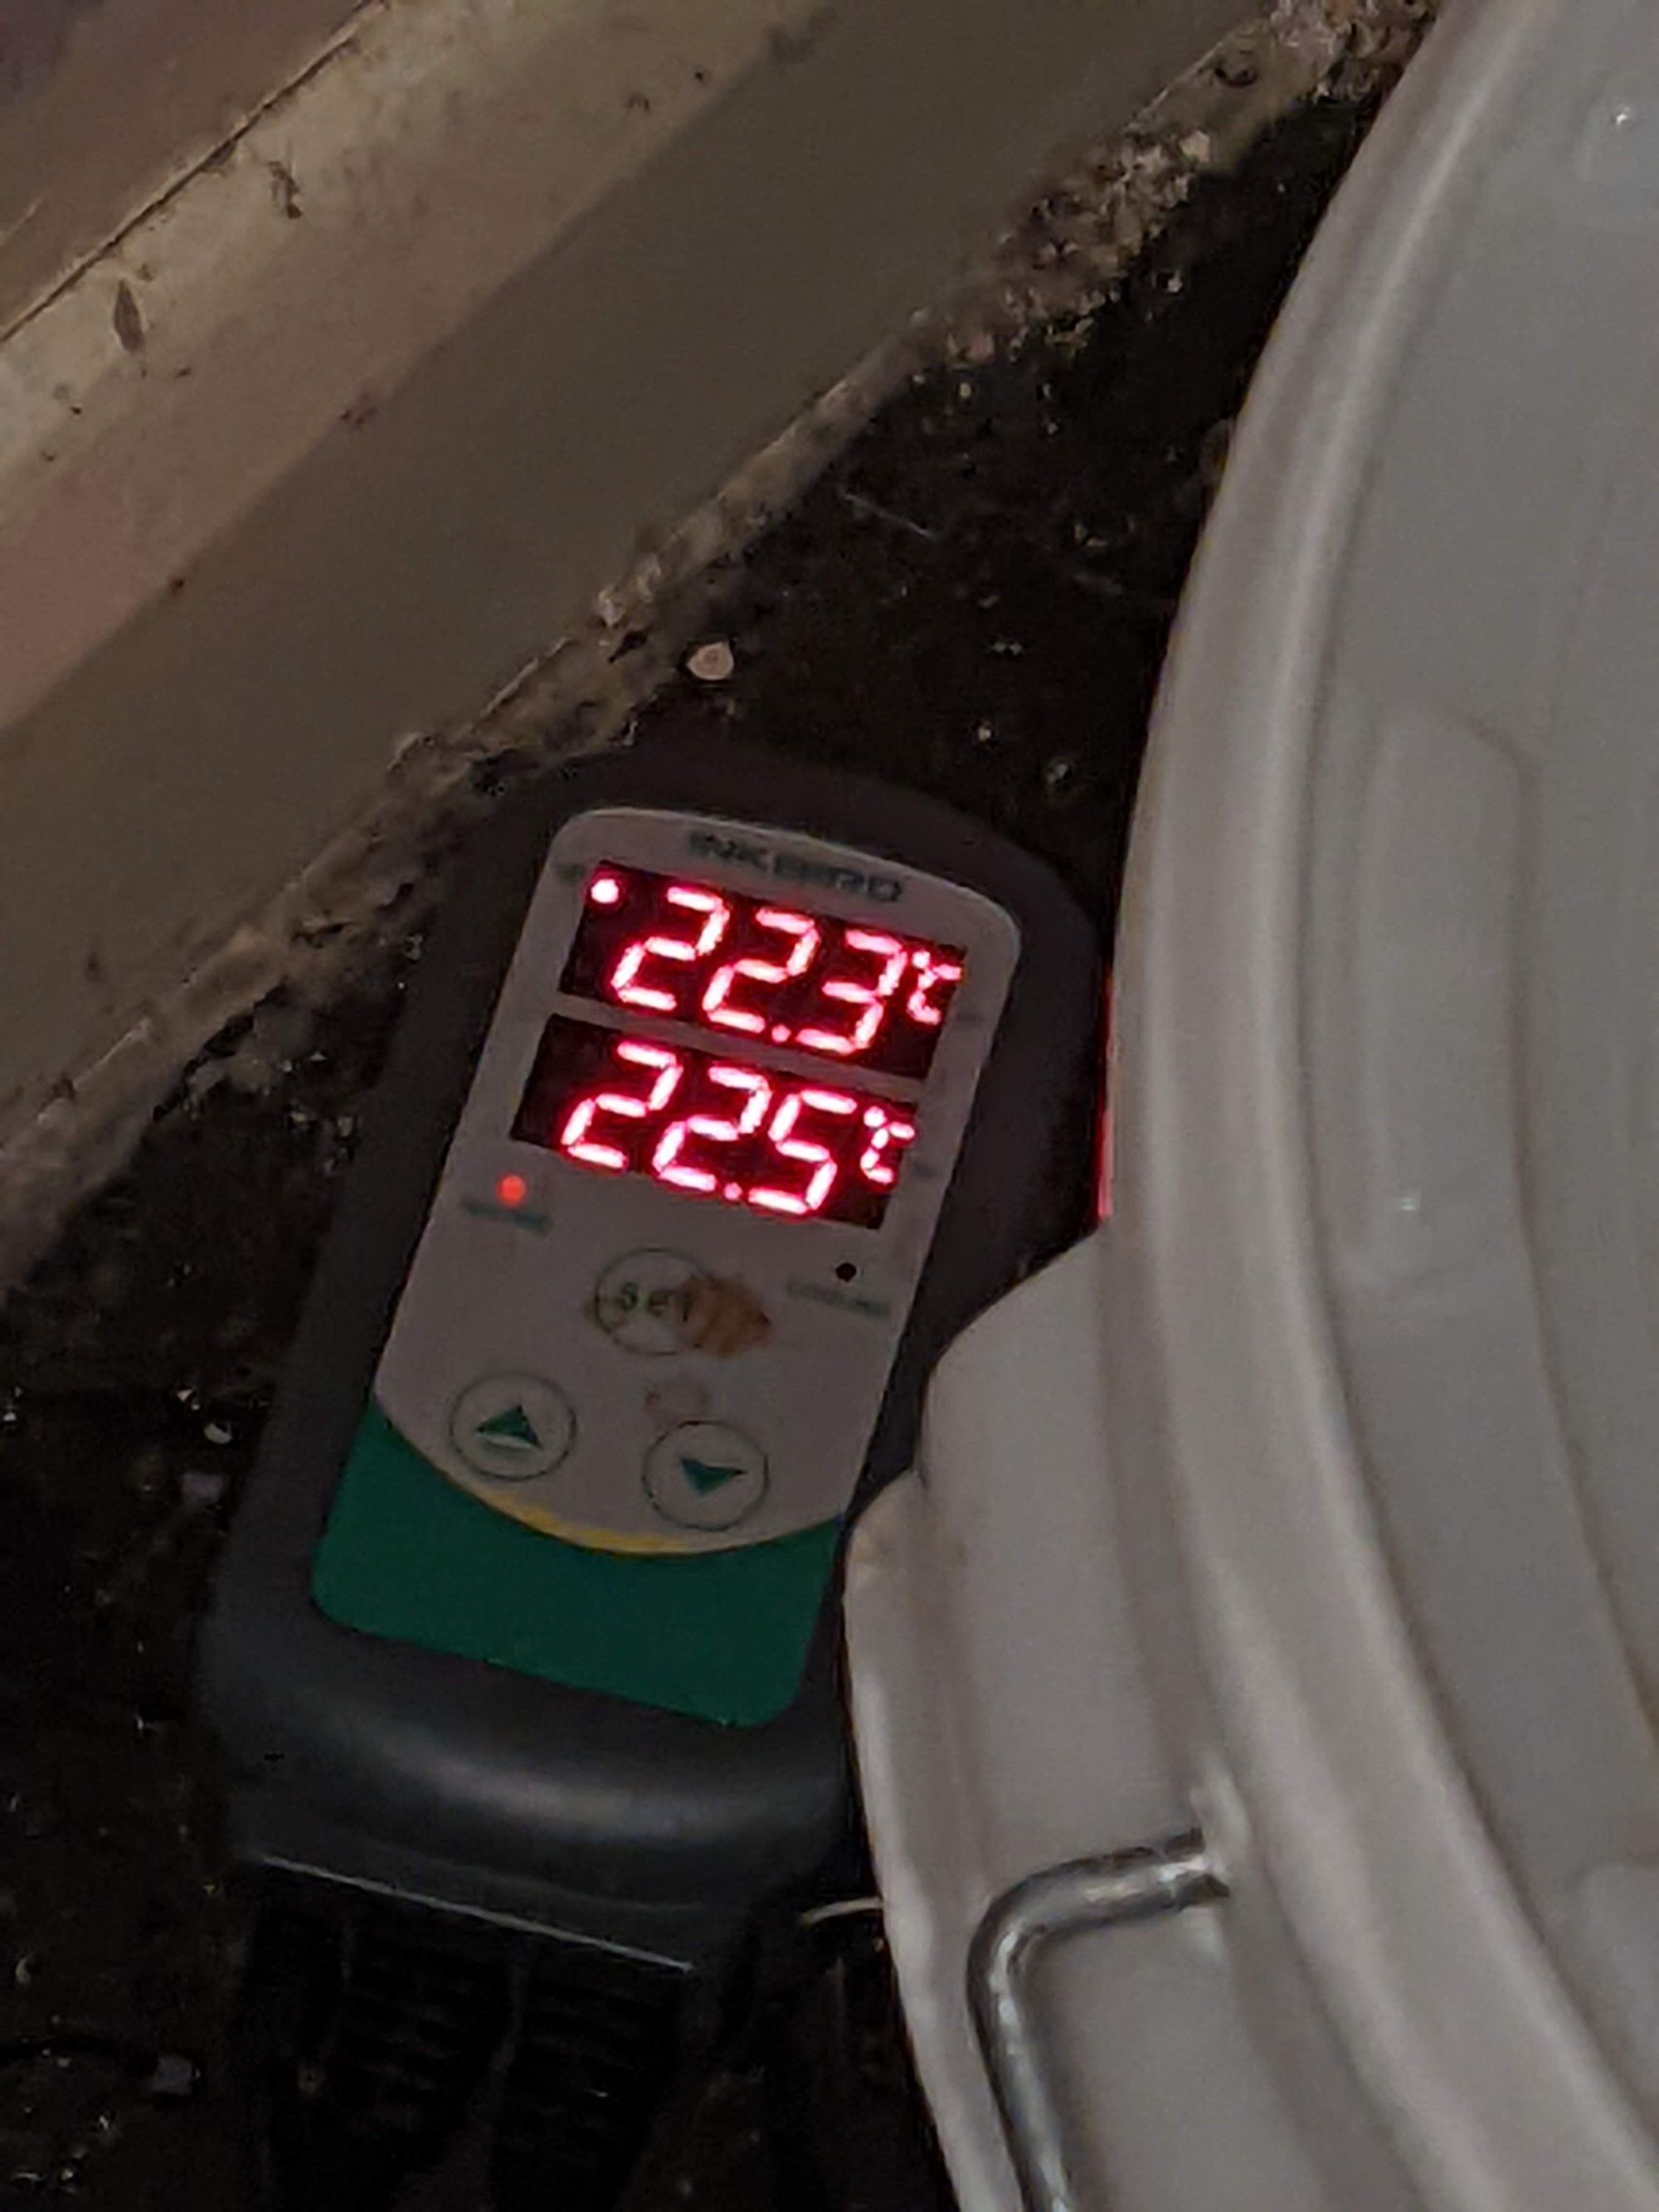
I then fitted the Inkbird set to 22.5c and a heating belt around the fermenter, with the Inkbird temperature probe inserted in to the thermal tube on the fermenter the starting temp was 20.8c but climbing quickly and soon hit 22.3.
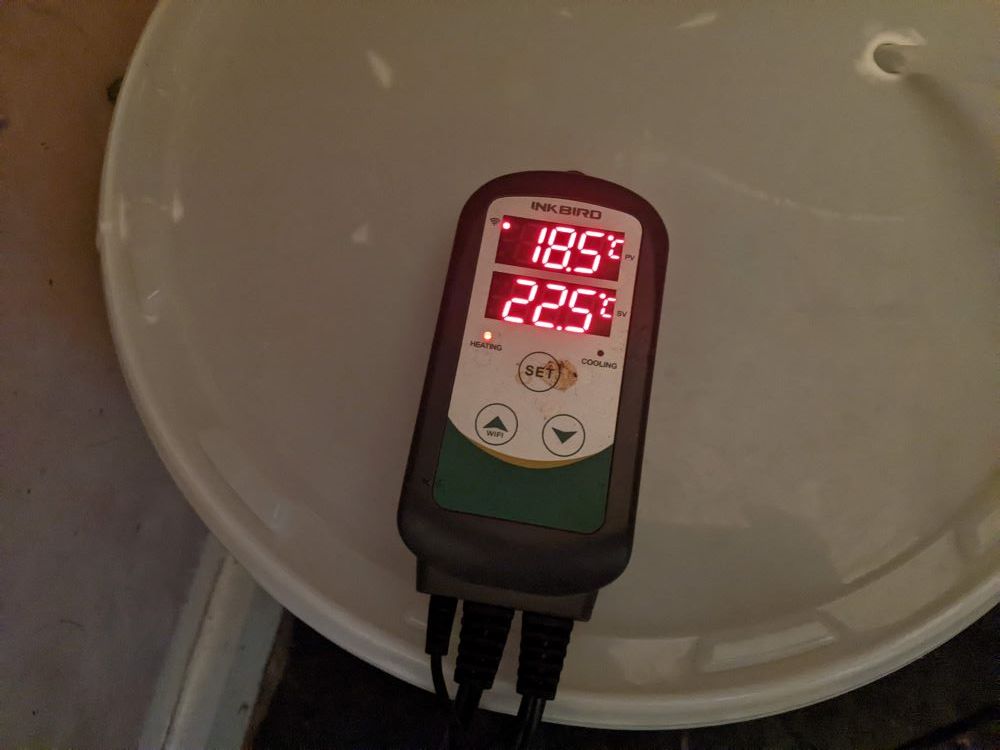
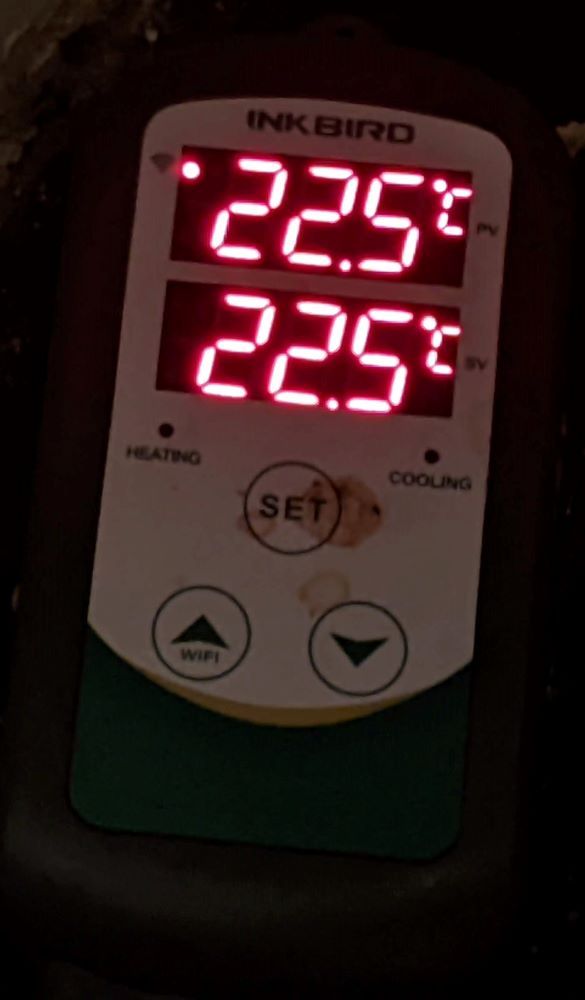
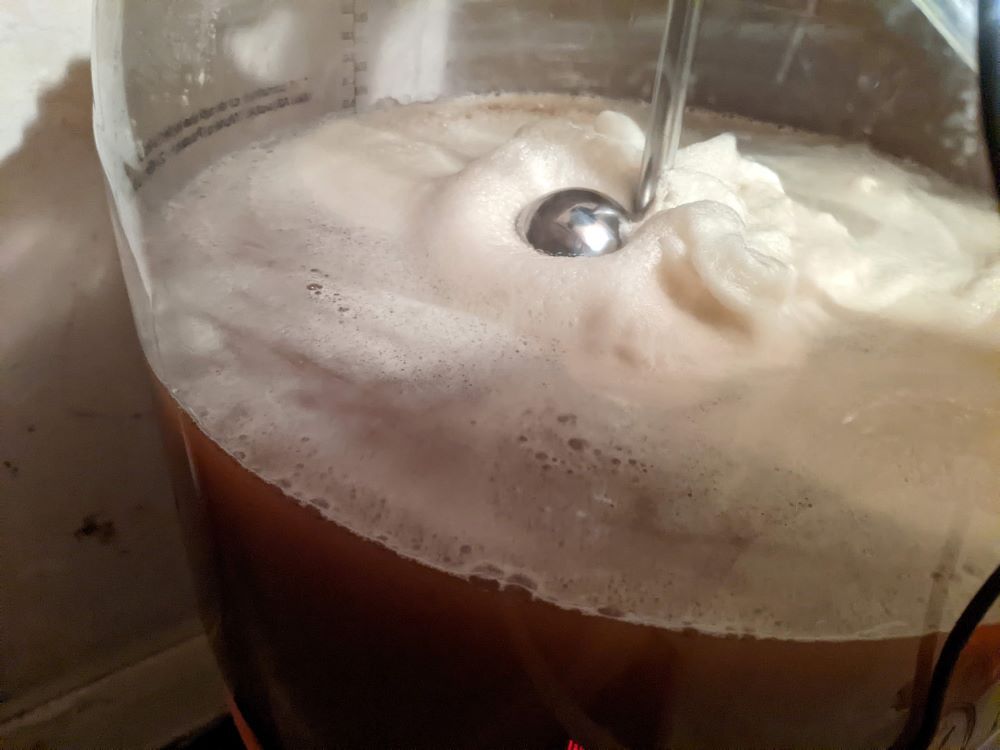
The next morning just 9 hours later I was surprised the temperature was holding at 22.5 the krausen was forming and the pressure was up to 10 PSI.
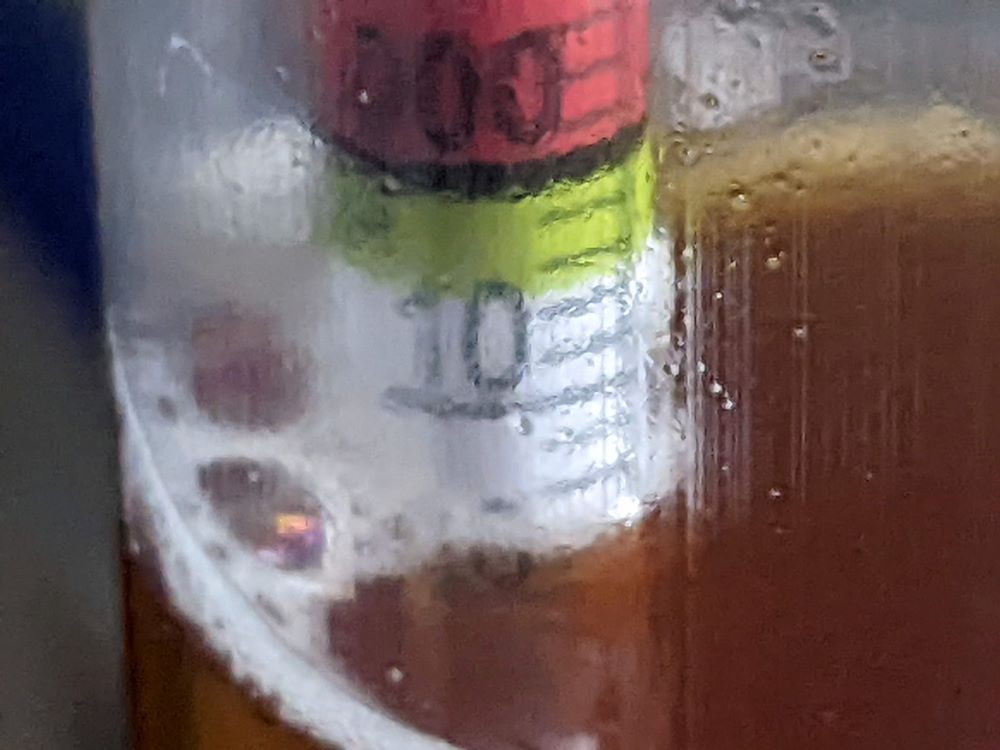
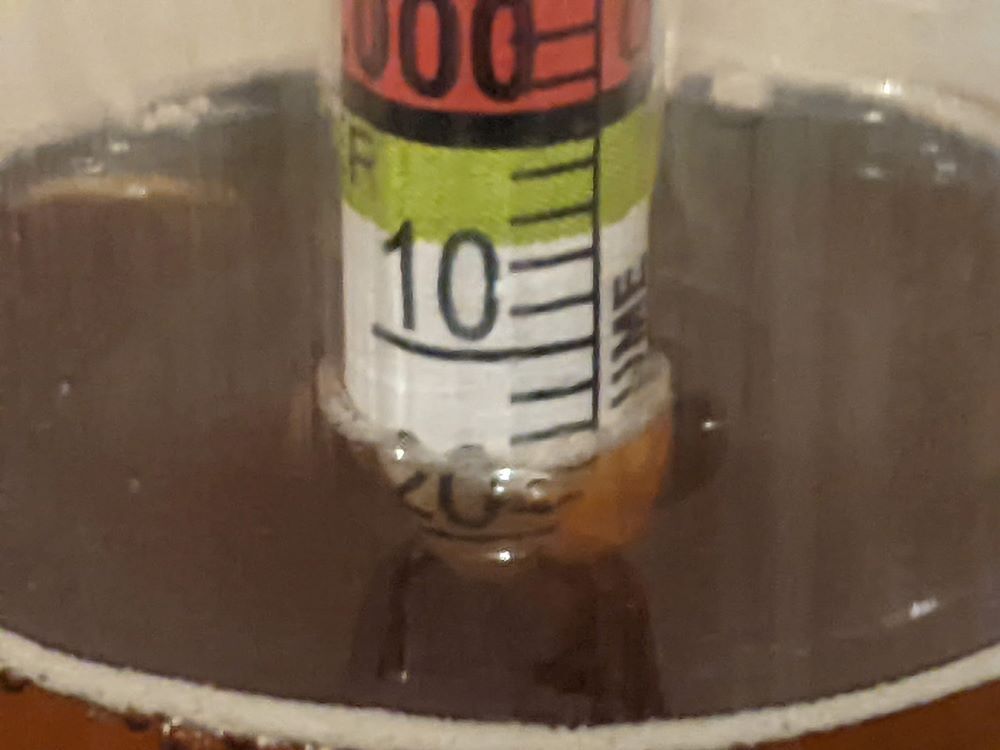
7 days later the brew has started to settle down and there is just a few bubbles showing in the surface, so I conneted up the picnic tap and pulled a sample in to the hydrometer container and took a reading, this came out at about 1015 which is about 3% ABV so maybe it needs more time, or I used too much water.
I will take another measurement in a couple of days and I will do a check on the scales on the side of the mixing bucket.
On day 8 I took another measurement the as the brew looked like it was ready and it looks like the reading had not changed.
So in day 9 I decided to rack up my brew in to one keg and 6 bottles, so I connected up the bottle wand ready to fill the bottles, but first I dropped in half a teaspoon of sugar in to each bottle and proceeded to fill the bottles.
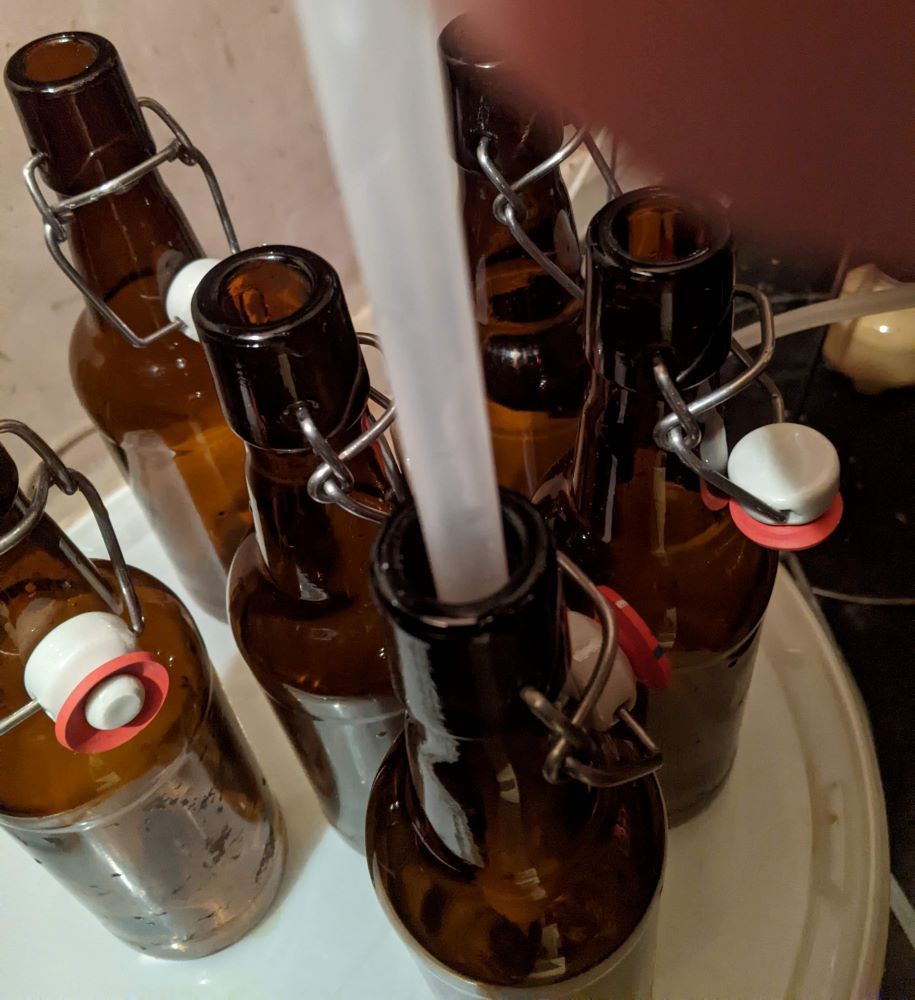
After filling the sixth bottle I gave them a shake and put them to one side, I then connected up the keg, now with a measurement of sugar, I began to fill the keg.

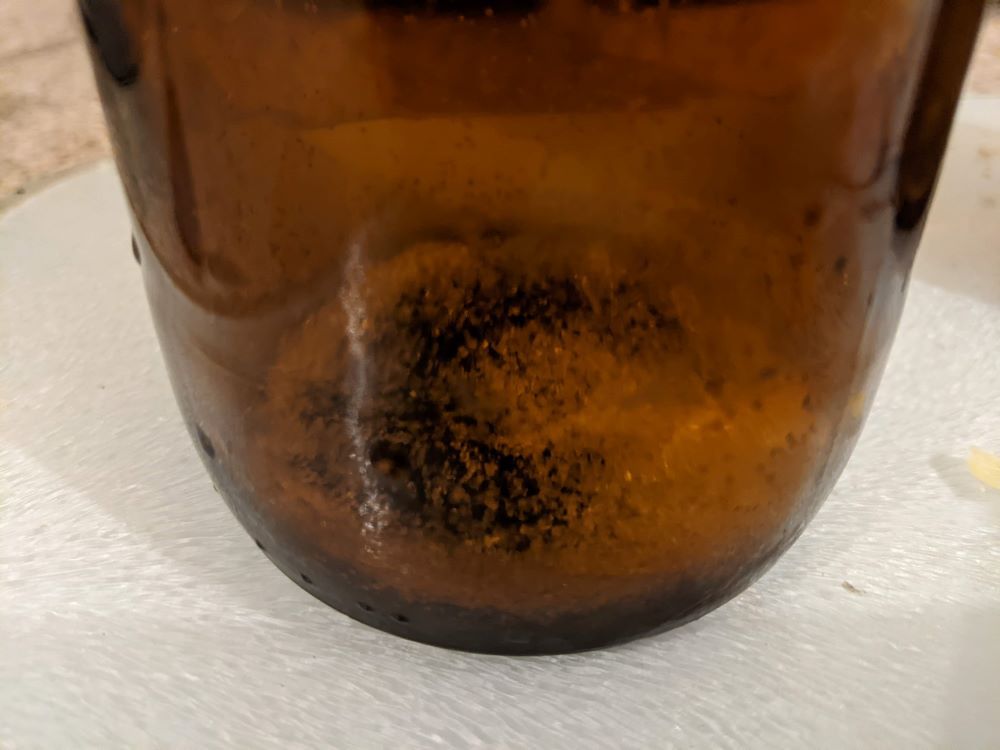
As I said earlier I think I mixed the kit with too much water as my ABV was only just above 3%, I should be able to fill six bottles and the keg with out over filling the keg, but when I filled the keg it ended up overflowed and there were still a little brew left at the bottom of the fermenter, I could have filled another bottle but I left it as I didn't want to risk pulling sediment in to another bottle.
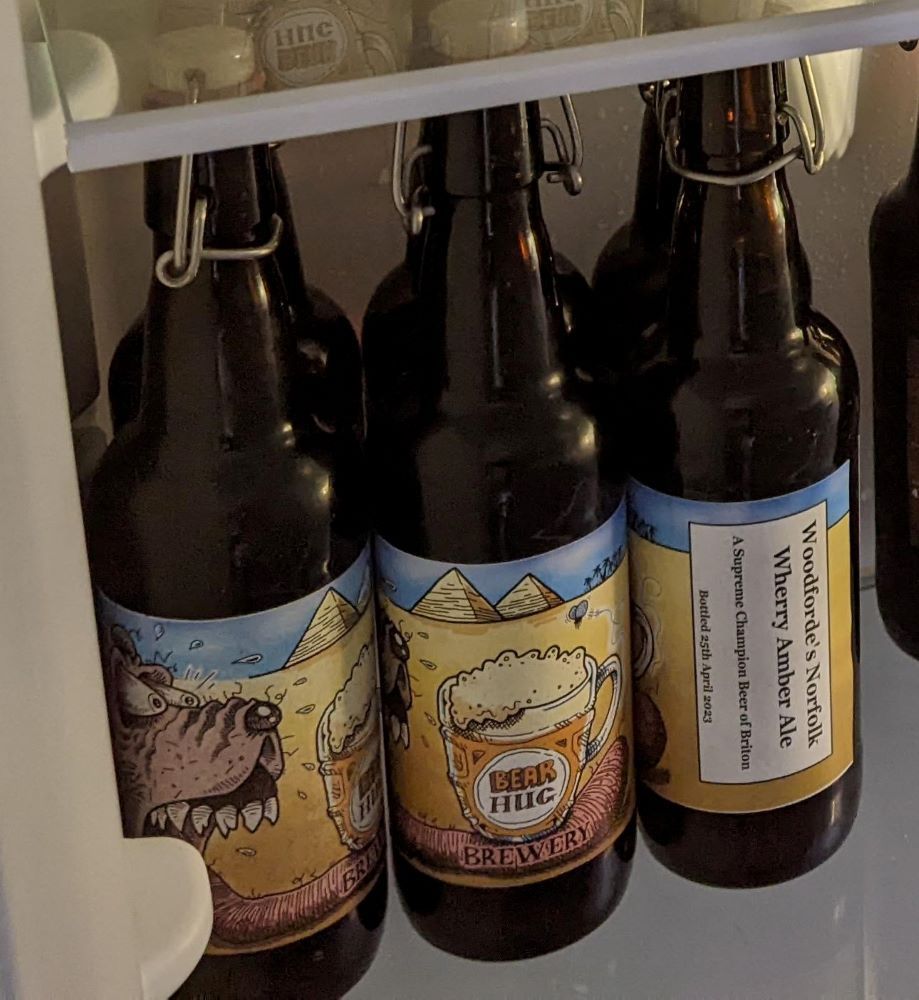
I finished bottling and the keg 25th April so I let them stand under the stairs for a while.
Now I just need to print some bottle labels, and I would like to make myself a pump clip for the fridge.
Some time later I labelled the bottles and put the keg in the fridge until ready to drink, and it turned out very nice.