The First Brew
It brews, ferments, carbonates, dispenses, all in one fool proof machine that fits right in the fridge.
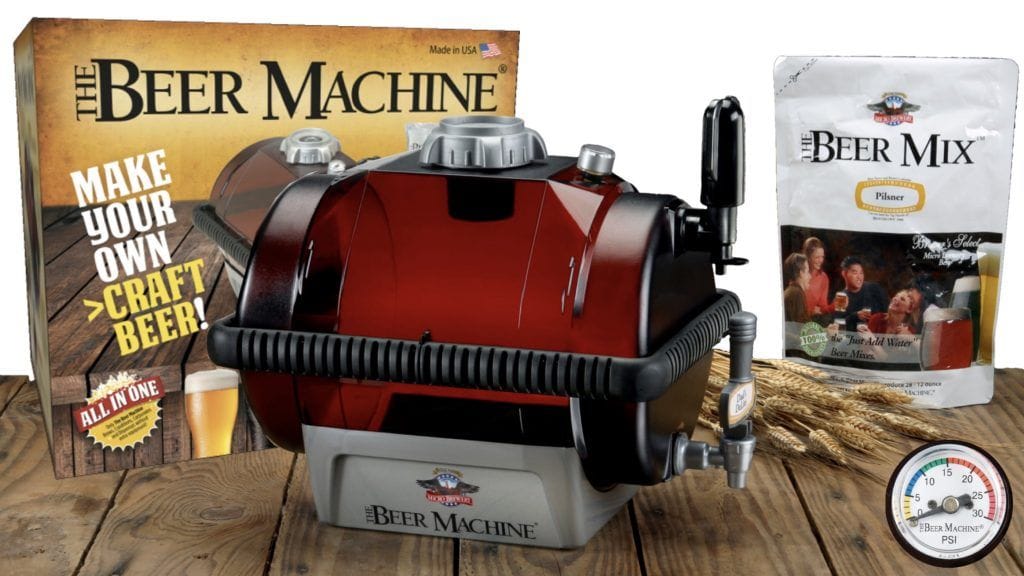
In the early 2000s, I stumbled upon The Beer Machine—a revolutionary appliance promising to revolutionize home brewing. With claims of brewing, fermenting, carbonating, and dispensing all in one compact device that conveniently fits inside the fridge, it seemed like a dream come true. The allure of naturally carbonated beer, free from chemicals and preservatives, and no bottles was irresistible, despite the initial scepticism about its no-bottle claim (which was later debunked by the later version attachment for filling bottles).
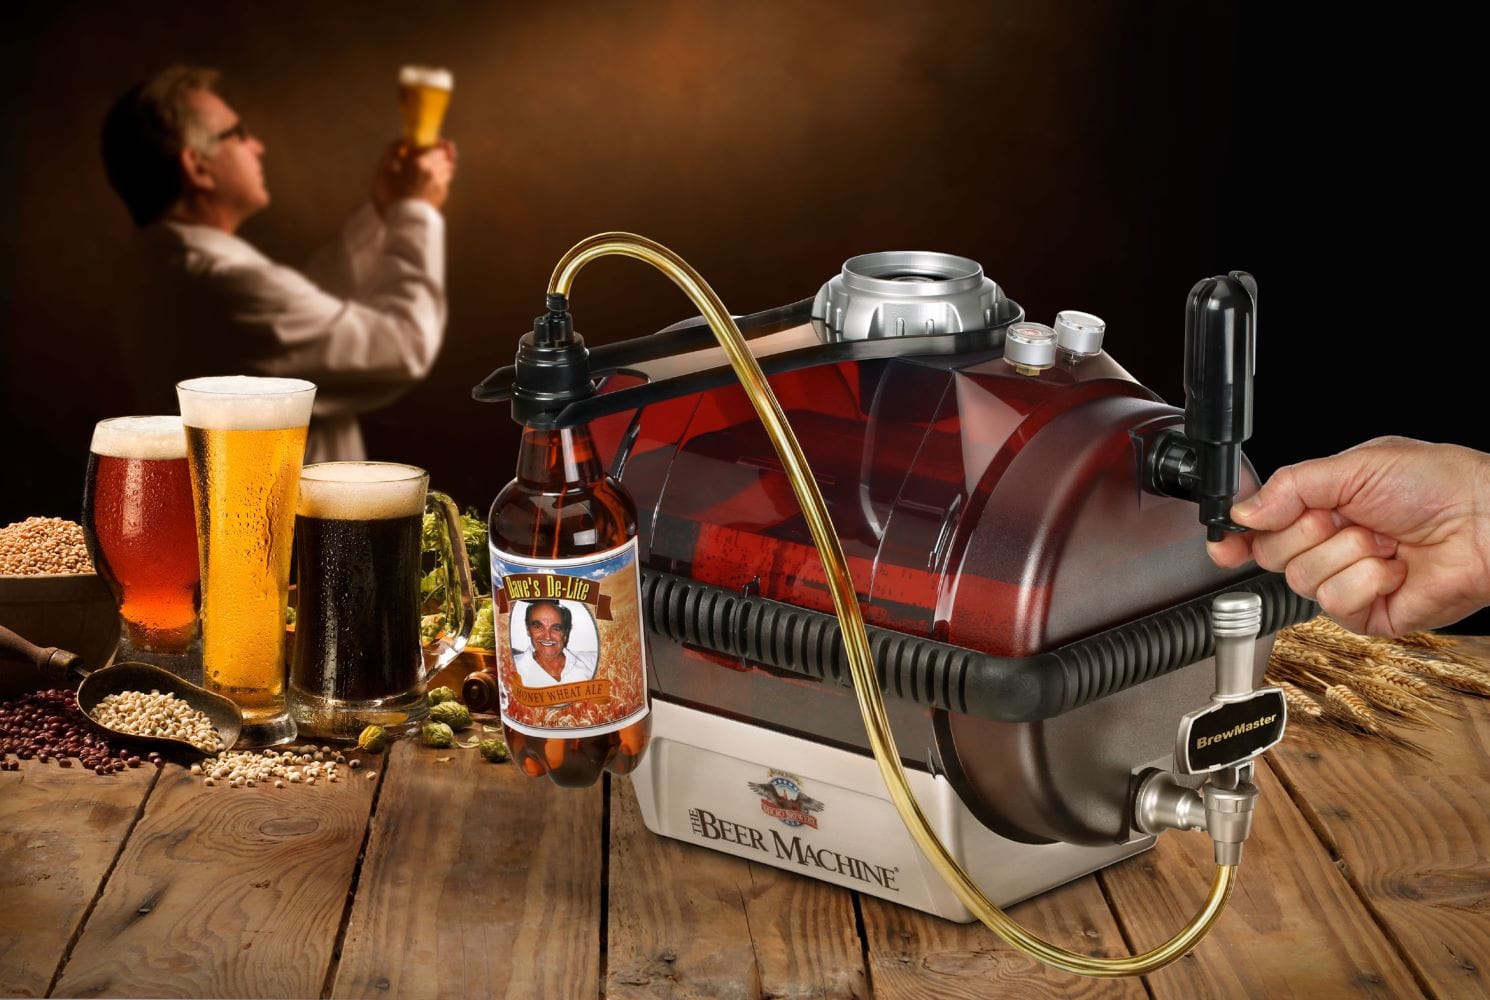
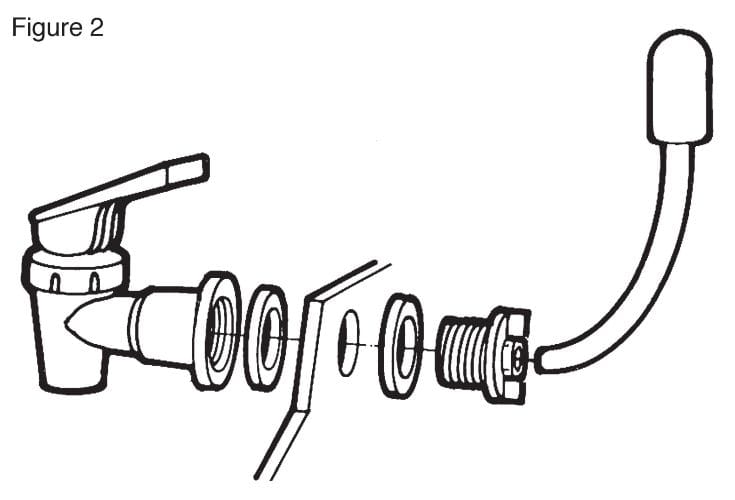
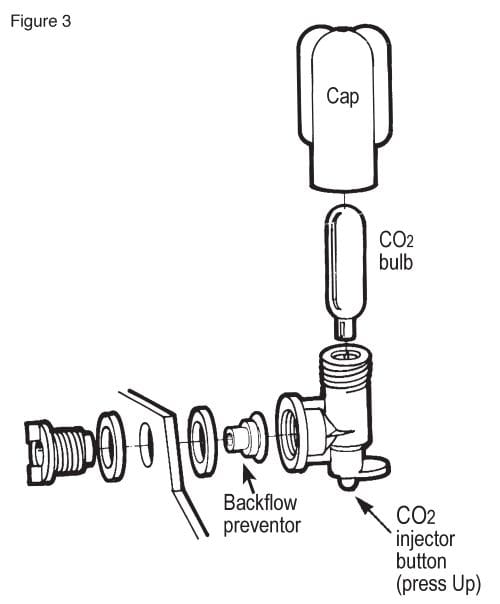
Knowing little about the brewing process, I decided to take the plunge and purchased The Beer Machine for around £90. Assembling the machine was my first task, meticulously following the provided instructions illustrated in figures depicting various components like the spigot, delivery tube, float, carbonation unit, pressure control valve, main seal, and final assembly.
Excited and eager to delve into the world of homebrewing, I embarked on this new journey with high hopes and anticipation, ready to explore the art of crafting my own beer.
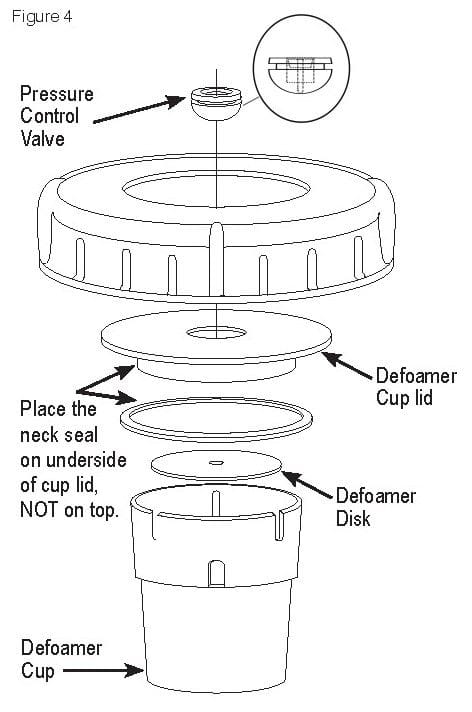
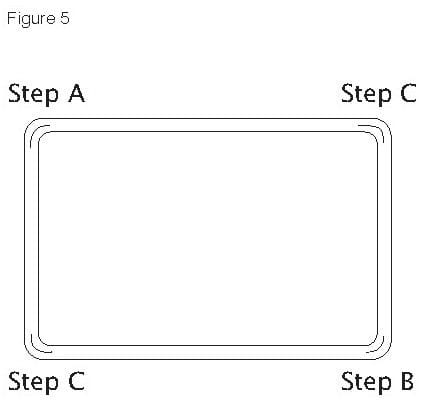
The first thing I had to do was to assemble the beer machine, Fig 1 Assembly, Fig 2 Spigot, Delivery Tube & Float, Fig 3 Carbonation Unit, Fig 4 Pressure Control Valve, Fig 5 Main Seal, Fig 6 Final Assembly
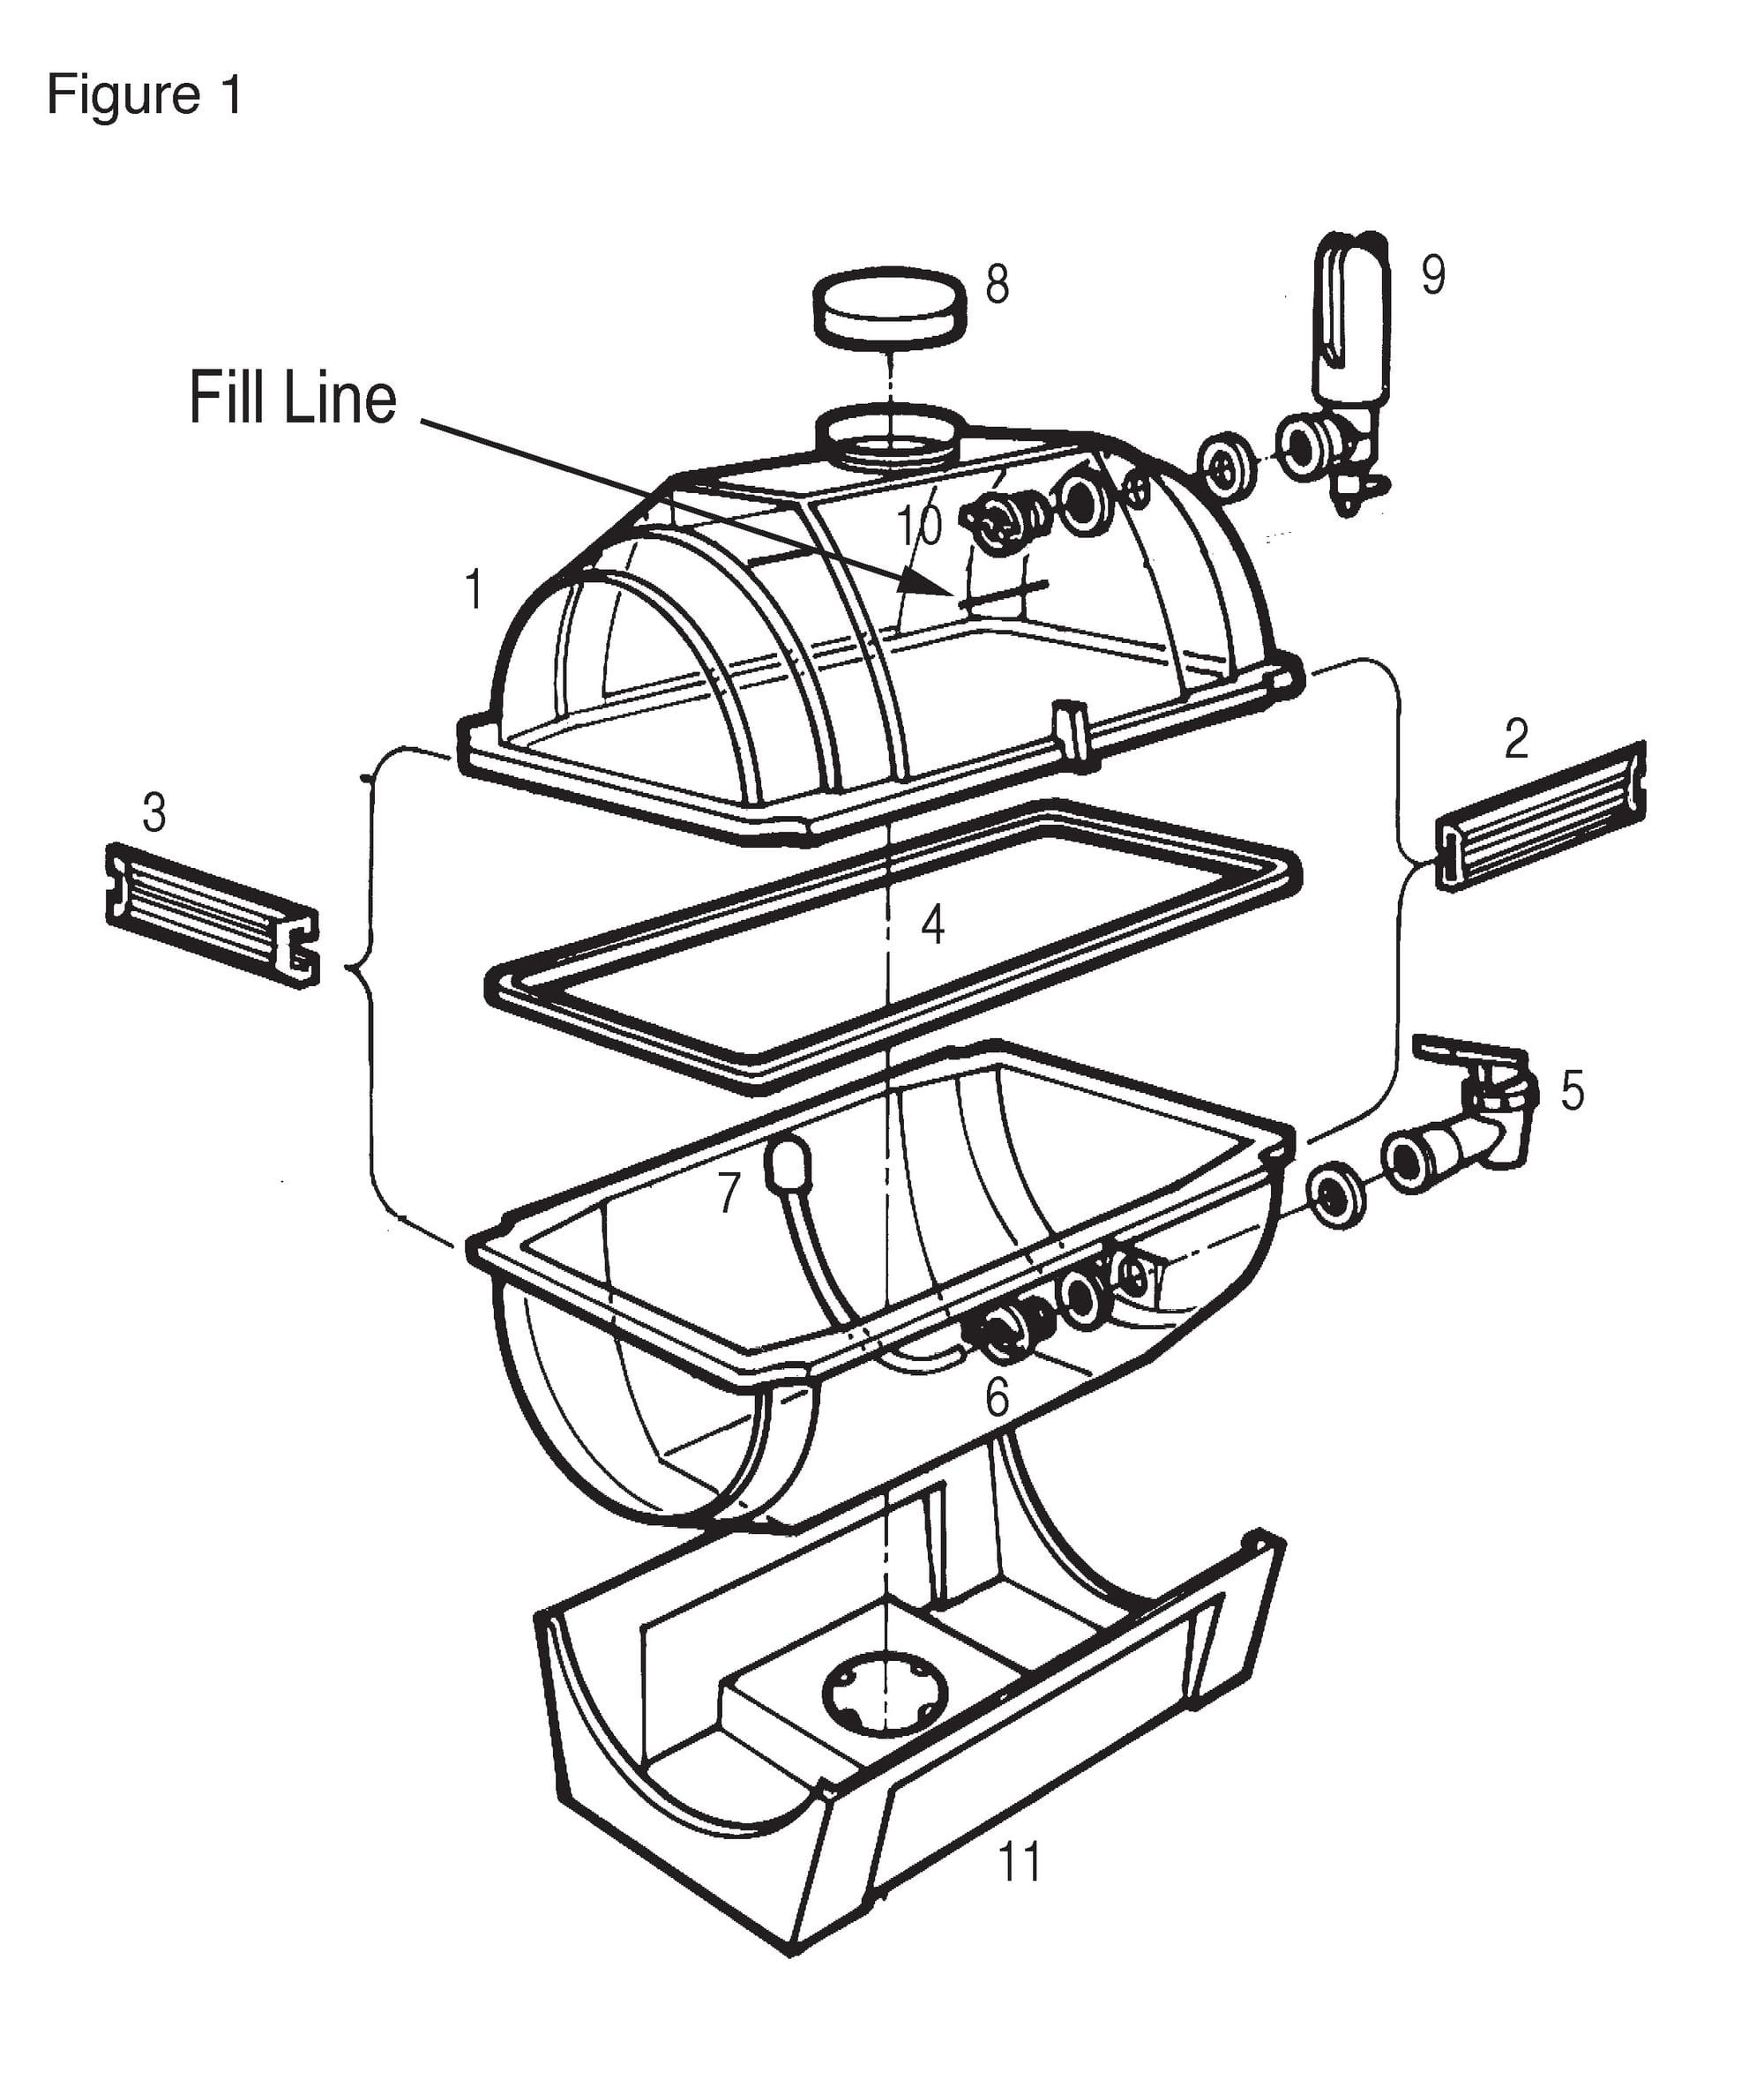
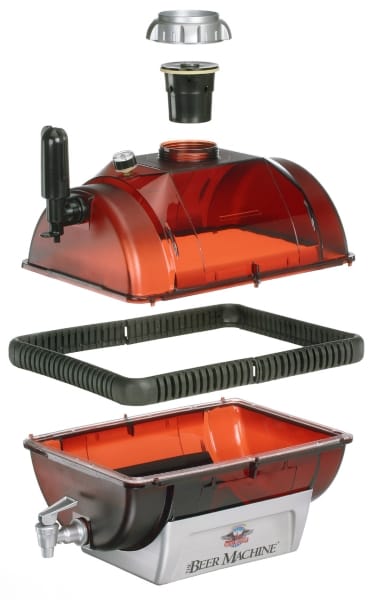
Once The Beer Machine was assembled and cleaned, I diligently followed the provided instructions for brewing. First, I added water to fill one-third of the designated line inside the machine. Then, I poured in the entire contents of the chosen Beer Mix package, followed by additional water until reaching the fill line. Carefully, I added the brewers yeast packet included with the mix. After sealing the cap and Pressure Control Valve unit, I placed the machine in a secure location where it could brew undisturbed for the next 3 to 5 days.
During this period, I monitored the fermentation process by adding a small amount of water on top of the Pressure Control Valve, observing the speed of bubbles released. Once fermentation slowed down after 3 to 5 days, indicating completion, I transferred The Beer Machine to the refrigerator for the next 4 to 5 days. This allowed for conditioning and clarification, with the cold temperature aiding in the beer's clarification process.
The natural carbonation produced during the fermentation period should now be absorbed into the beer and internal pressure would be reduced. A sampling will indicate amount of carbonation in the beer. You could then increase this by adding CO2 from the carbonation unit at this time when beer is cold, or add when serving.
One of the enticing features of The Beer Machine was its capability for continuous brewing. As the system was completely closed, it offered the possibility of brewing multiple batches without the need for cleaning in between. However, caution was advised to avoid exposing the contents to external contaminants, which could introduce unwanted yeast cells or bacteria. After 3 or 4 continuous brews, it was recommended to drain off half of the sediment from the previous batch to maintain optimal brewing conditions. While some enthusiasts reported successful continuous brewing for up to 15 batches, it was advised not to exceed five or six brews to prevent excessive yeast propagation and potential flavour alterations.
The first beer I made came out good but I wasn't keen on the brew and didn't want to do a continuous brew, besides I had to replace the defoamer disc in Fig 4 every brew and I think it only came with 2 or 3, I went to the local homebrew shop to see if they had any beer kits, but most kits are to make 40 pints and not the 27 or so pints the beer machine did, I don't think I did more than the one "beer mix" so The Beer Machine got put away, I still have it today less the defoamer disc for the Pressure Control Valve unit in Fig 4, If I can find a way to do away with the current Pressure Control Valve or the defoamer and seal the top I may brew a cider in it.