Summer Glory Golden Ale
My third homebrew with the fermenter king gen 3
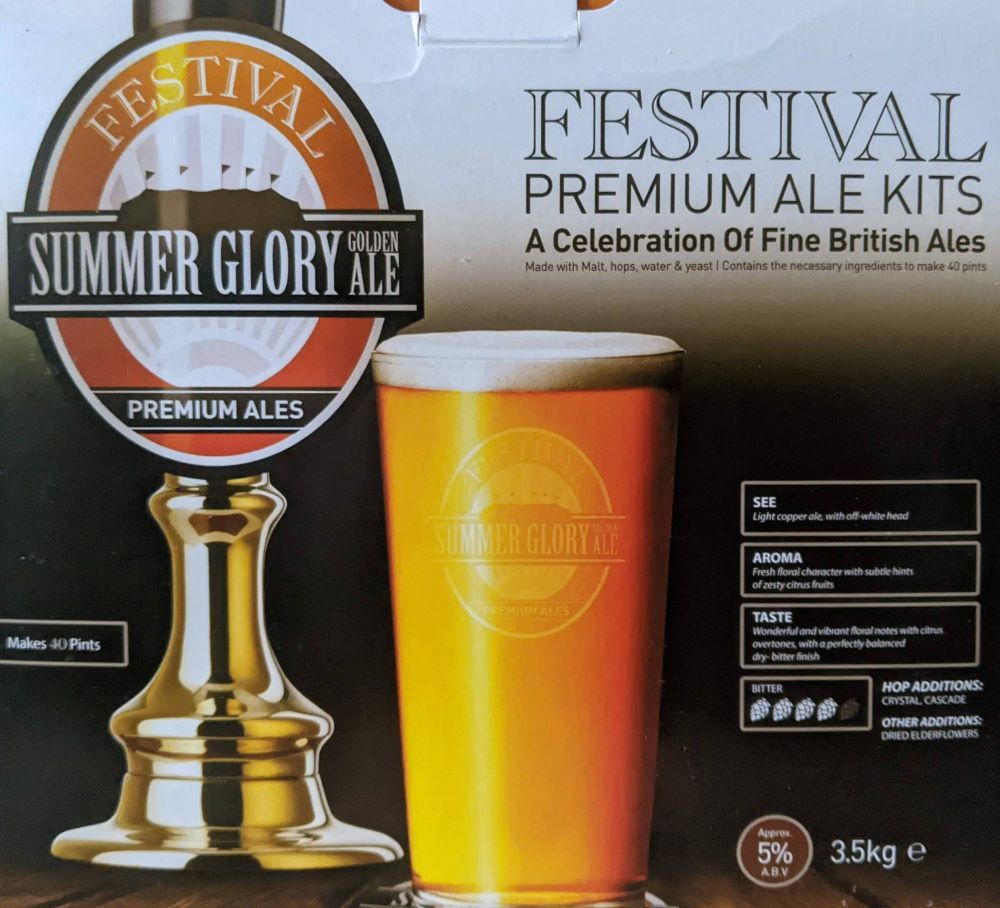
I decided I wanted to start another homebrew so at the weekend I went out to the local homebrew shop and got another Festival kit called Summer Glory, I wanted to go with a lighter beer as with some of the darker beers I found it hard to tell if the beer was clear.
When it came to brewing this kit I wanted to do it in a procedural step by step way so I wouldn't miss anything, but of course I did, first I started to giving my equipment a good clean.
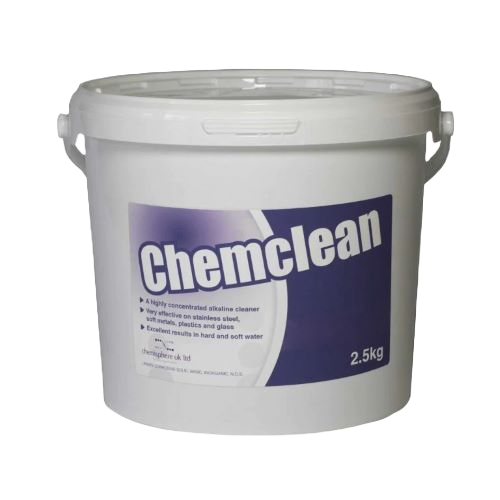
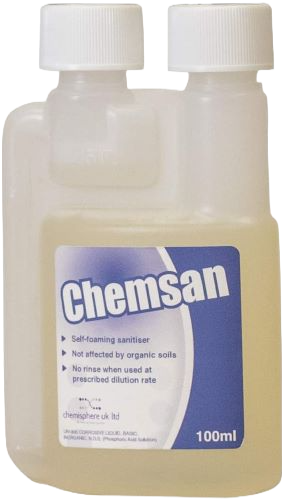
chemclean and chemsan
To clean my Fermenter King Gen 3, I began by using Chemclean. Once finished, I repurposed the Chemclean solution by pouring it into a fermenting bucket to clean it. After cleaning the bucket, I transferred the solution to a second bucket to clean any other equipment I planned to use, including the first cleaned bucket to mix the brew.
The following day, I proceeded to sanitize the Fermenter King Gen 3 with Chemsan and then repurposed the solution by pouring it into a corny keg for cleaning.
With the Fermenter King Gen 3 sparkling clean on the inside with just a few drops of clean water and only streaks remaining on the outside, and the fermenting bucket also cleaned, I was ready to get started on brewing.

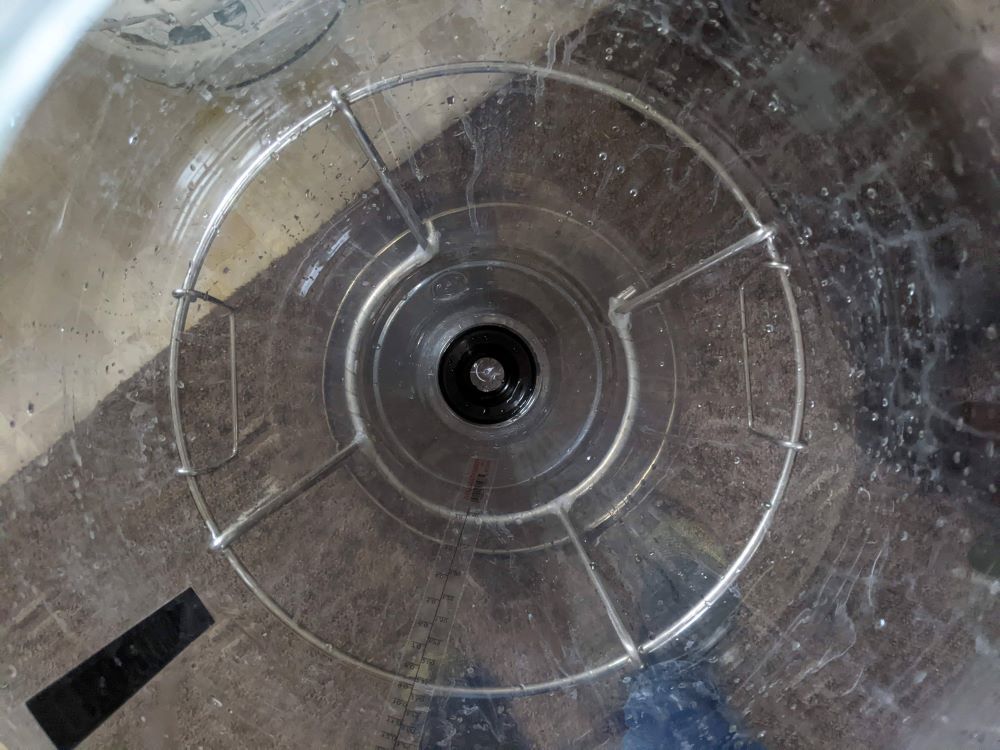
fermenting bucket and fermenter king gen 3 cleaned
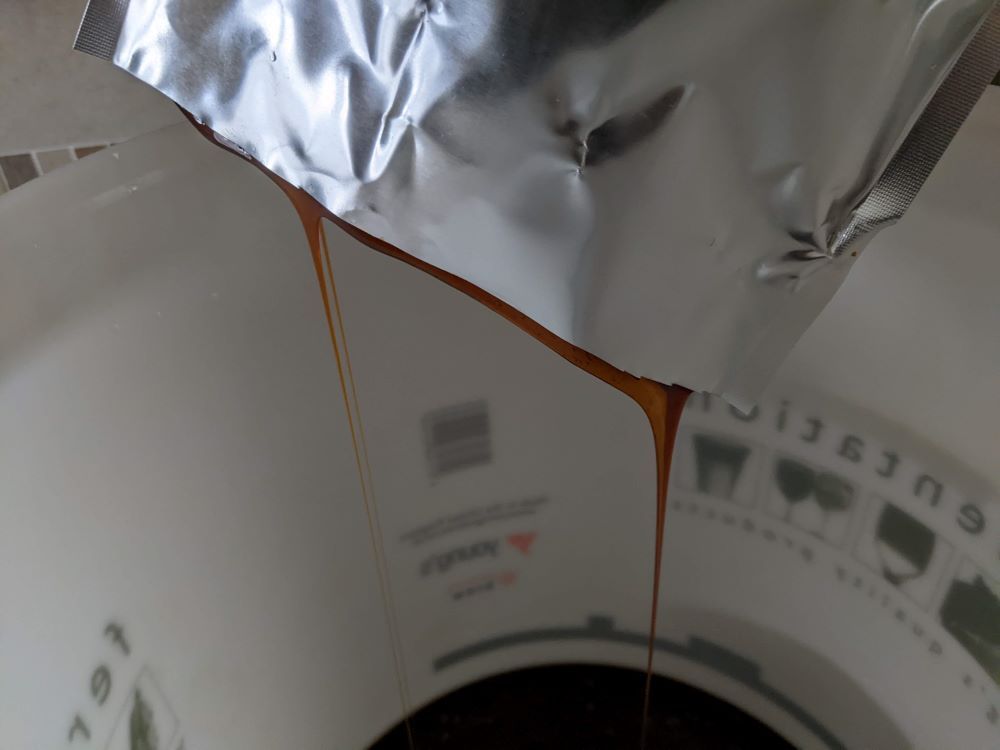
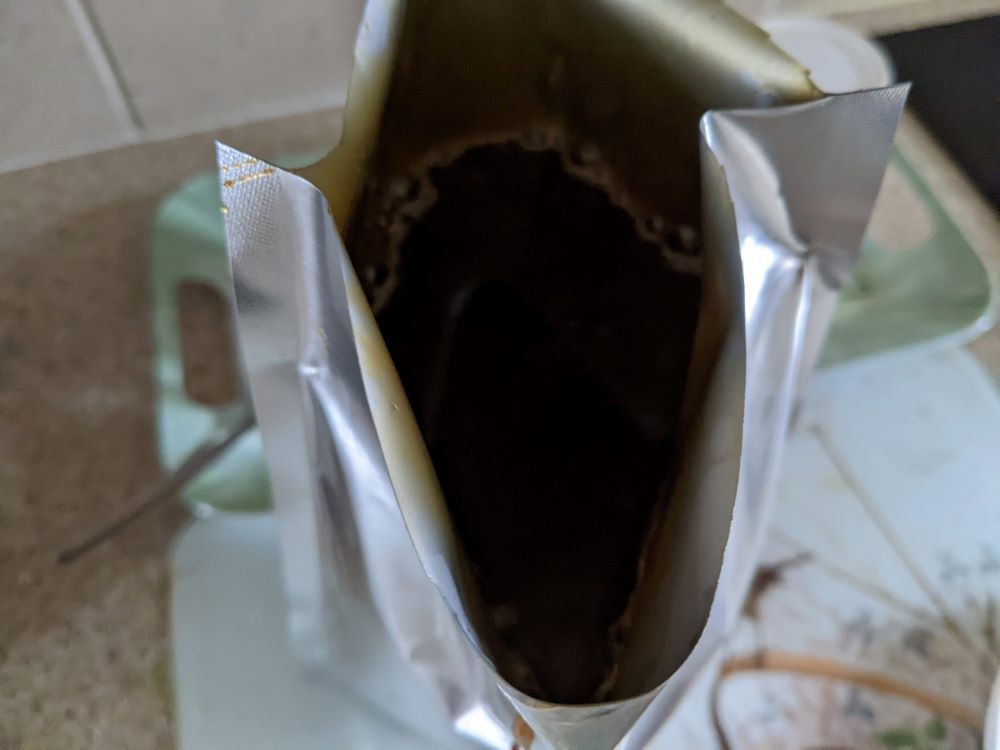
To begin the brewing process, I placed two malt extract pouches in hot water to soften. While waiting, I filled the kettle with water and set it to boil. Once the first malt extract pouch was softened, I carefully opened it and poured the thick contents into the bucket.
Next, I rinsed the first malt extract pouch with the boiled water from the kettle before filling it up again. I then opened the second pouch and poured the thick contents into the bucket. As the kettle was still boiling, I poured the first pouch, now filled with boiled water, into the fermenter bucket and began stirring the thick malt extract. At first, it was difficult to stir as the malt was stuck to the bottom of the bucket, but with some effort, it became mixed.
Finally, I poured the boiled water in to the second pouch to rinse before pouring it into the bucket once it was ready.
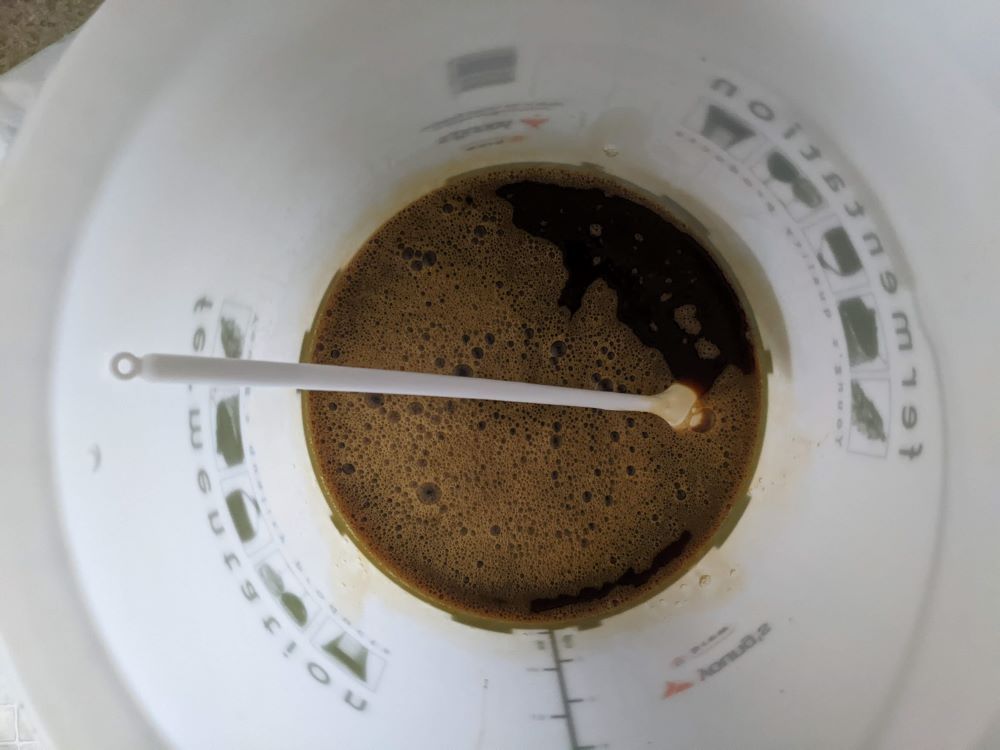
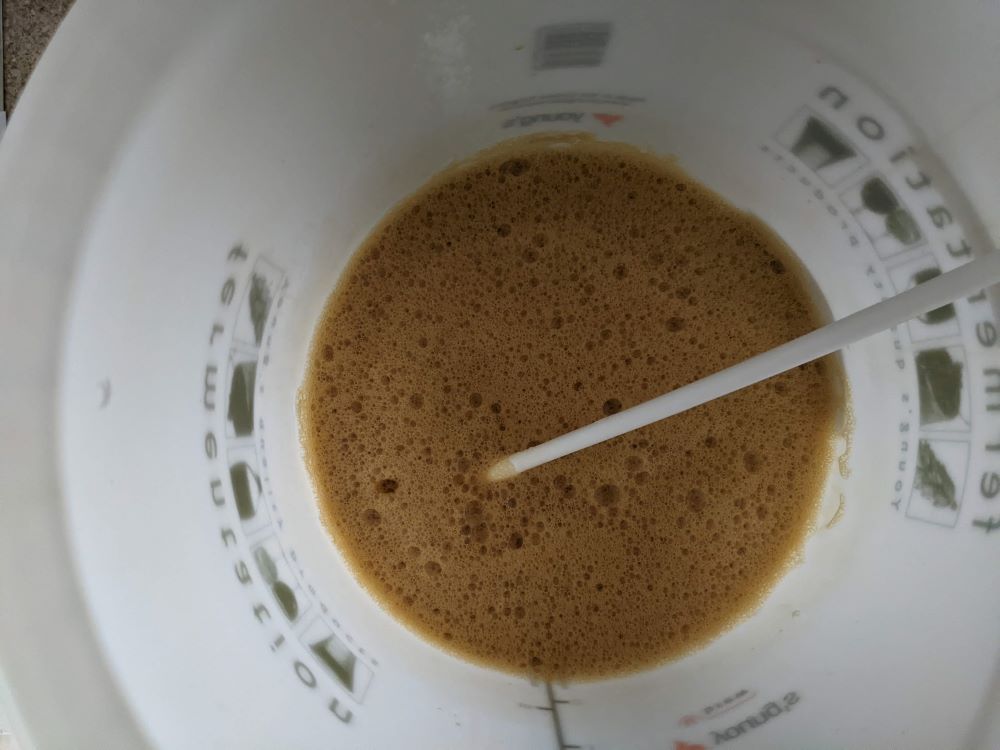
The first stir and the boiled water in the pouch
Pouring the boiled water in to the malt extract pouches and letting it sit for a minute of two helped a lot to ensure they were completely emptied.
Next, I filled the bucket with water until I reached the 23 litre mark and added the dextrose sugar. After giving it a good stir until it was completely dissolved, I took a sample with the hydrometer. The measurement came out at 1050 at this point.
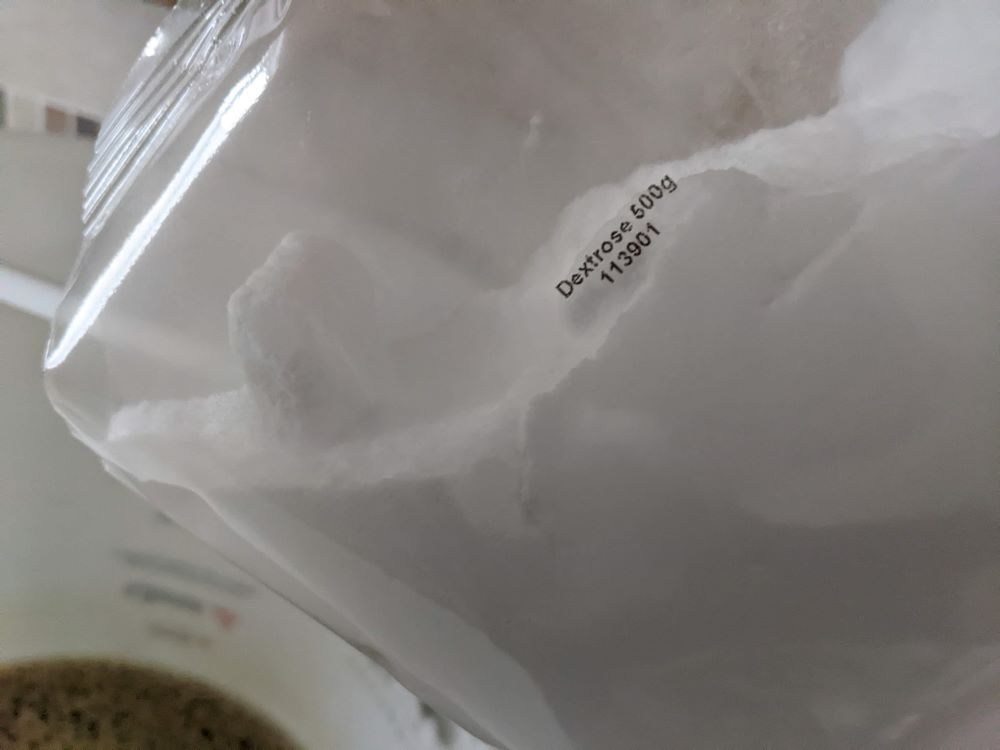
dextrose sugar and more stirring
It was then time to transfer the brew to the Fermenter King Gen 3. As my bucket didn't have a tap at the bottom, I had to use a siphon tube to transfer the brew to the fermenter. While this process was a little slow, I was able to transfer most of the mix. To get the remaining bit, I simply lifted the bucket and poured the rest into the fermenter.
After transferring the brew, I sprinkled in the dried elderflower from the provided sachet and gave it a good stir.
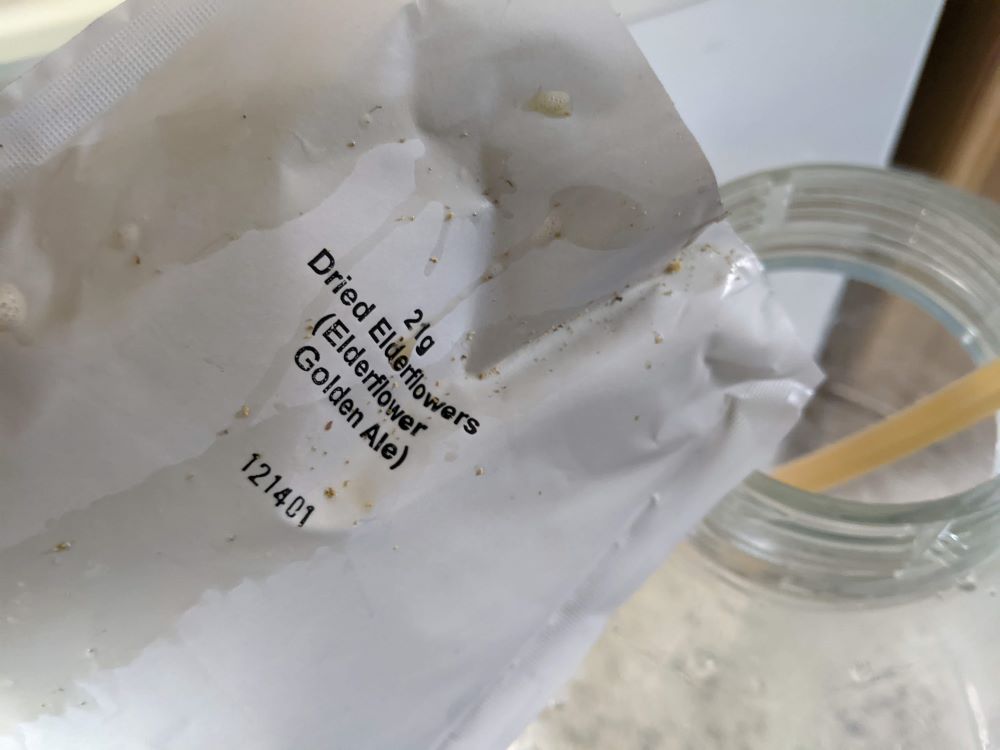
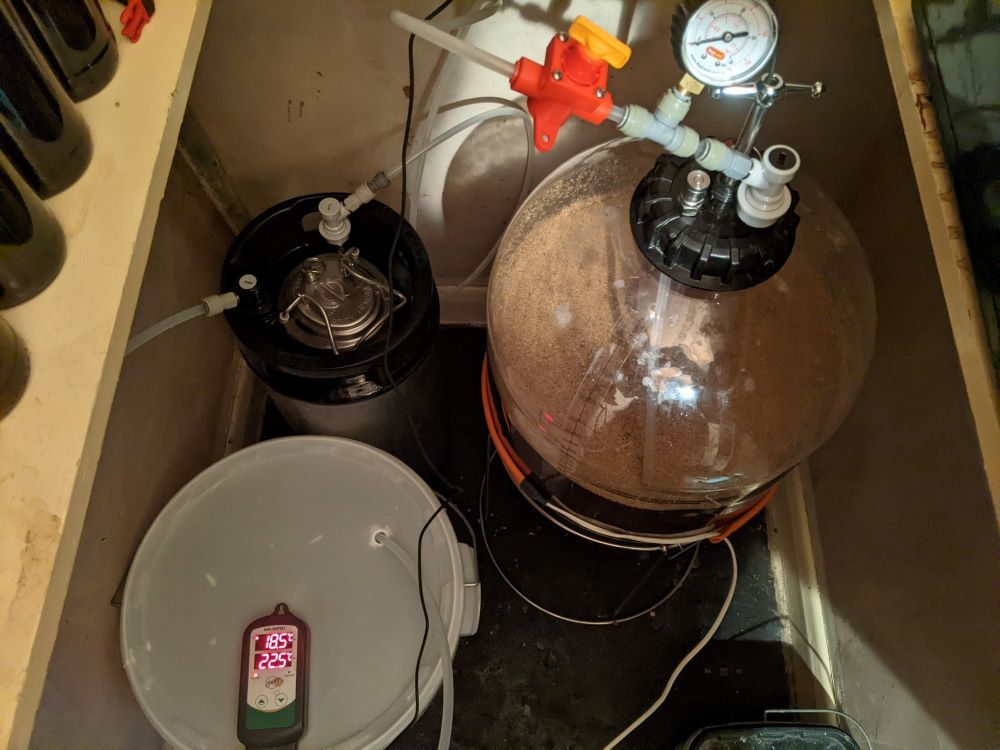
After stirring in the dried elderflower, I added the yeast and sealed the top of the Fermenter King Gen 3. I then moved it to its designated location under the stairs.
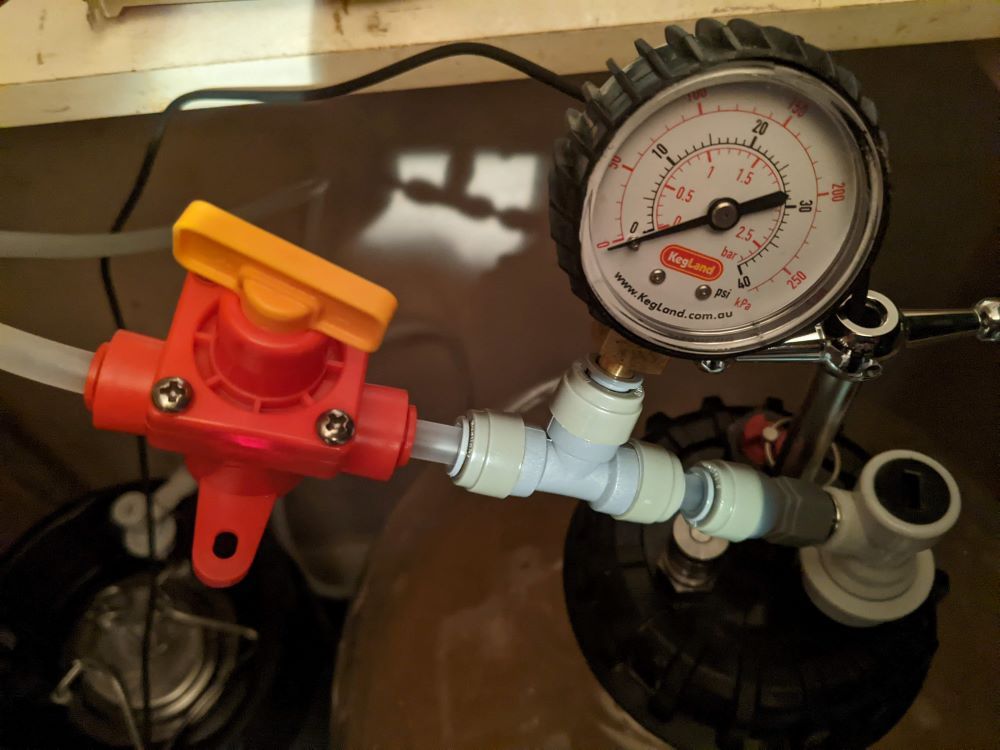
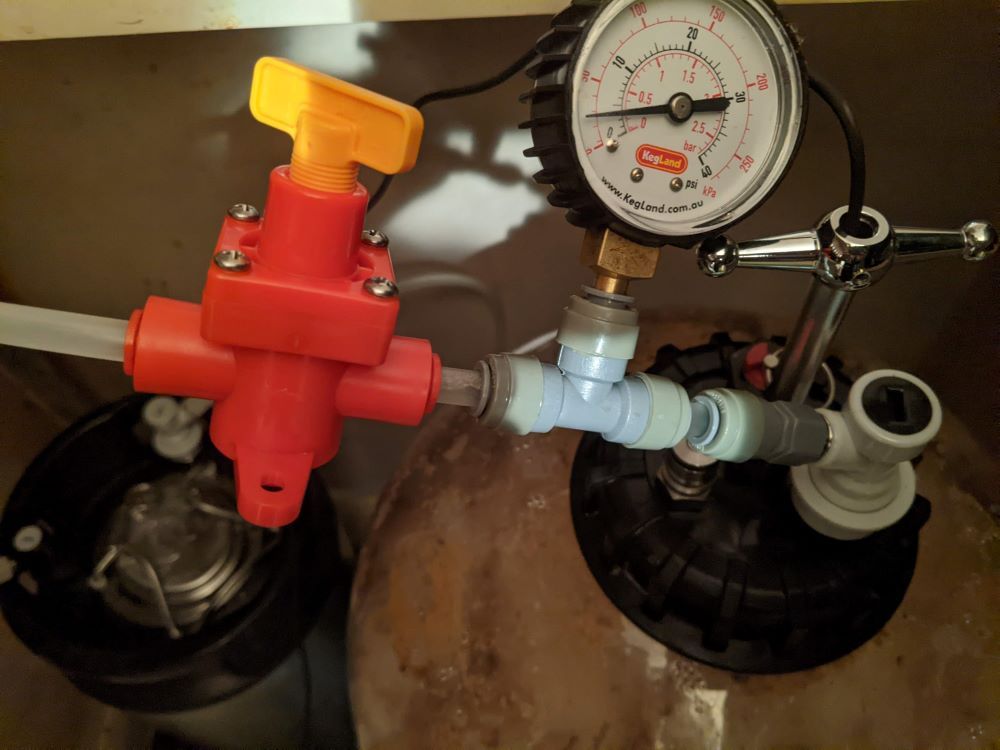
I also fitted a spunding valve to the C02 gas fitting on the fermenter. However, at the time, I didn't have a way to set the PSI, so I had to wait patiently until the pressure built up on its own before I could set the release valve to the PSI I wanted.
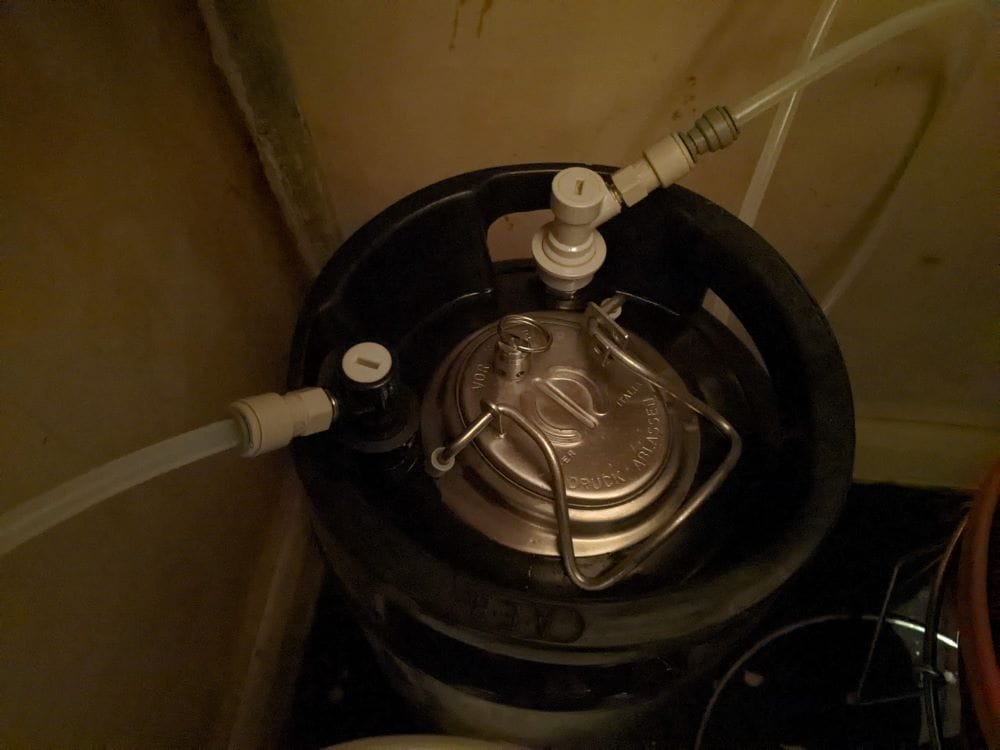
To make use of the free CO2 from the Fermenter King Gen 3, I connected a tube from the spunding valve to the CO2 gas inlet on a keg that was already cleaned and filled with Chamsan sanitizer. I then connected another tube from the keg's beer outlet to a bucket.
The idea behind this setup was to use the free CO2 from the Fermenter King Gen 3 to push out the Chamsan sanitizer from the keg, leaving the keg completely oxygen-free and filled with CO2.
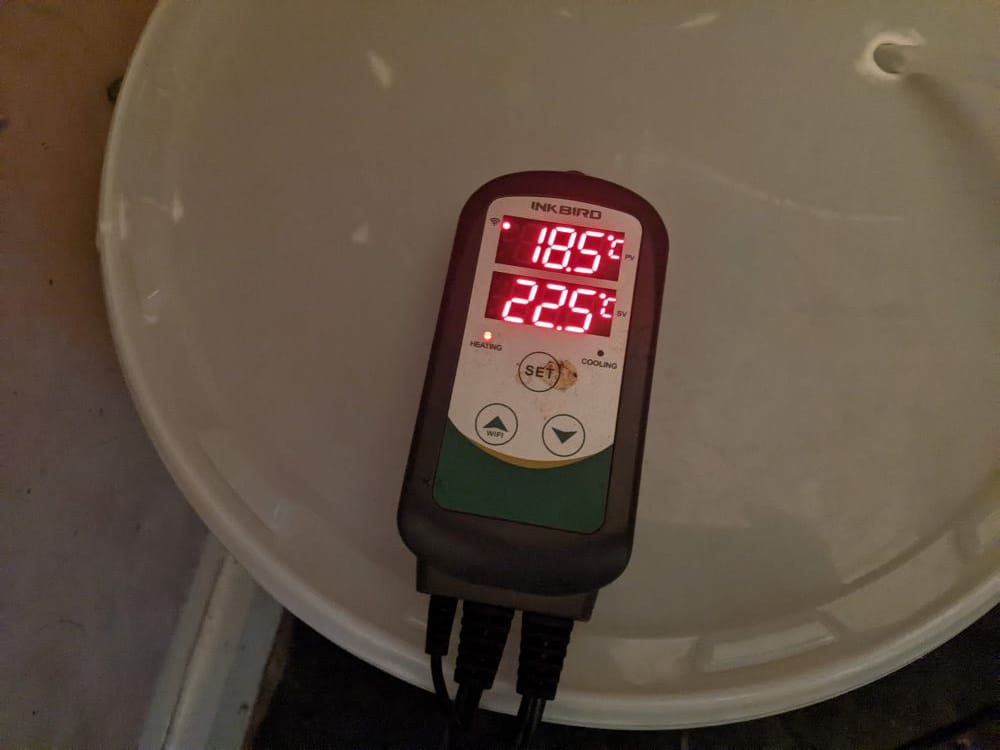
Since I didn't need cooling under the stairs, I simply fitted a heating belt around the Fermenter King Gen 3 and connected it to an Inkbird temperature controller, set to maintain a temperature of 22.5 degrees Celsius.
With the full setup ready on Sunday at 15:04 it was just a waiting game until the brew started.
At 18:00 on Tuesday after I came home the pressure had risen to over 20 PSI, so I opened the spunding valve to push C02 in to the keg.
Unfortunately, I made the mistake of opening the valve too quickly, causing the krausen foam to build up too much. To fix this issue, I reduced the pressure to around 5 PSI and adjusted the valve accordingly. Eventually, the pressure increased to around 8 PSI.
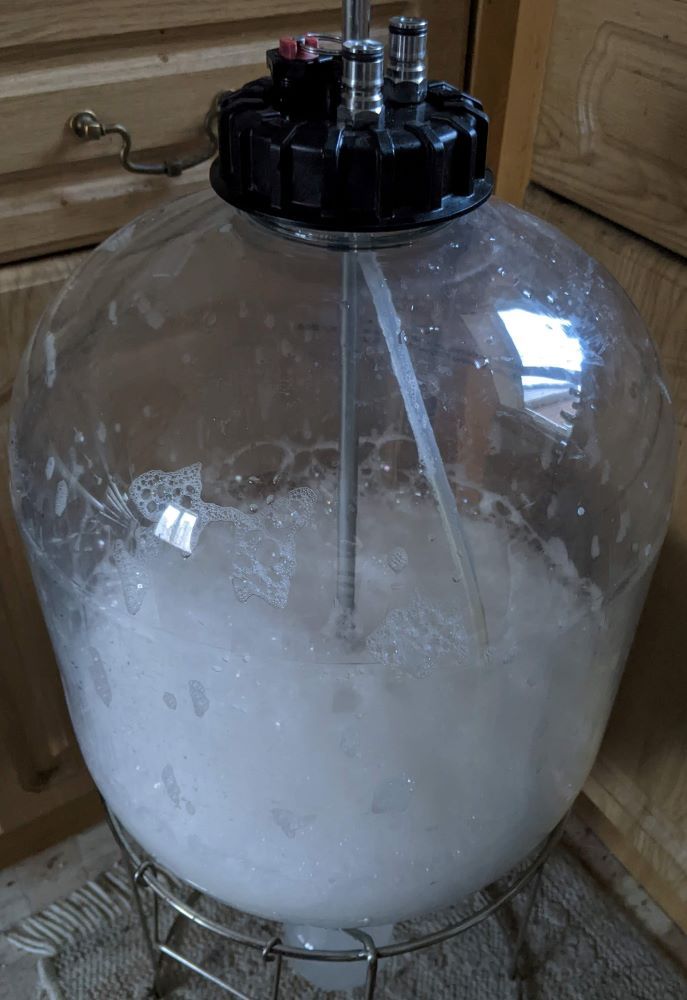
Since I didn't have a hop bong or any other means of adding dry hops to the fermenter without losing pressure, I had to wait until Friday at 15:00 to release the pressure from the fermenter and remove the cap to drop in the hop pellets from the provided sachet. Now, it's just a waiting game for another 5 days or so, hoping that the pressure will start to build up again.
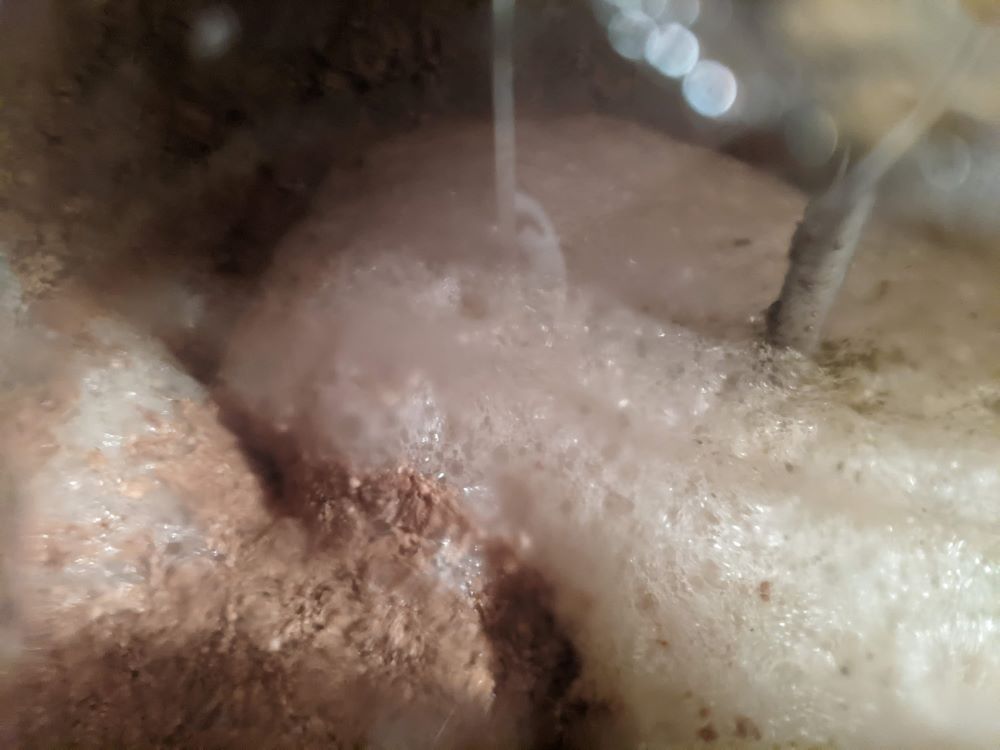
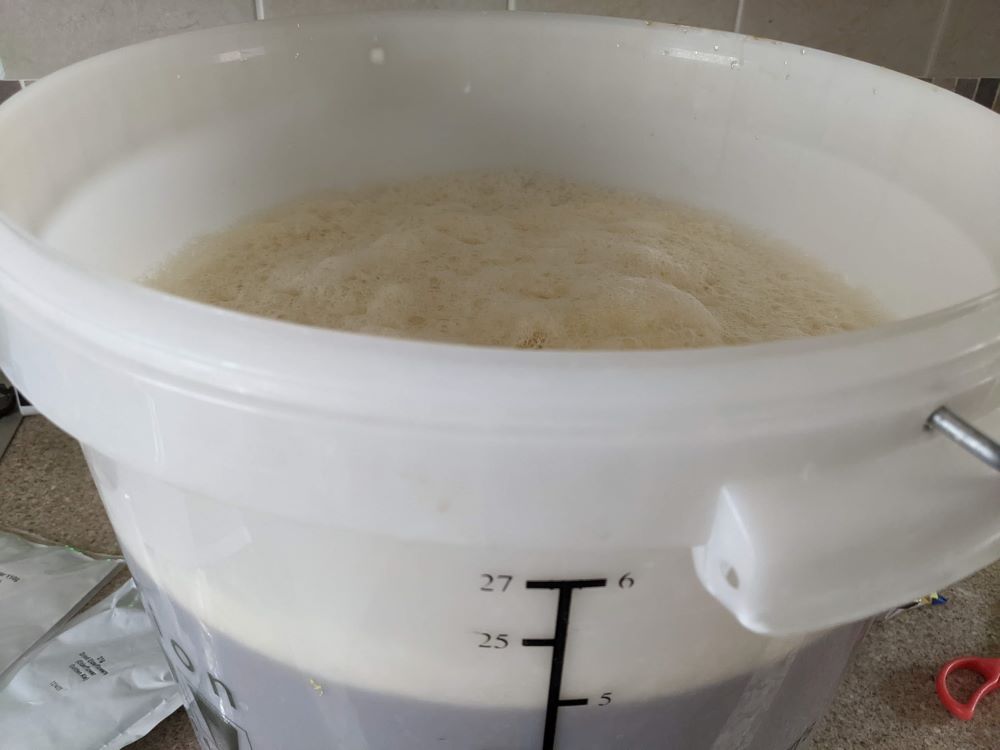
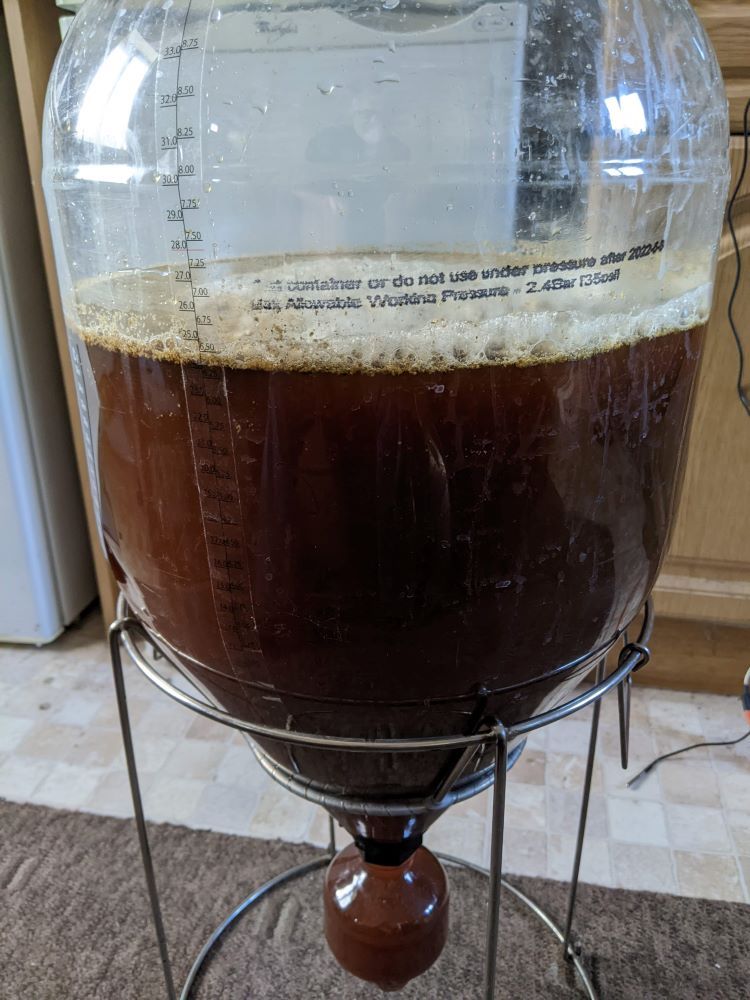
Not a clear picture but this is what the krausen foam looks like on top of the beer inside the fermenter, lets see if it starts to clear.
The pressure did start to rise very quickly, after about 10 days or so I took another reading for the hydrometer and my measurement came out at 1011, so by brew is around 5%, I took another reading the next day and there was no change so it's ready but I decided to wait until the weekend before transferring to bottles and keg.
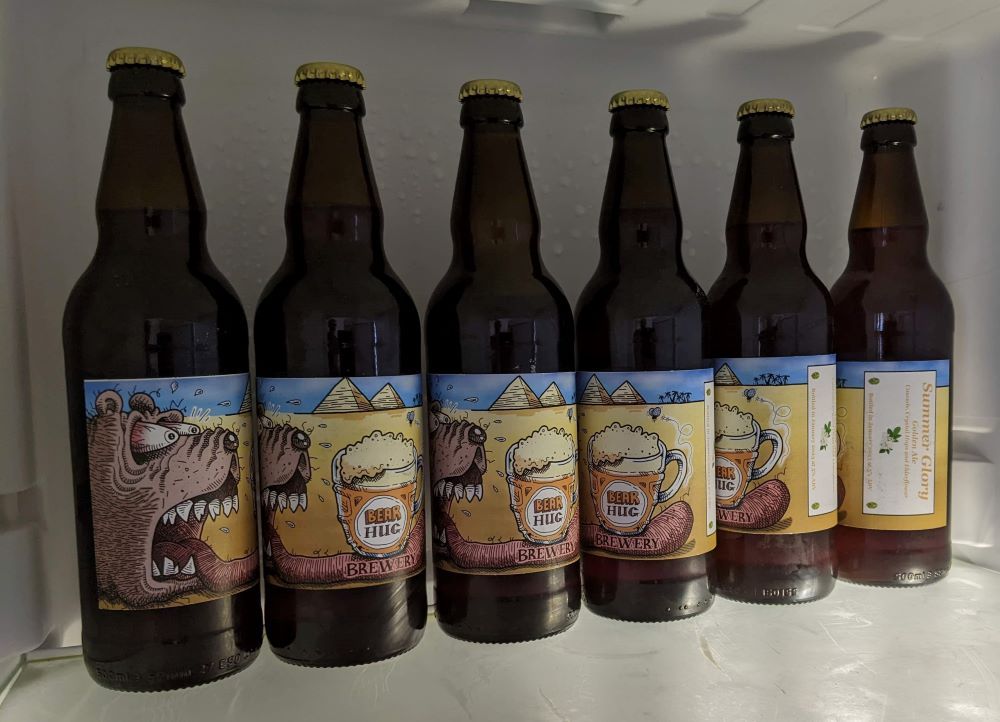
As with my last brew I was going fill a keg and a few bottles, but this time I would fill six bottles first which should leave the rest of the brew for the keg without over filling it.
I got myself a bottle wand to fill the bottles and it was so much easier, I then connected up the tubes to the fermenter, gas in beer out, and after putting in a drop of priming sugar I filled the six bottles and capped them, I gave each bottle a gentle shake and put them away on a shelf to sit.
I then connected the beer out on the fermenter to the beer out on the keg so the keg would fill from the bottom up with no foam, hopefully, and with a little Co2 pushed in the fermenter the beer moved in to the keg.
With everything done I set about cleaning the fermenter ready for the next brew.
A friend of mine offered to make me some labels for my bottles so before I moved the bottles in the fridge to cool I printed my labels.