My First Bucket Brew
In 2007 I brewed my first proper beer kit using a fermenting bucket and pressure barrel. From watching airlock bubbles to exploding barrel caps and buying my first hydrometer, this was the brew that started my homebrewing journey.
By early 2007, my interest in beer had grown beyond simply drinking it. I had spent years enjoying real ale in my favourite pub, and sooner or later the question that every beer enthusiast asks began to creep into my mind:
Could I make my own?
My first attempt at homebrewing had actually been with a Beer Machine, but the results had been disappointing. Looking back, I knew very little about brewing and had probably expected far too much from the equipment. Rather than putting me off, however, the experience only made me more determined to learn how beer was really made.
Fortunately, my local pub had something many pubs don't have—a homebrew shop attached to it.
The people there were always willing to offer advice, and after several conversations I decided it was time to take the plunge and try a traditional bucket brew.
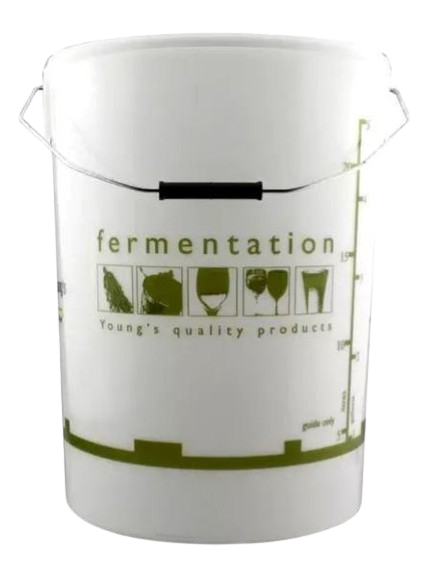
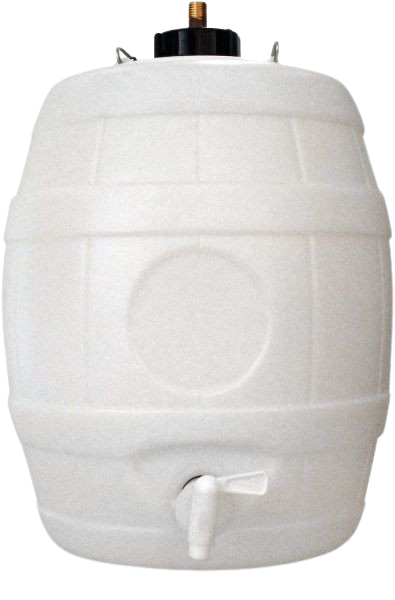
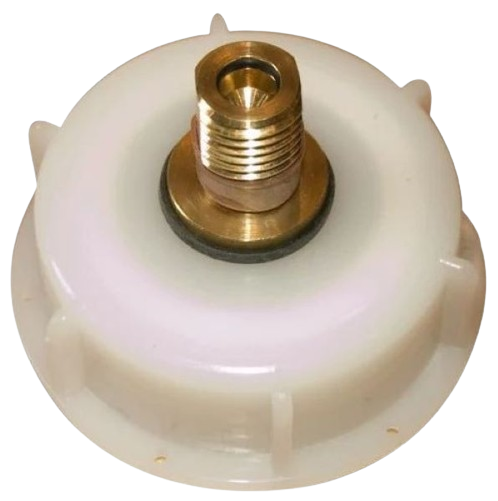
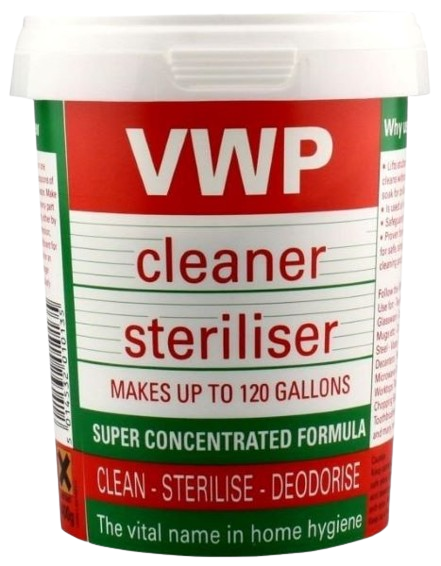

Armed with enthusiasm and very little practical knowledge, I started gathering the equipment I would need. Before long I had a fermenting bucket complete with airlock, a pressure barrel fitted with a Hambleton Bard S30 valve, sanitiser, a thermometer, and everything else needed to make my first proper batch of beer.
The kit I chose was a Woodforde's beer kit, and if memory serves me correctly, it was a Wherry.
Following the instructions carefully, I cleaned and sanitised everything, mixed the kit, sealed the fermenter, and fitted the airlock. Then came the hardest part of brewing—waiting.
Like every new brewer, I found myself checking the fermenter constantly. Had fermentation started? Was everything working correctly? Had I somehow ruined it already?
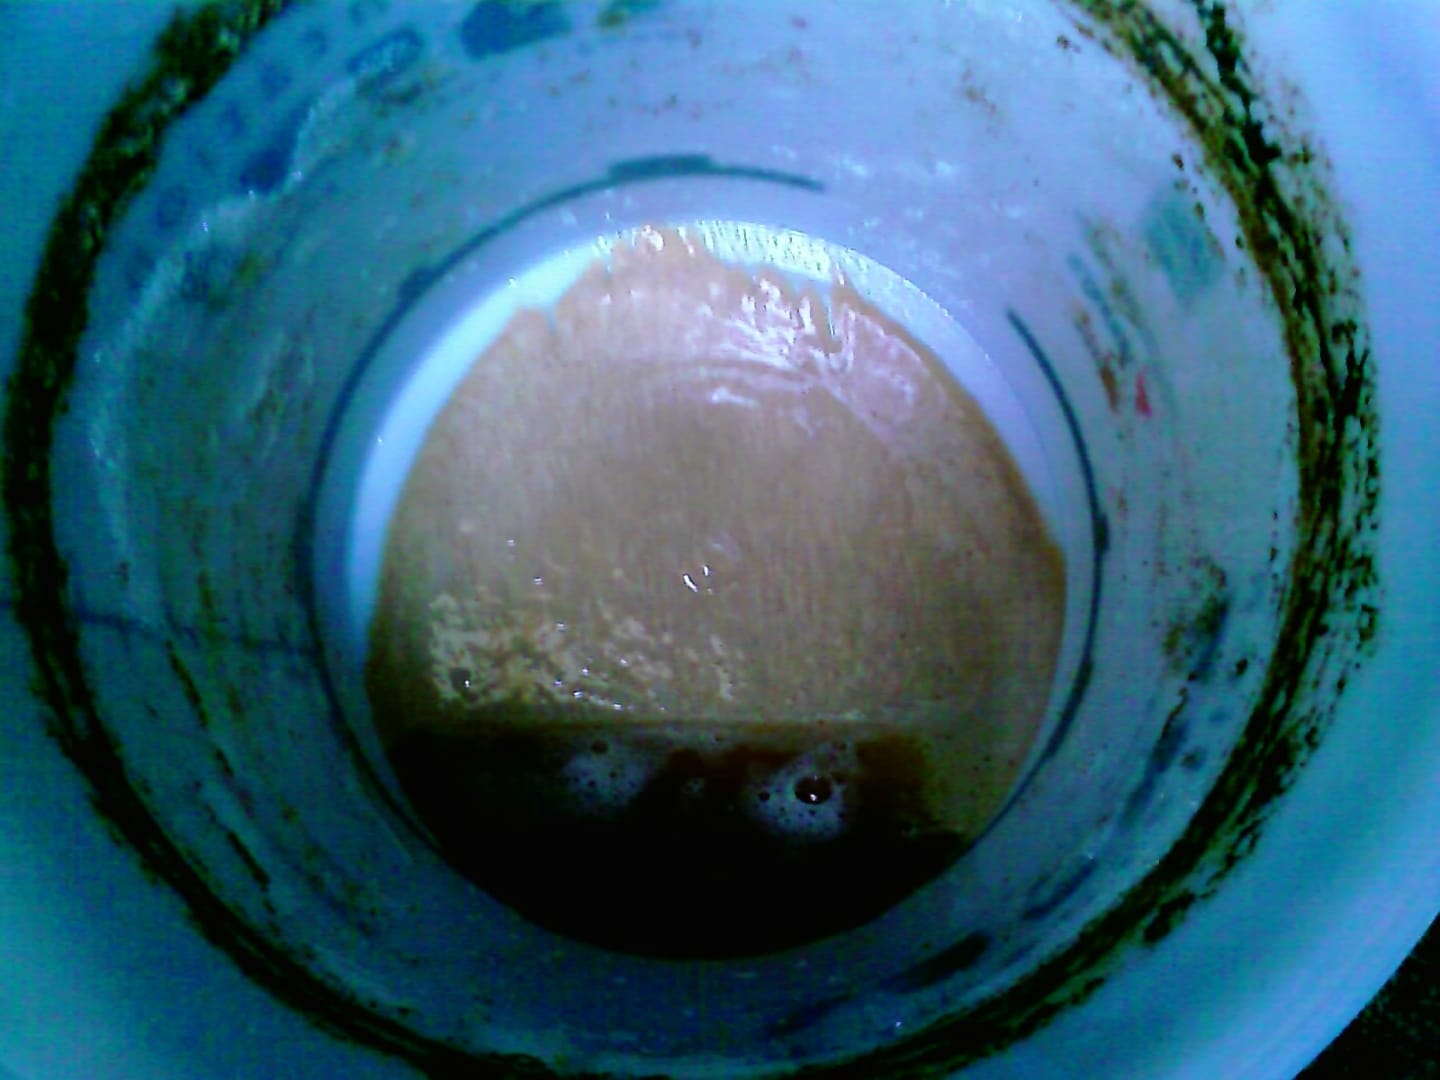
After a day or so, the reassuring sight of bubbles passing through the airlock finally appeared. Fermentation was underway.
Over the following days I watched the bubbling gradually slow until it eventually stopped. At the time I didn't own a hydrometer, so I simply assumed fermentation had finished because the bubbles had stopped. Looking back, I now know that's not always the best way to judge whether a beer is ready, but for a beginner it seemed perfectly logical.
Once the bubbling ceased, I transferred the beer into a pressure barrel along with the recommended amount of sugar for carbonation. Then came another period of waiting while the beer conditioned.
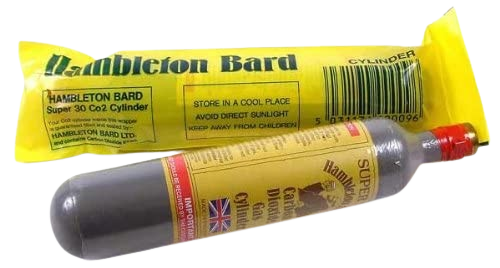
Eventually, I acquired a Hambleton Bard S30 gas cylinder to replenish lost CO2 in my barrel, further enhancing my brewing setup
Two weeks later I poured my first pint.
To my surprise, it was actually good.
Not perfect by any means, but certainly drinkable. More importantly, it was my beer. There was a genuine sense of satisfaction in coming home from work, pulling a pint from the barrel, and drinking something I had made myself.
That first successful brew was enough to convince me that homebrewing was a hobby I wanted to pursue further.
Learning As I Went
One of the things I quickly discovered was that homebrewing is a hobby where every batch teaches you something.
For my second brew, after chatting with the staff at the homebrew shop, I decided to replace the brewing sugar with spray malt. At the time I didn't fully understand the science behind the recommendation, but experienced brewers seemed to agree that it produced a better beer, so I was happy to follow their advice.
This batch also introduced me to bottling.
The thought of drinking forty pints from a pressure barrel before the beer started to deteriorate seemed ambitious, so I bought a collection of flip-top bottles and split the batch between bottles and barrel.
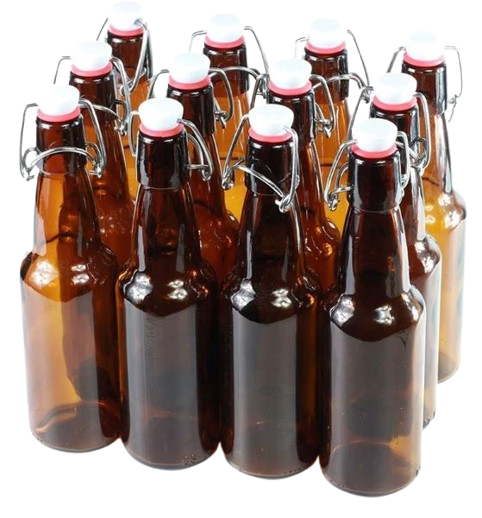
The process was considerably messier than I had expected. Trying to transfer beer into both a barrel and bottles without spilling anything proved more difficult than the instructions suggested. Despite my efforts, beer seemed to find its way onto every available surface.
The results, however, were worth it.
The beer from the barrel was excellent, but the bottled beer was even better. The extra conditioning time gave it a smoother, more mature flavour. The only downside was that some bottles developed rather enthusiastic levels of carbonation. Opening them often resulted in a fountain of foam if I wasn't careful.
My First Brewing Problem
My confidence grew with every successful batch, but eventually brewing reminded me that it always has a way of teaching humility.
On one brew, shortly after transferring the beer into the pressure barrel, the Hambleton Bard S30 cap suddenly split.
At the time I had no idea what had happened.
Concerned that I had ruined the batch, I returned to the homebrew shop and explained the situation. Thankfully, I was reassured that the beer itself would probably be fine and simply purchased a replacement cap.
What I didn't realise then was that I had transferred the beer too early.
Although fermentation in the bucket appeared to have finished, there was still enough activity taking place that, once the beer was sealed in the pressure barrel with additional spray malt, carbonation levels increased dramatically. The pressure built rapidly until the cap eventually gave way.
Even after replacing it, the beer remained heavily carbonated and the first few pints emerged as mostly foam.
Fortunately, after allowing it to settle for a while, the beer turned out perfectly drinkable.
More importantly, I had learned an important lesson.
Buying My First Hydrometer
That experience convinced me that relying solely on airlock bubbles was not enough.
To understand what was really happening during fermentation, I needed a way to measure it properly.
The next purchase was a hydrometer.

It wasn't an exciting piece of equipment, but it quickly became one of the most important tools in my brewing kit. For the first time, I could monitor fermentation progress, estimate alcohol content, and know with confidence when a beer was actually finished.
It marked the point where I stopped simply following instructions and started learning how brewing really worked.
Looking back now, those first bucket brews were far from perfect. I made mistakes, rushed things, and often relied more on enthusiasm than knowledge. Yet those early batches taught me the fundamentals of brewing and gave me the confidence to keep experimenting.
Without that first bucket, there would never have been a second brew, a third brew, or eventually Bear Hug Brewery.
For my next homebrew I wanted to go strong.
After a few successful brews, my confidence was growing.
I'd managed to produce drinkable beer, I'd learned how to use a hydrometer, and I'd started experimenting with different ingredients. Like many new homebrewers, I reached a point where I began wondering how far I could push things.
Naturally, my next thought was:
What if I made it stronger?
I spoke to a few fellow brewers and quickly learned that reducing the amount of water or increasing the amount of fermentable ingredients could produce a stronger beer. Somewhere during those conversations, an idea formed in my head that seemed perfectly sensible at the time.
If one beer kit could make a beer around 6%, what would happen if I used two kits but still only made 40 pints?
In my mind, the maths seemed straightforward.
Two kits at 6% must surely equal one very strong beer.
Looking back now, I realise I didn't fully understand how alcohol production actually worked, but enthusiasm has a habit of overriding common sense.
So off I went to the homebrew shop and bought two of the strongest beer kits I could find.
My plan was simple: combine both kits into a single batch and produce forty pints of what I imagined would be a monster beer.
Brewing the Beast
Back home, I mixed both kits together in the fermenting bucket and watched with excitement as fermentation began.
The smell coming from the fermenter was incredible. Rich, malty, and far stronger than anything I had brewed previously. Every time I walked past the bucket I lifted the lid for a quick look and convinced myself I was creating something special.
After around five or six days, the airlock stopped bubbling.
By this point I owned a hydrometer, but I was still very much learning how to use it correctly. When I took a reading, I completely misunderstood what it was telling me. Somehow I convinced myself the beer was around 6%, which didn't make much sense considering the amount of ingredients I'd used, but I accepted the figure and carried on.
Satisfied that fermentation had finished, I transferred the beer into my pressure barrel and decided I would leave it to mature for at least a month.
This wasn't going to be an ordinary beer.
I wanted to give it time to develop properly.
Waiting and Hoping
The following weeks seemed to drag on forever.
Every now and then I would inspect the barrel, imagining how good the beer was going to be. This was easily the most ambitious brew I had attempted so far, and I was convinced the extra patience would be rewarded.
A week after barrelling, everything appeared normal.
Two weeks later, still no problems.
Three weeks later, I was already imagining pouring the first pint.
Then everything went wrong.
The Great Disappointment
When the time finally came to sample the beer, I immediately noticed something wasn't right.
The pressure barrel wasn't behaving as expected.
After closer inspection, I discovered that the cap had cracked.
To this day, I don't know exactly when it happened. It may have occurred shortly after filling the barrel, or perhaps during conditioning as pressure gradually built up inside. Whatever the cause, the result was the same.
The barrel had lost pressure.
The beer was flat.
After weeks of anticipation, planning, and waiting, my strongest and most ambitious brew had been ruined by a simple plastic cap.
I was absolutely gutted.
The beer may or may not have been drinkable, but after all the excitement surrounding the project, it was impossible not to feel disappointed.
The End of Chapter One
Following that failure, I began looking at alternatives.
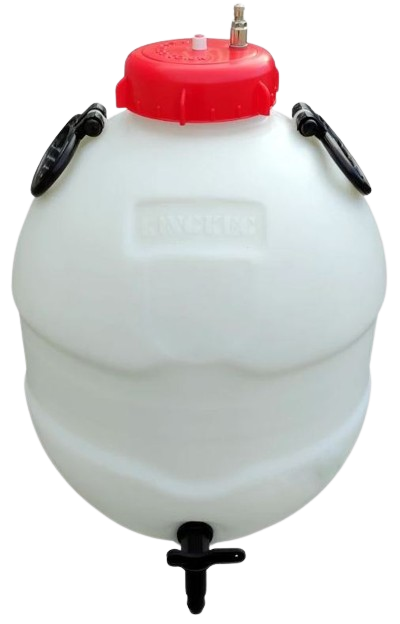
One option was a King Keg pressure barrel with a large 4-inch opening. Not only would it be easier to clean, but it also featured an over-pressure release valve. In theory, it would prevent exactly the sort of cap failure that had ruined my latest brew.
I seriously considered buying one.
In the end, though, I never did.
Life moved on, other interests took priority, and gradually my brewing equipment found itself spending more time in storage than in use.
Without really planning it, I stopped brewing altogether.
What I didn't realise at the time was just how long that break would last.
One year became two.
Two became five.
Five became ten.
Before I knew it, more than fourteen years had passed since that final bucket brew.
At the time, I assumed my homebrewing journey had come to an end.
As it turned out, it was merely the end of the first chapter.