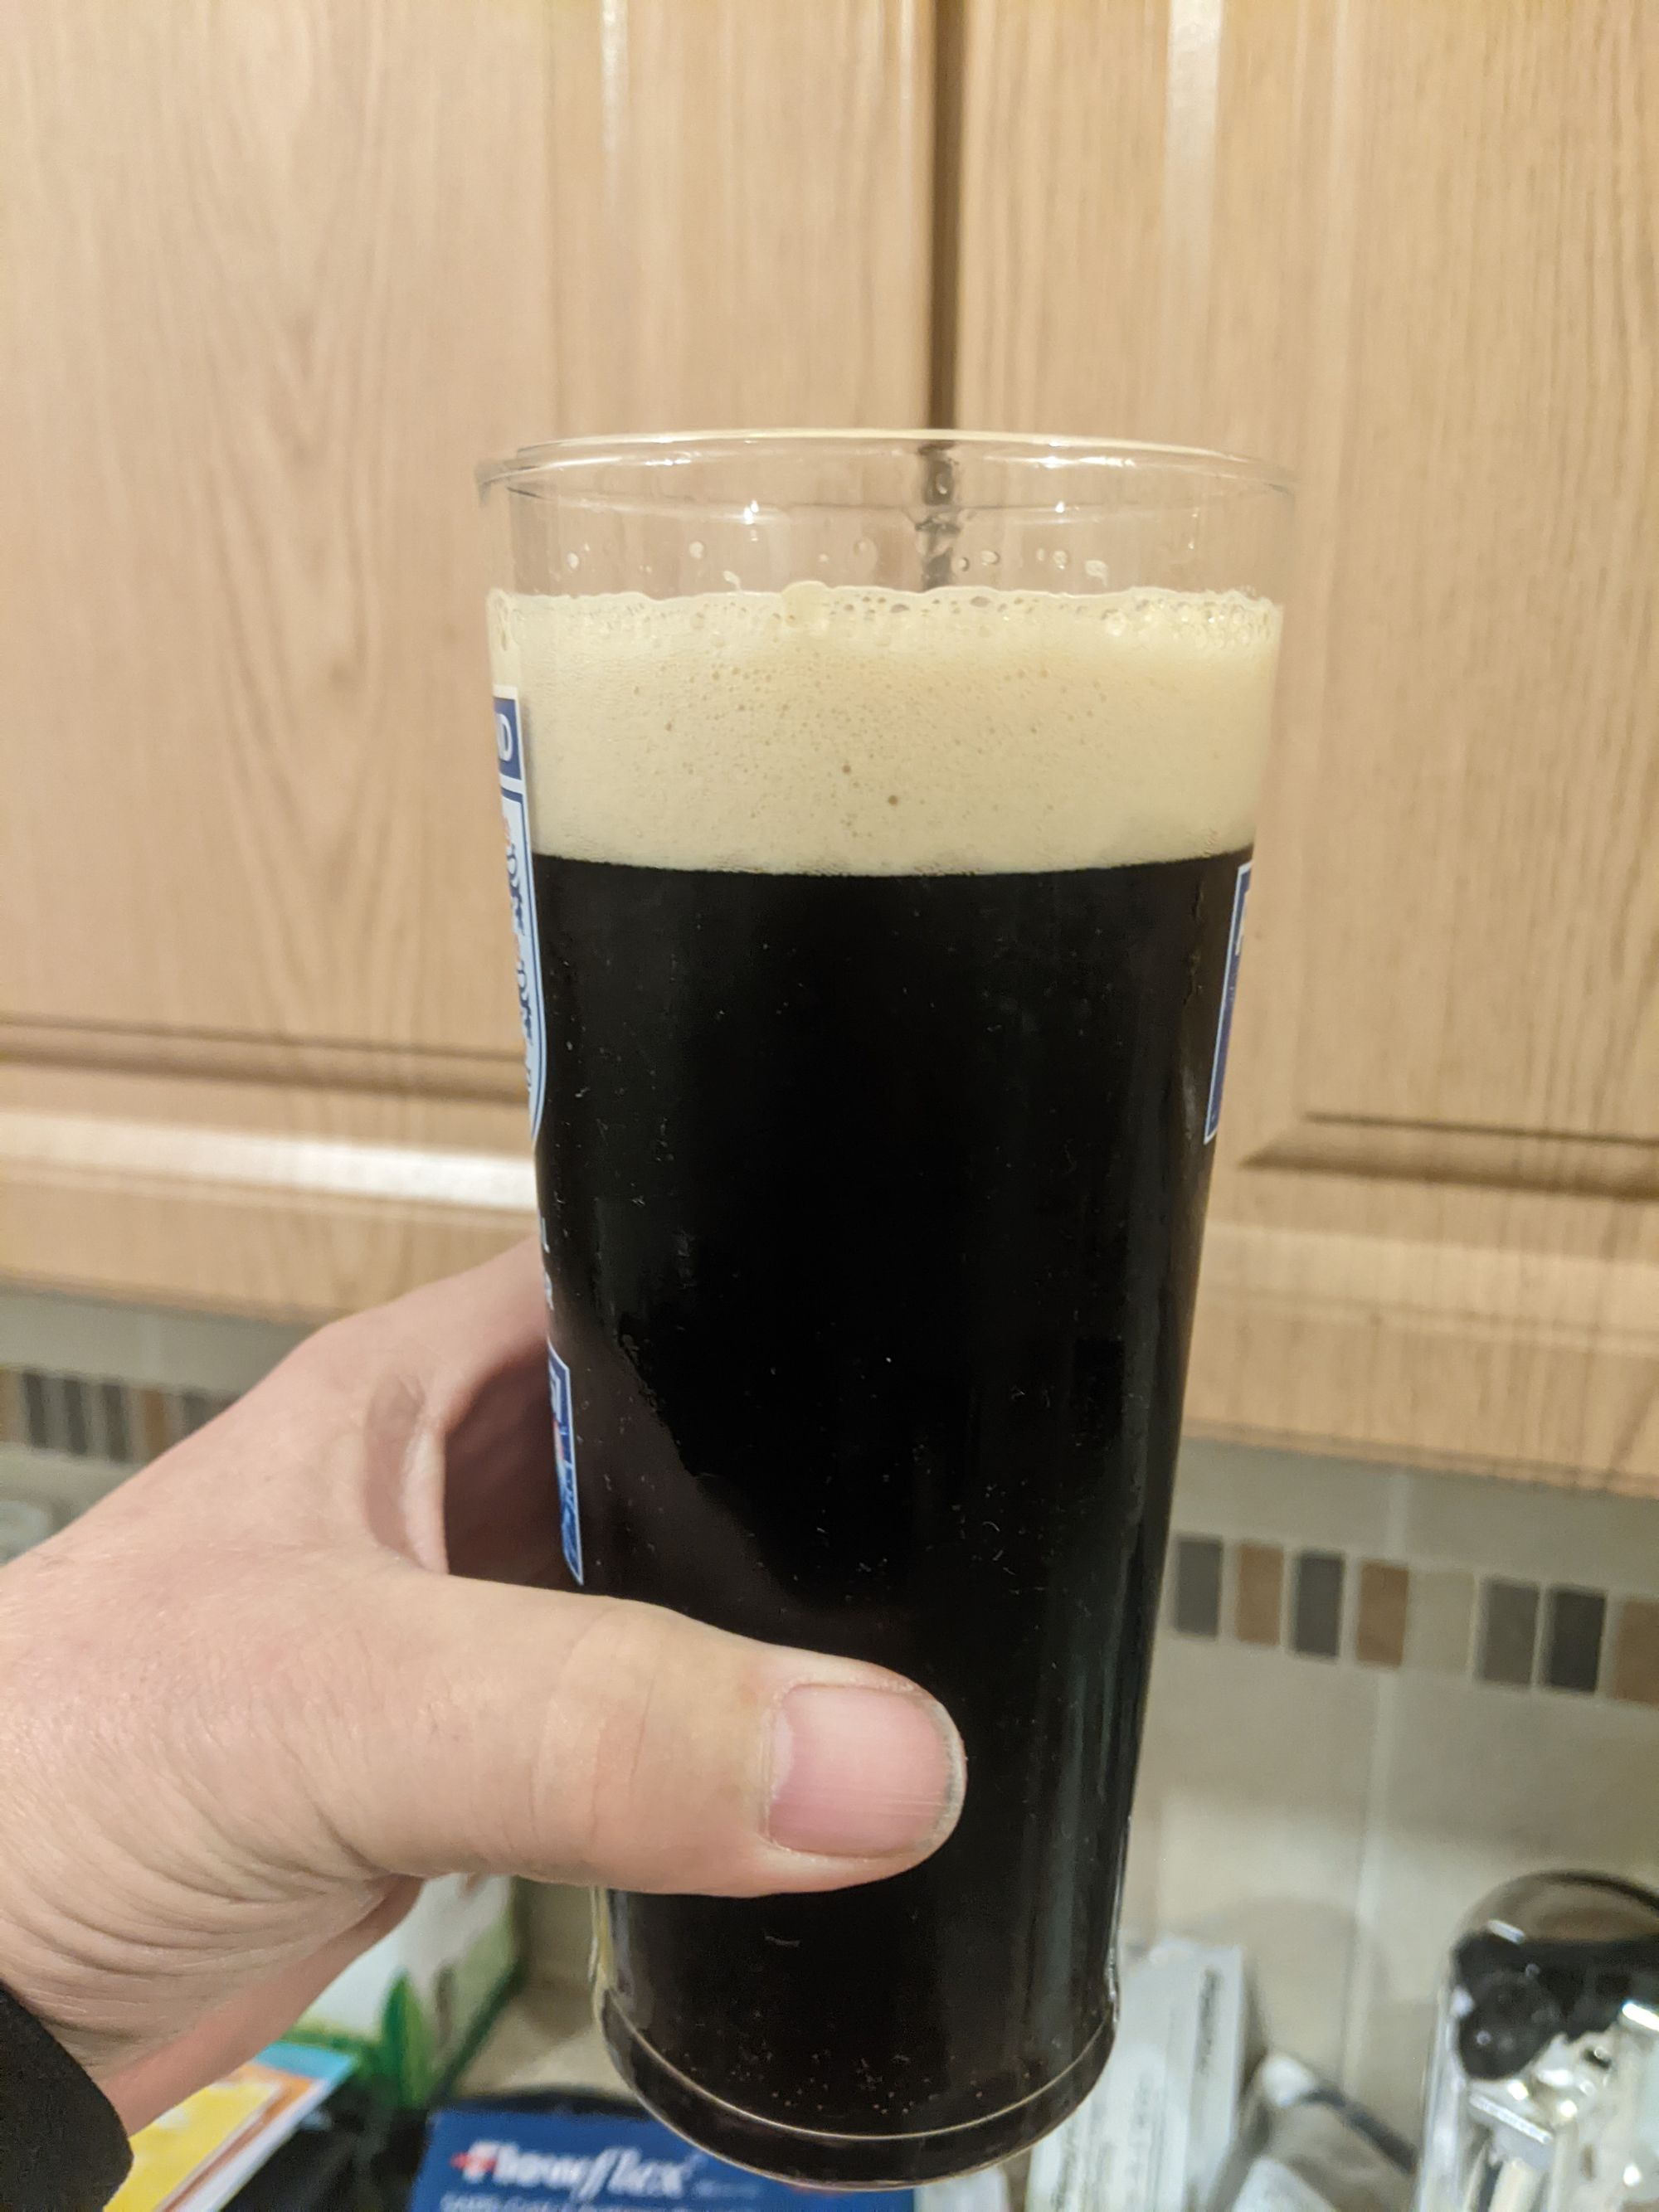
Festival Old Suffolk Strong Ale
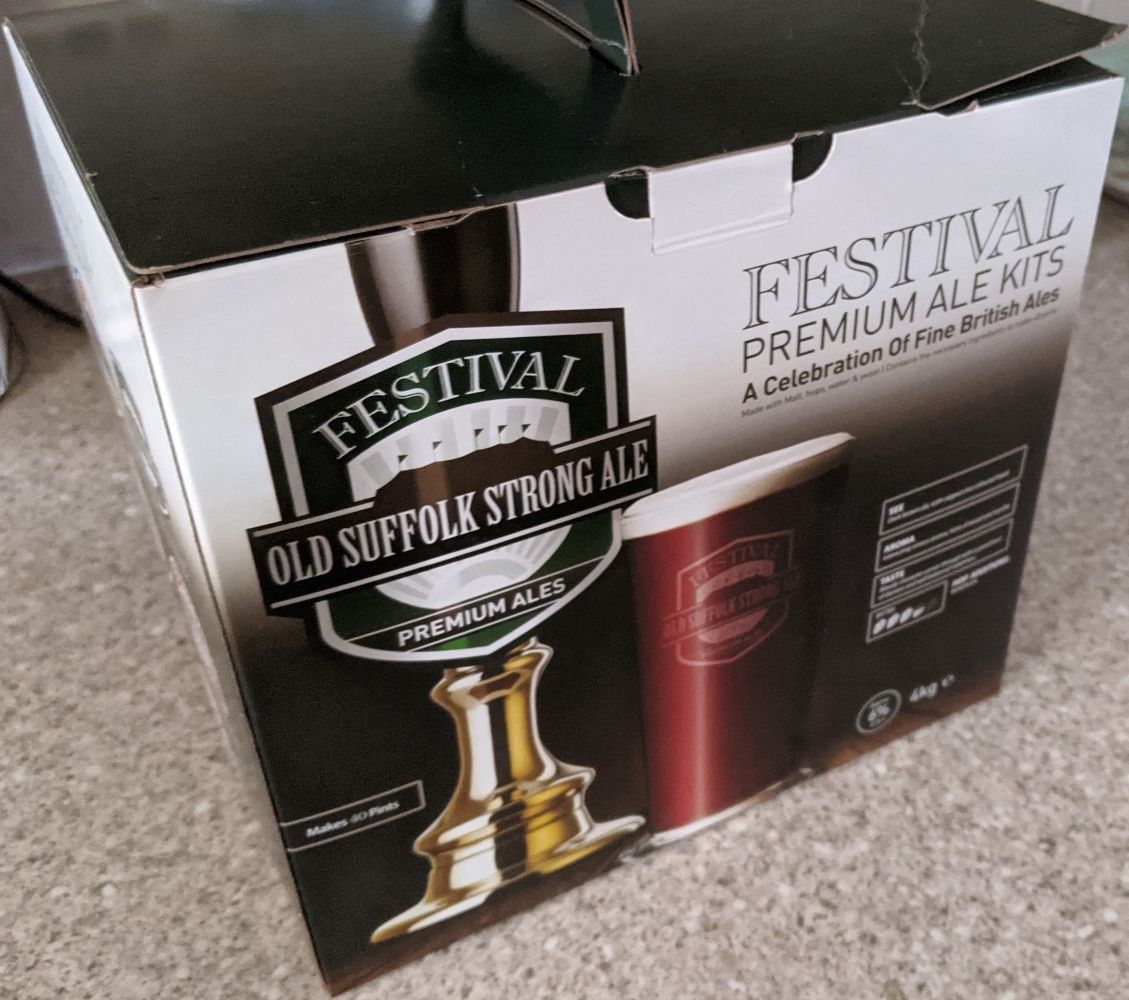
On November 15th, 2021, I took my final weeks holiday from work before the six-day holiday over Christmas. With the intention of brewing a beer to enjoy during the festive season, I went to my local brew shop to purchase necessary equipment and a brew kit. I bought a new jug, a long-handled mixing spoon, a couple of containers of VWP cleaner, and my first kit from Festival.

Although I had 20 flip-top bottles and 22 normal bottles that I had given a thorough cleaning, I wanted to ensure they were as clean as possible since they had been unused and uncleaned for years. Therefore, I spent the next few days cleaning my equipment.
Due to a busy week, I wasn't able to start my brew until November 21, 2021. As I had never used a Festival brew kit before, I read the instructions a couple of times before beginning. To soften the malt extract pouches, I placed them in hot water in the sink. I then boiled 1.5 liters of water in the kettle and poured the first pouch of malt into the bucket. Next, I filled the empty pouch with the boiled water to clean out any remaining malt and poured it into the bucket. I repeated this process with the second pouch, stirring the mixture after each addition.
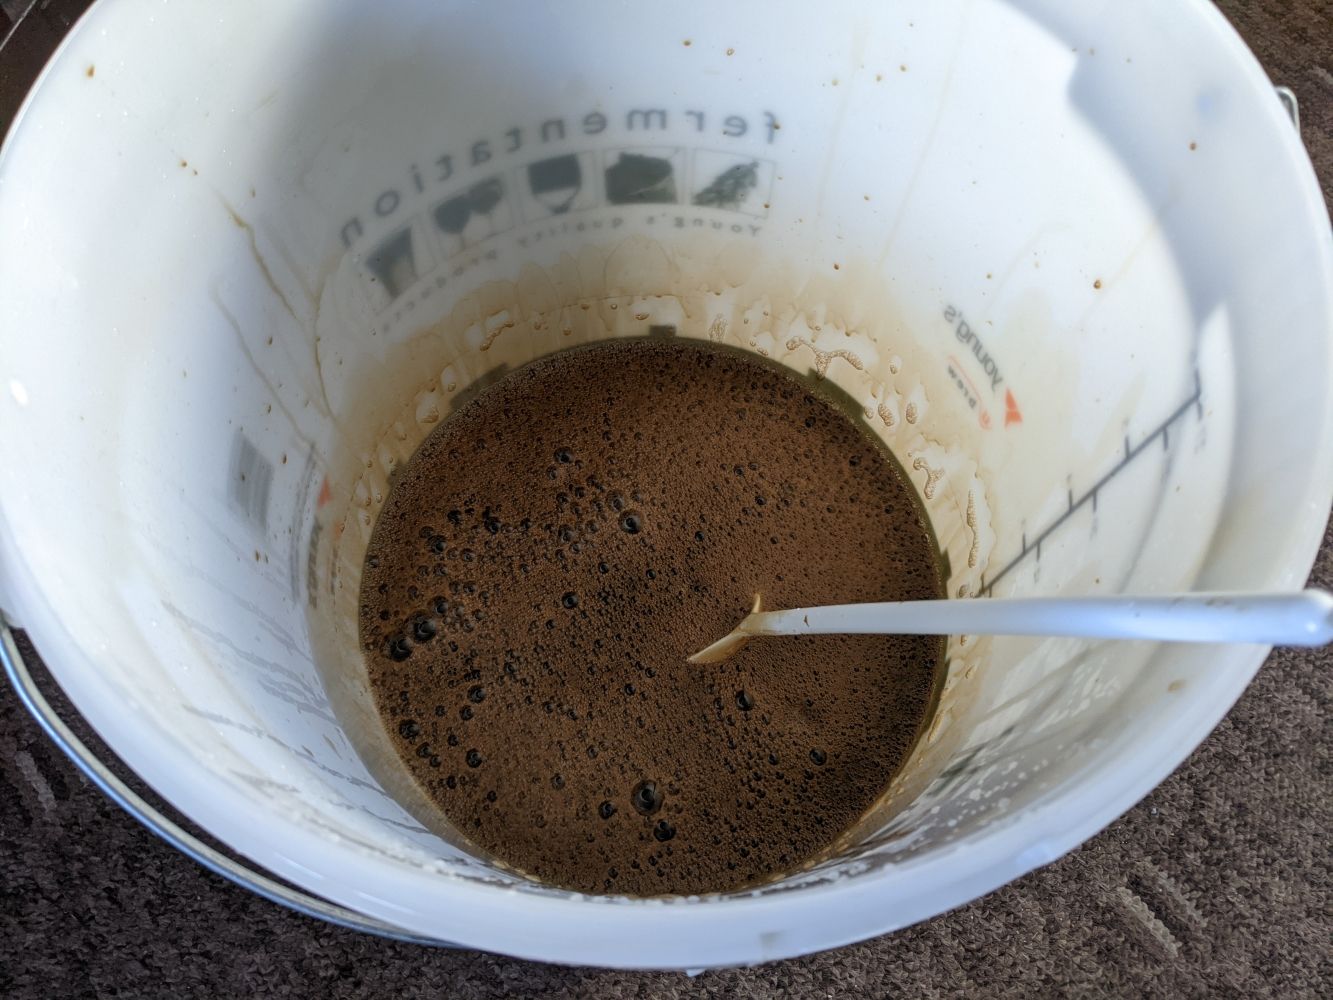
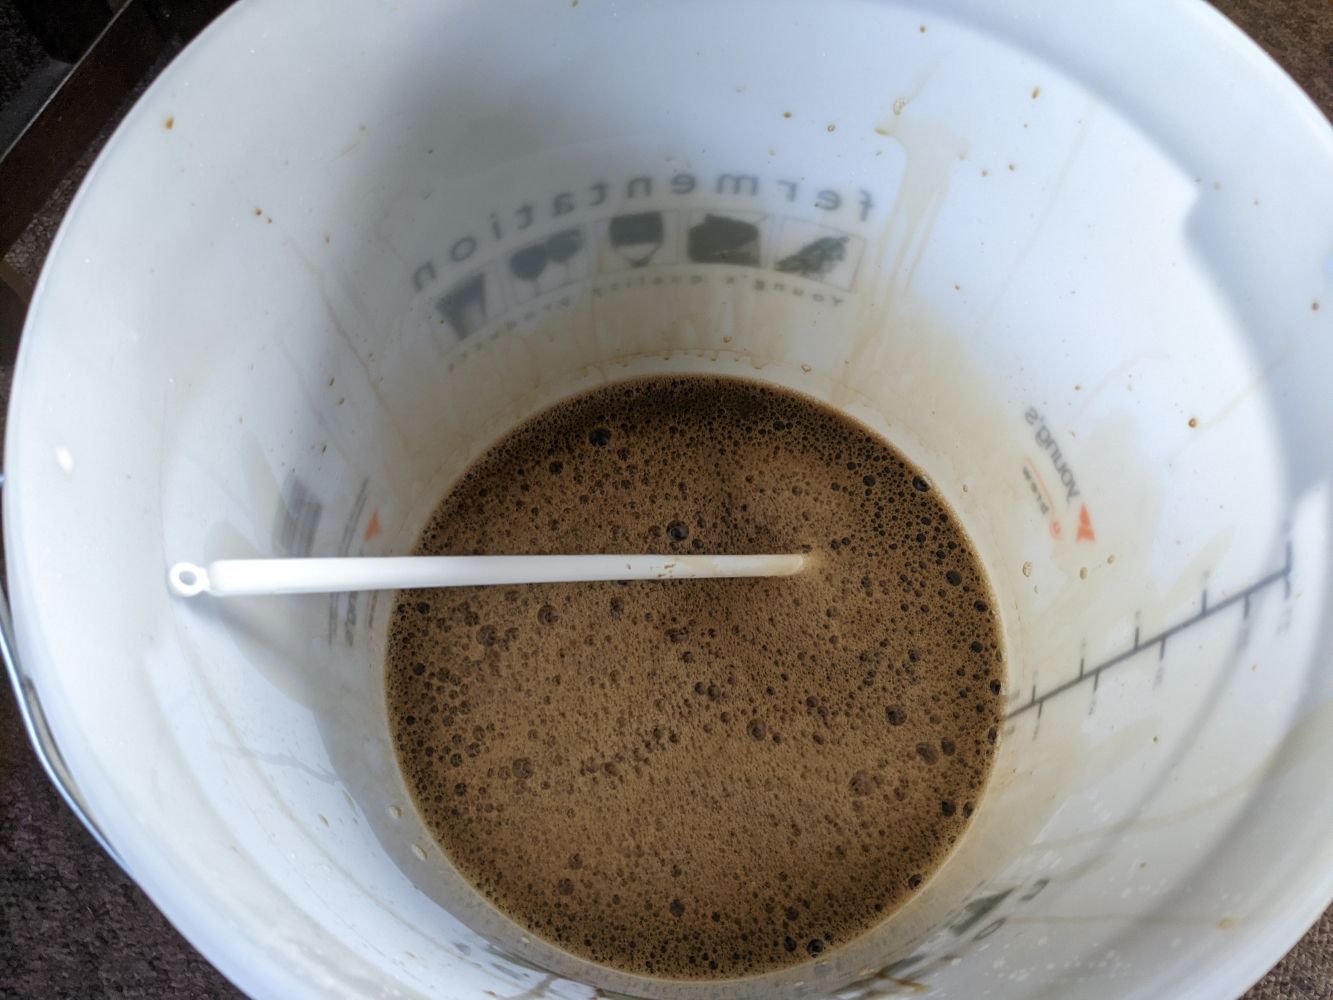
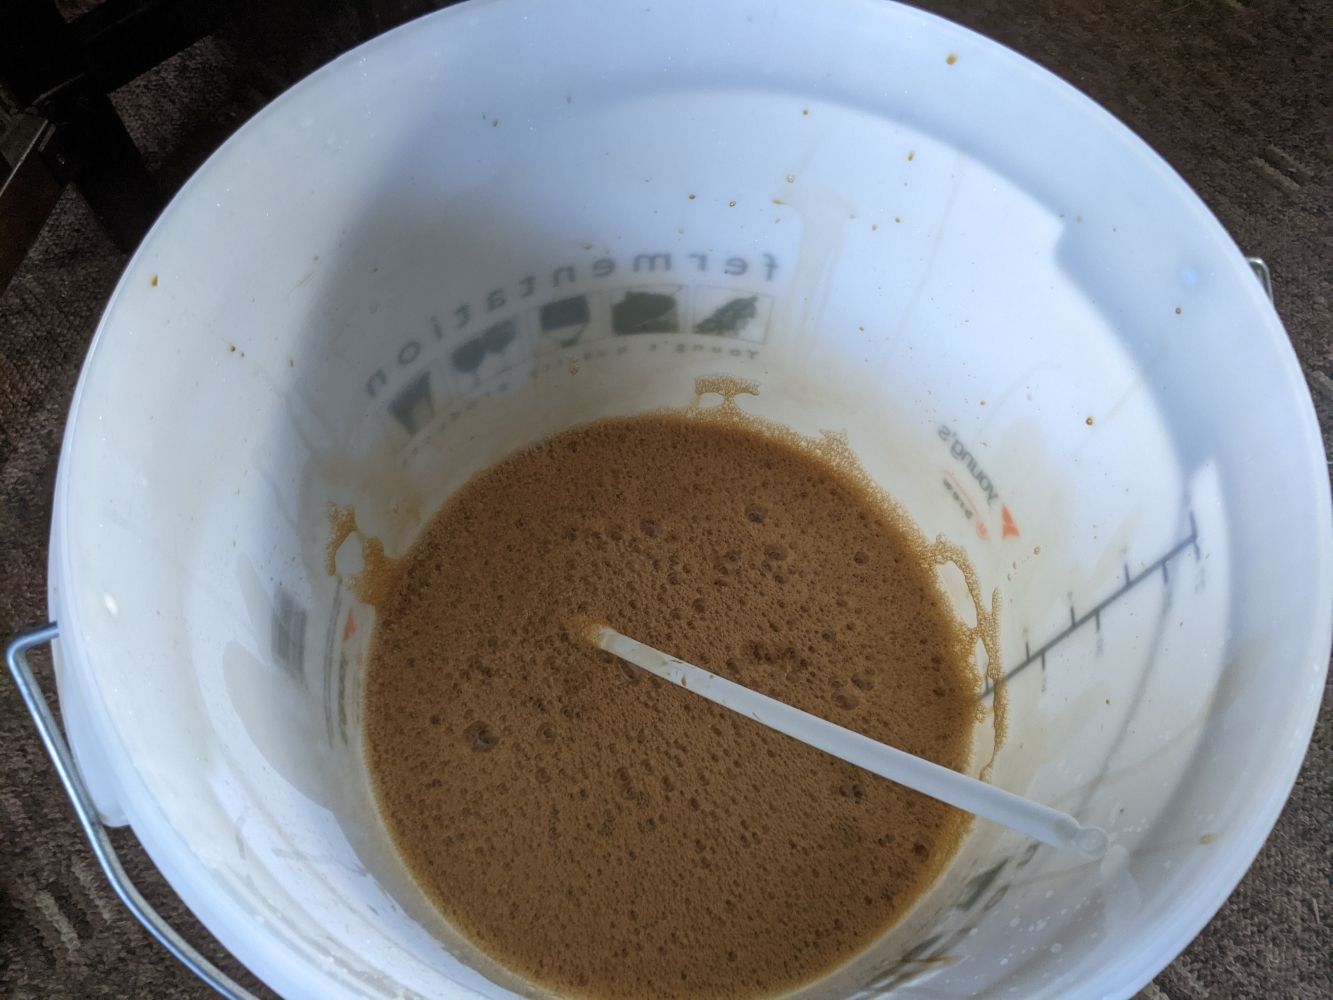
After mixing the malt and boiled water thoroughly, I began topping up the mixture with water, adding each jug one at a time. At one point, I added the dextrose sugar before topping up to the final volume of 25 liters.
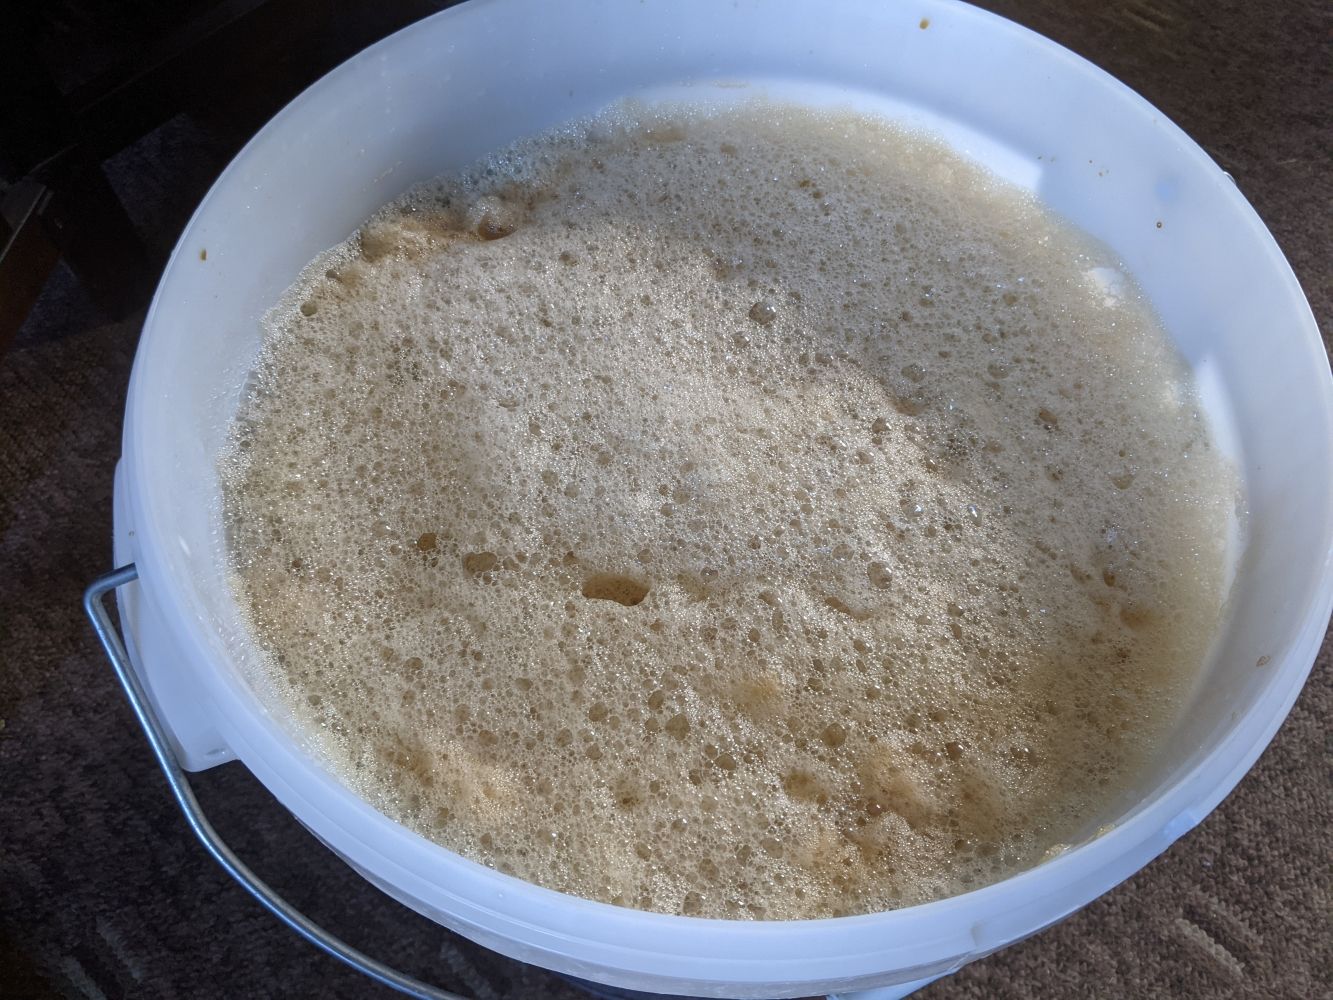
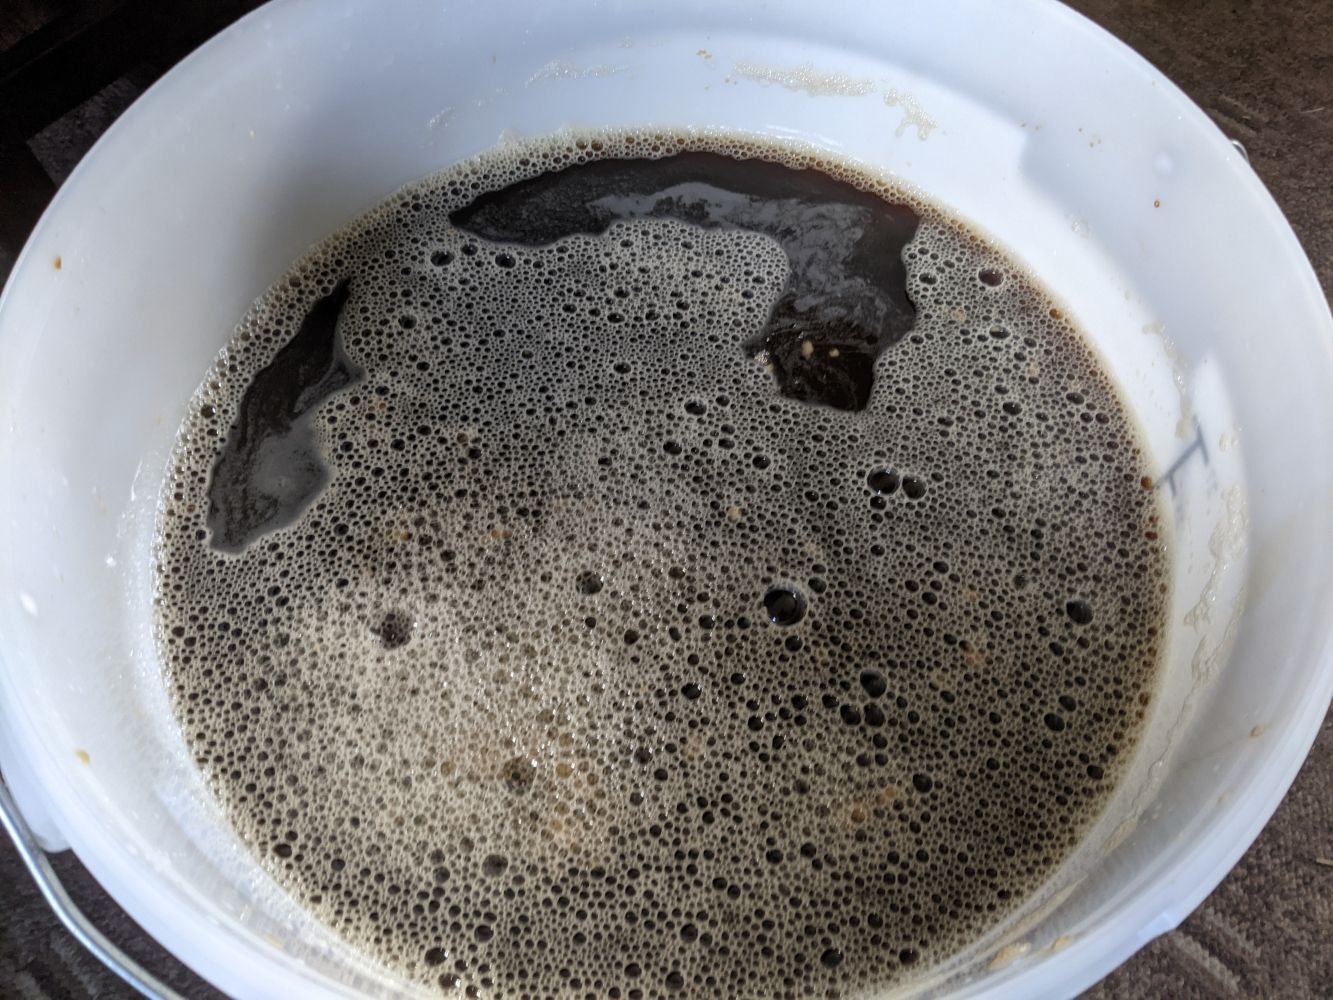
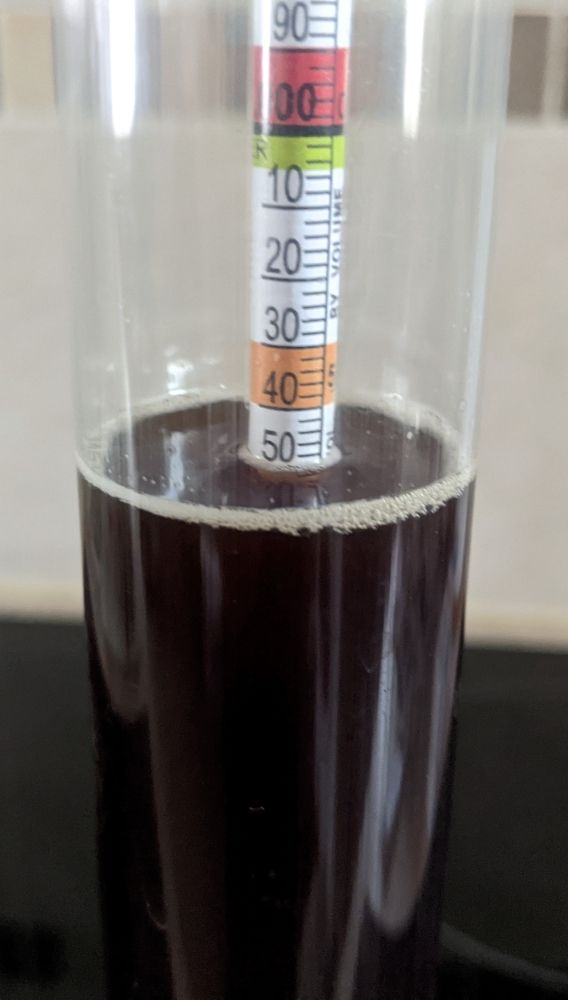
After filling the bucket, I stirred the contents a few times while waiting for the temperature to drop below 25℃. I took a sample for the hydrometer, and the initial reading was 1.050. Next, I added the yeast and stirred the mixture before sealing the lid and attaching an airlock filled with a bit of water. I may have slightly overfilled the bucket by about a liter or so.
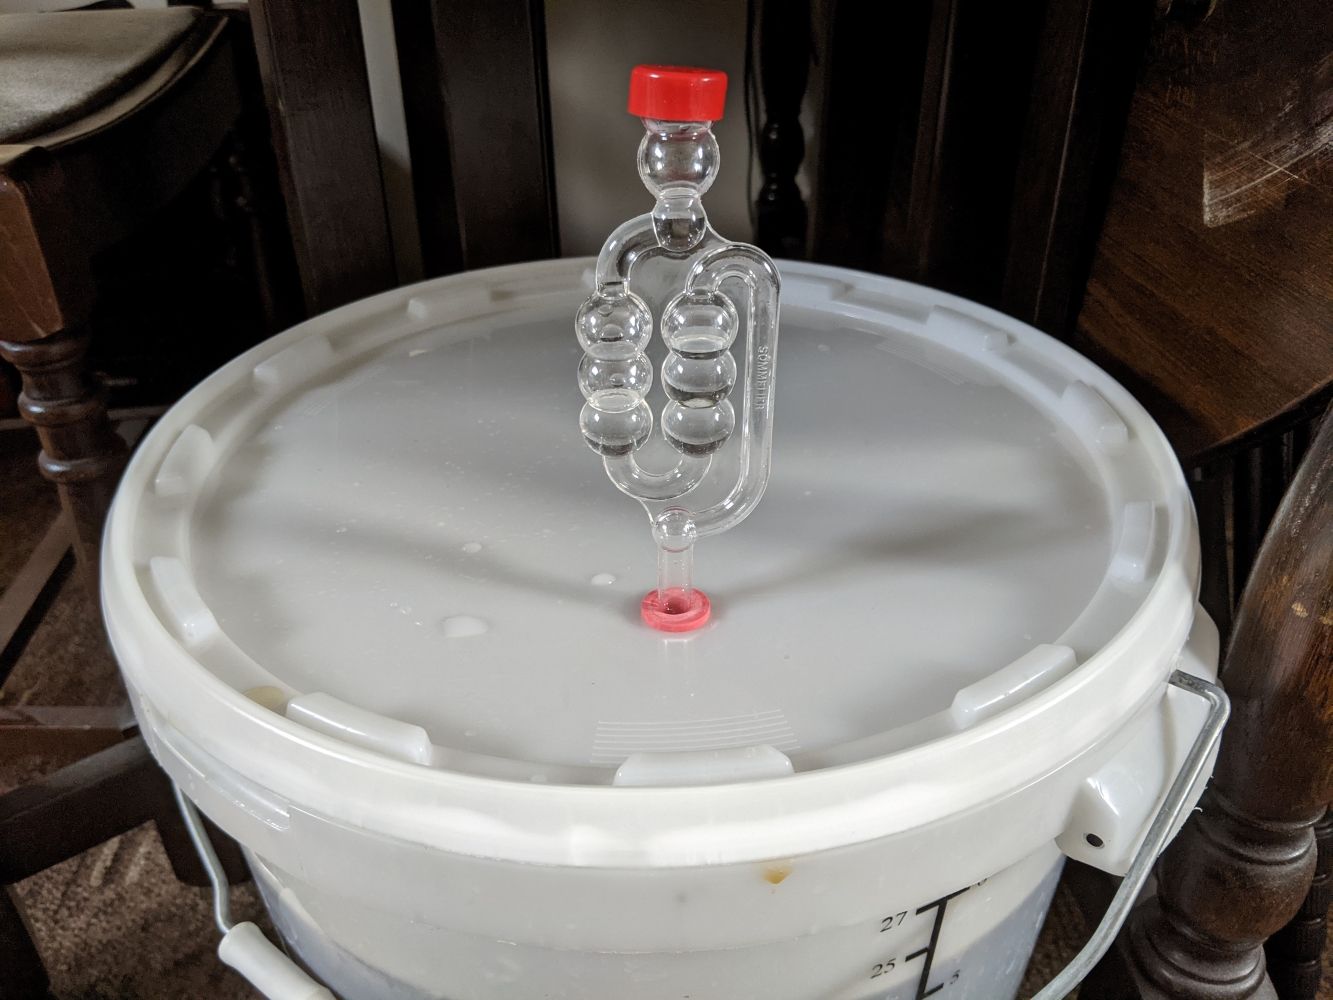
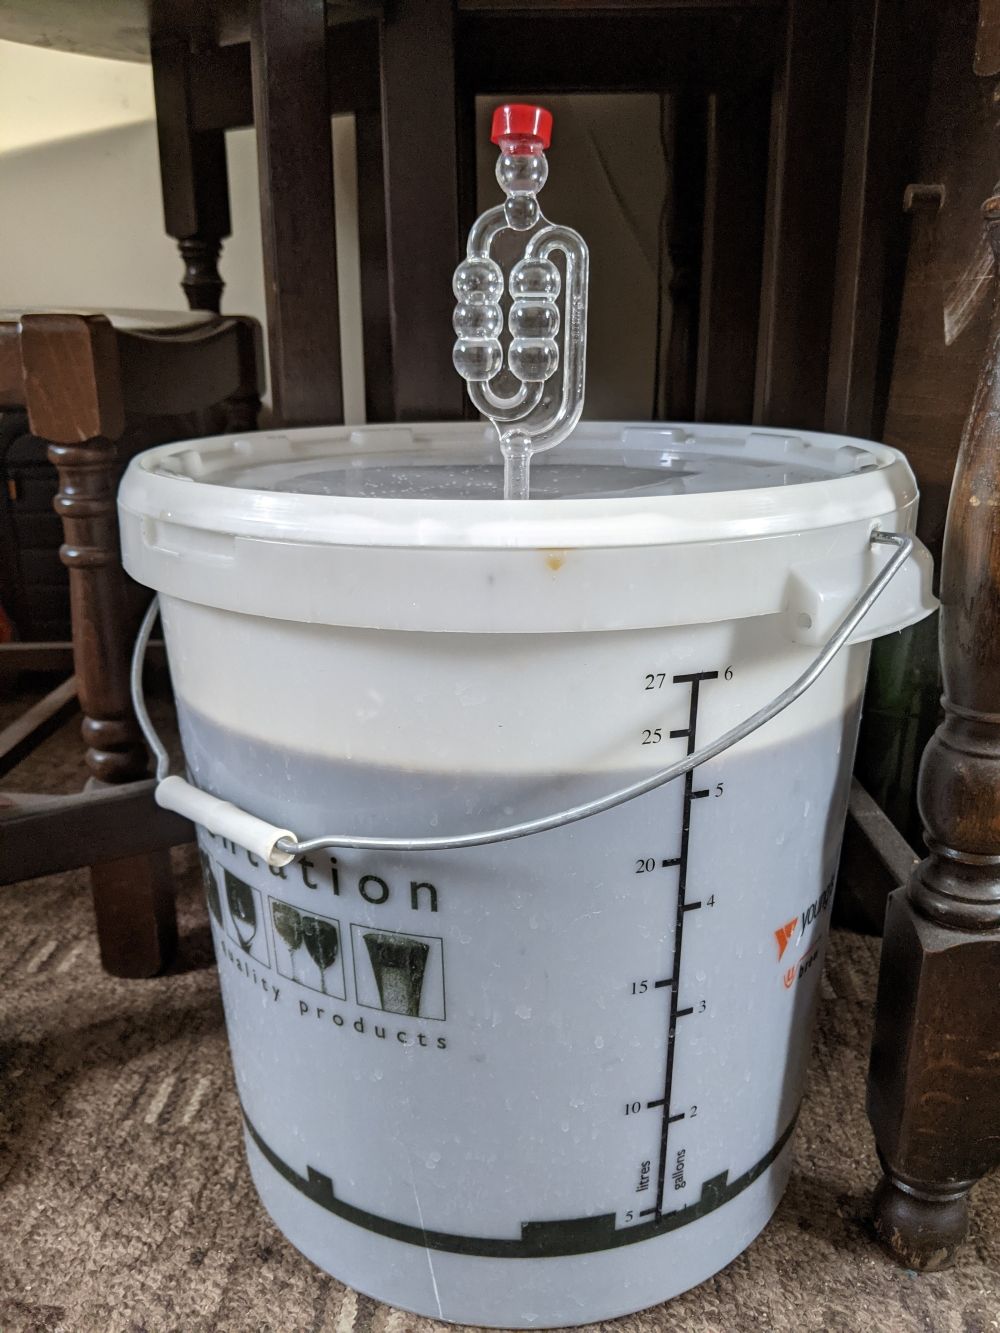
Afterward, I carried the bucket upstairs to the back room, where I knew the temperature was steady, and left it to sit.
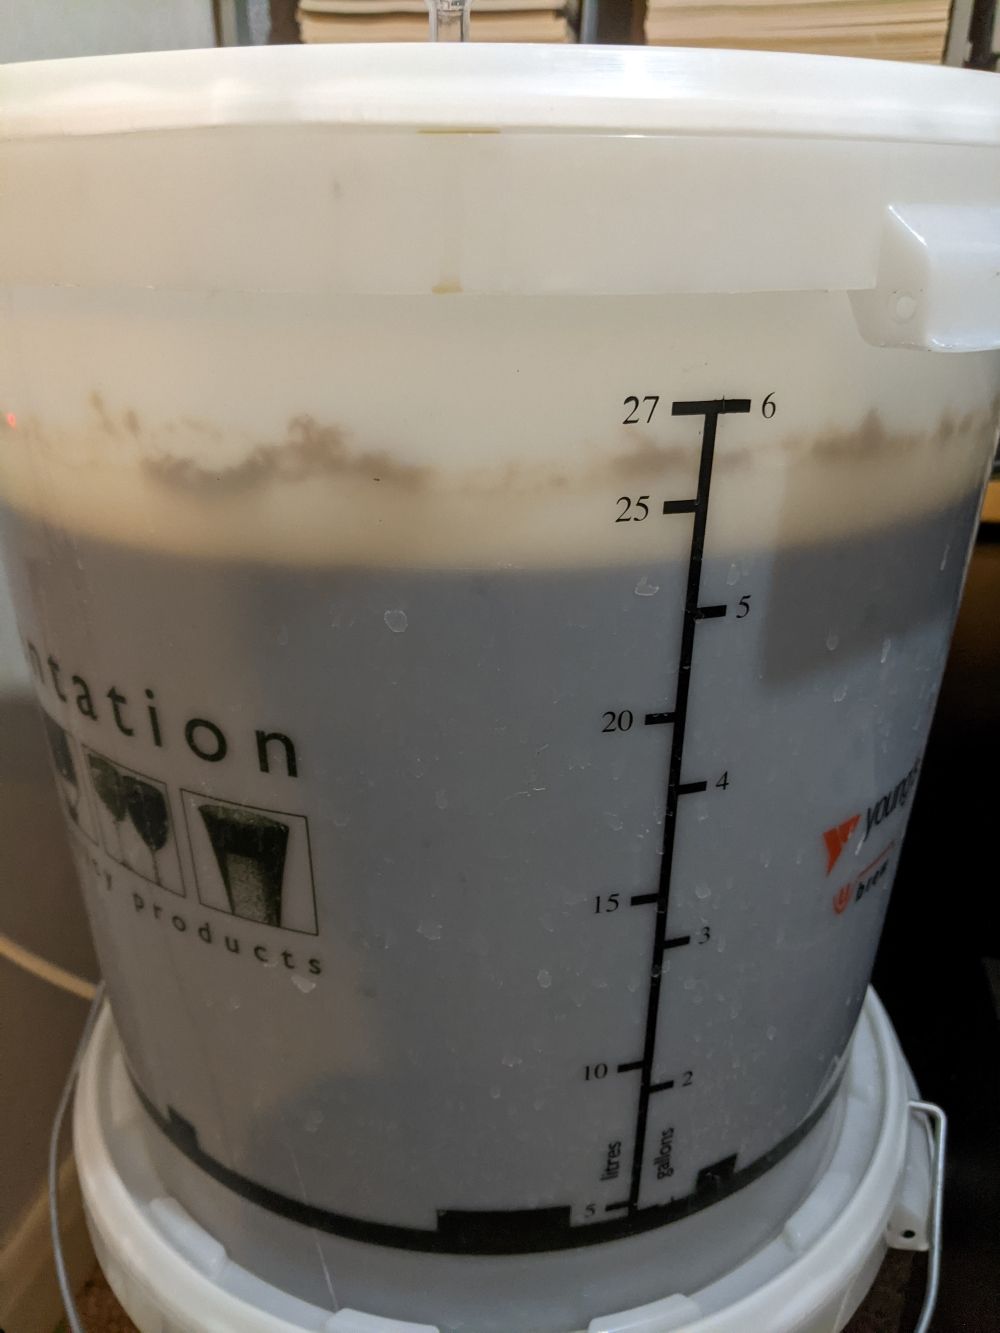
I checked the beer every day to see if fermentation had begun, and I was pleased to see bubbles appearing after a short period of time.
About 10 days later, I took a second hydrometer reading, which came out to around 1.012. Using an ABV calculator, I calculated that the alcohol content was about 4.99%. I waited an additional two days to take another reading and ensure that the specific gravity was stable before proceeding with the bottling process.
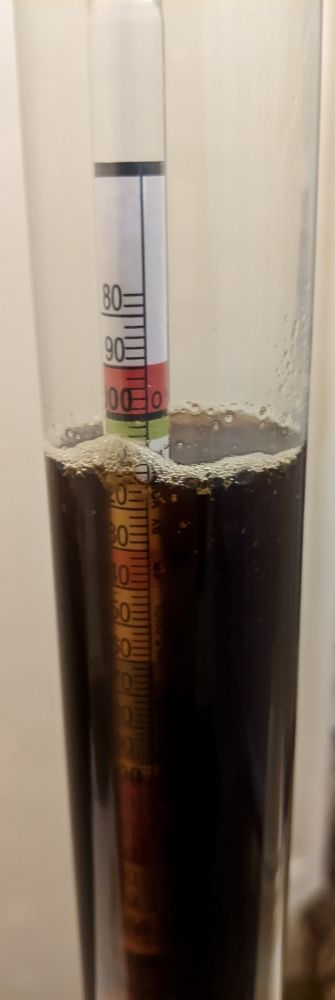
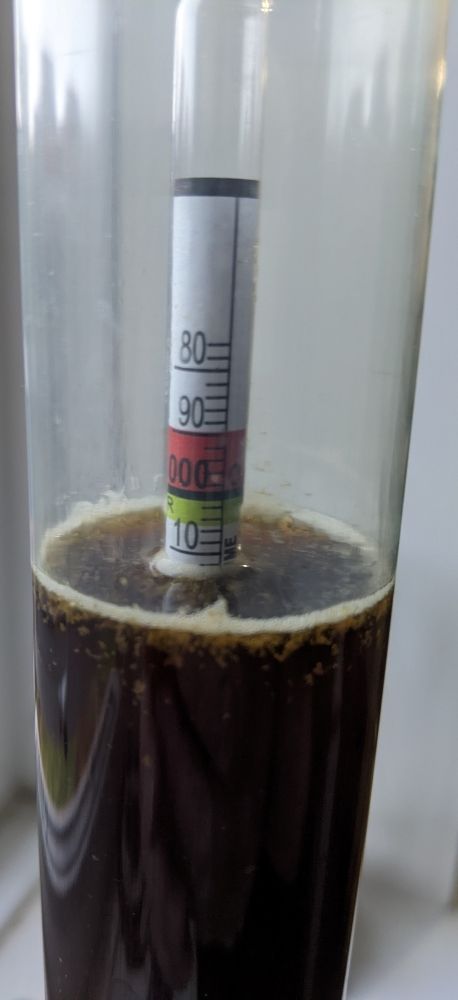
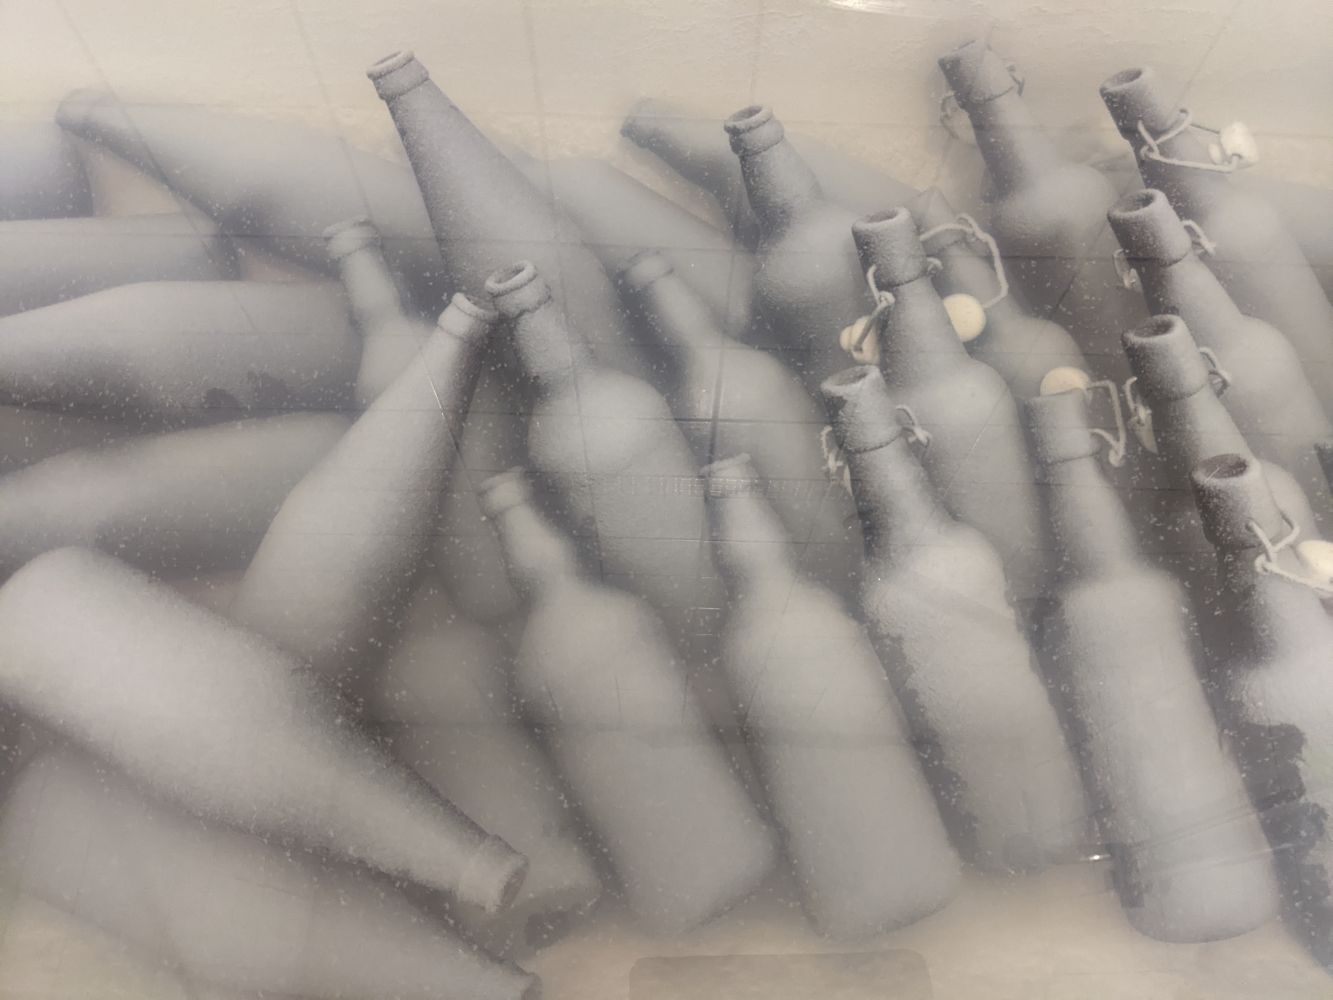
I decided to wait two days until Saturday to take a final reading of my beer (shown above right). In the meantime, I wanted to ensure that my bottles were thoroughly cleaned, so I left them to soak overnight in a solution of VWP cleaner. Afterward, I cleaned and rinsed out both the bottles and syphon bucket.
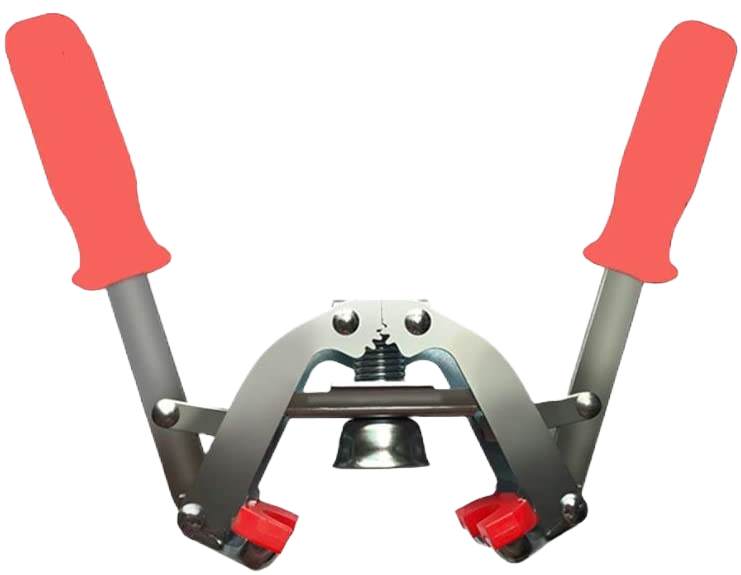
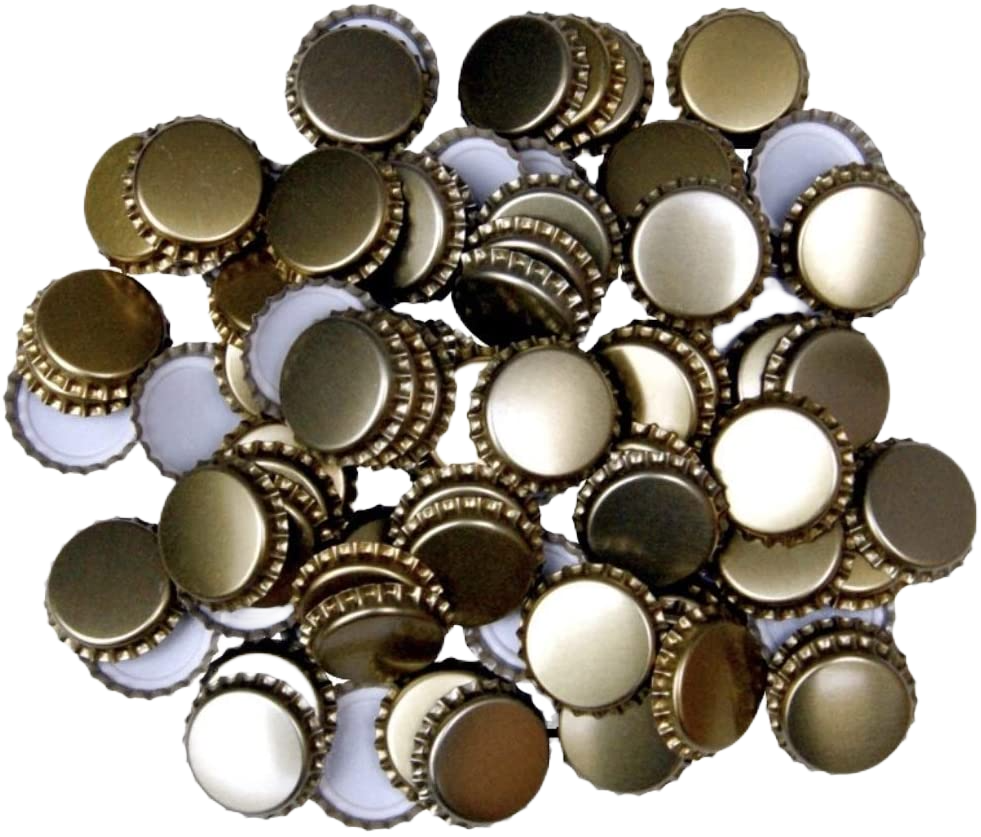
As most of my bottles were standard brown bottles, I needed to order some caps. I received my bottle capper, crown caps, and syphon tube on Saturday and was ready to start the bottling process.
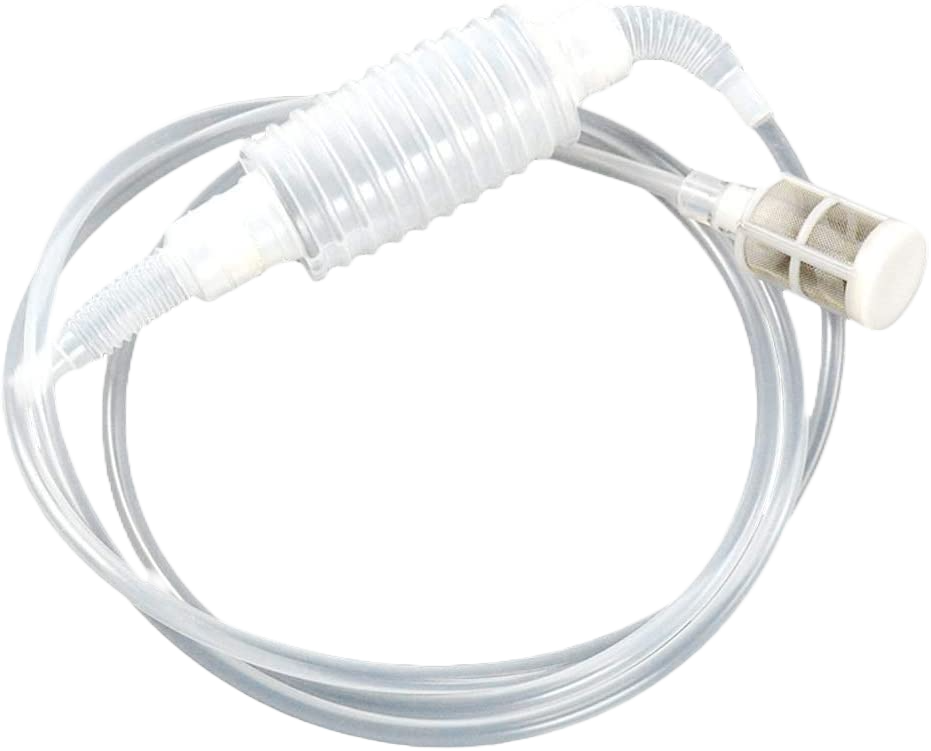
After a long wait, I was finally ready to bottle my beer. Around 12:30, I began siphoning the beer from the first bucket to the second, being careful to get as close to the yeast at the bottom of the first bucket as possible.
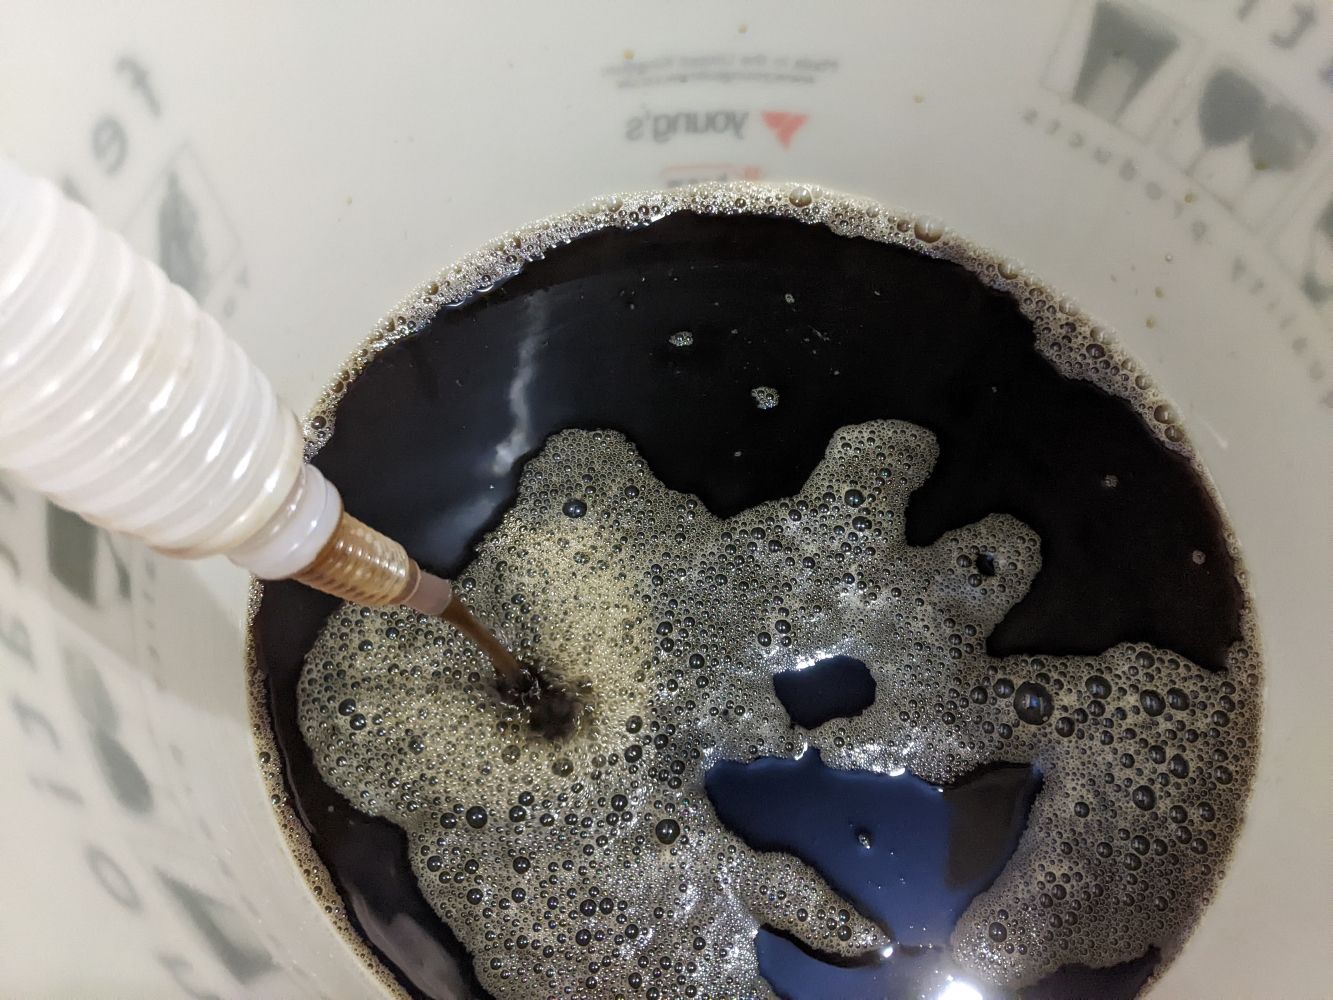
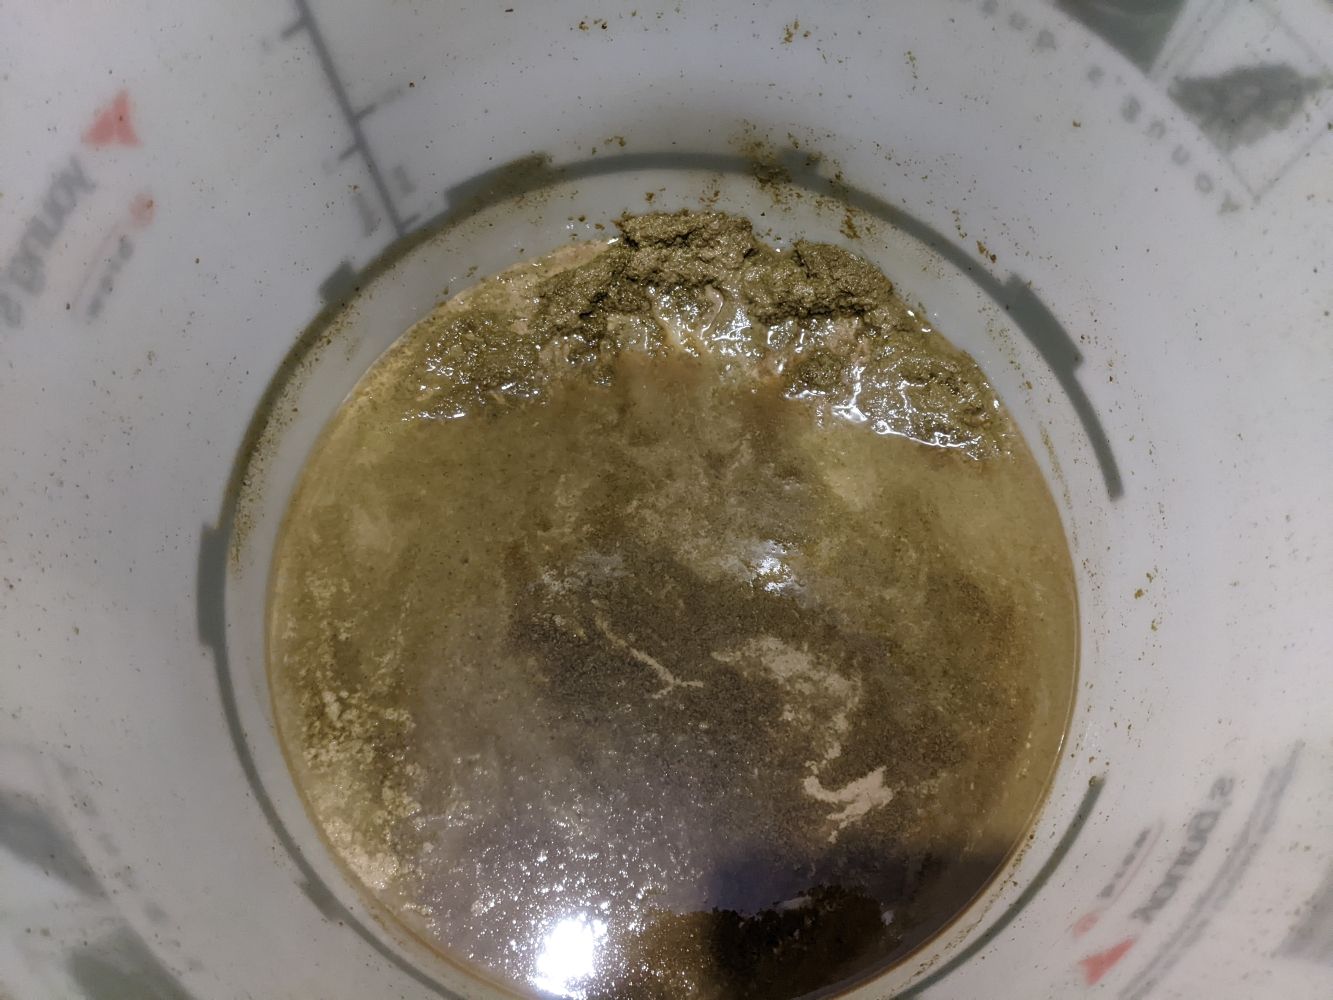
This took about 45 minutes, I added the priming sugar to the bucket and stirred it well to ensure it dissolved. Then, I cleaned out the syphon tube and filter before starting to syphon the beer into the bottles. Unfortunately, I didn't have a bottle wand at the time, so it was difficult to see the level in the bottle and I overfilled one or two. Using gravity to control the flow also caused some beer to spill onto the floor. Filling 42 bottles ended up taking me around 2 and a half hours. I made sure each bottle was clean and secure, I meticulously cleaned and placed them into a large "Really Useful Box" with a lid, just in case any of the bottles popped their lids.
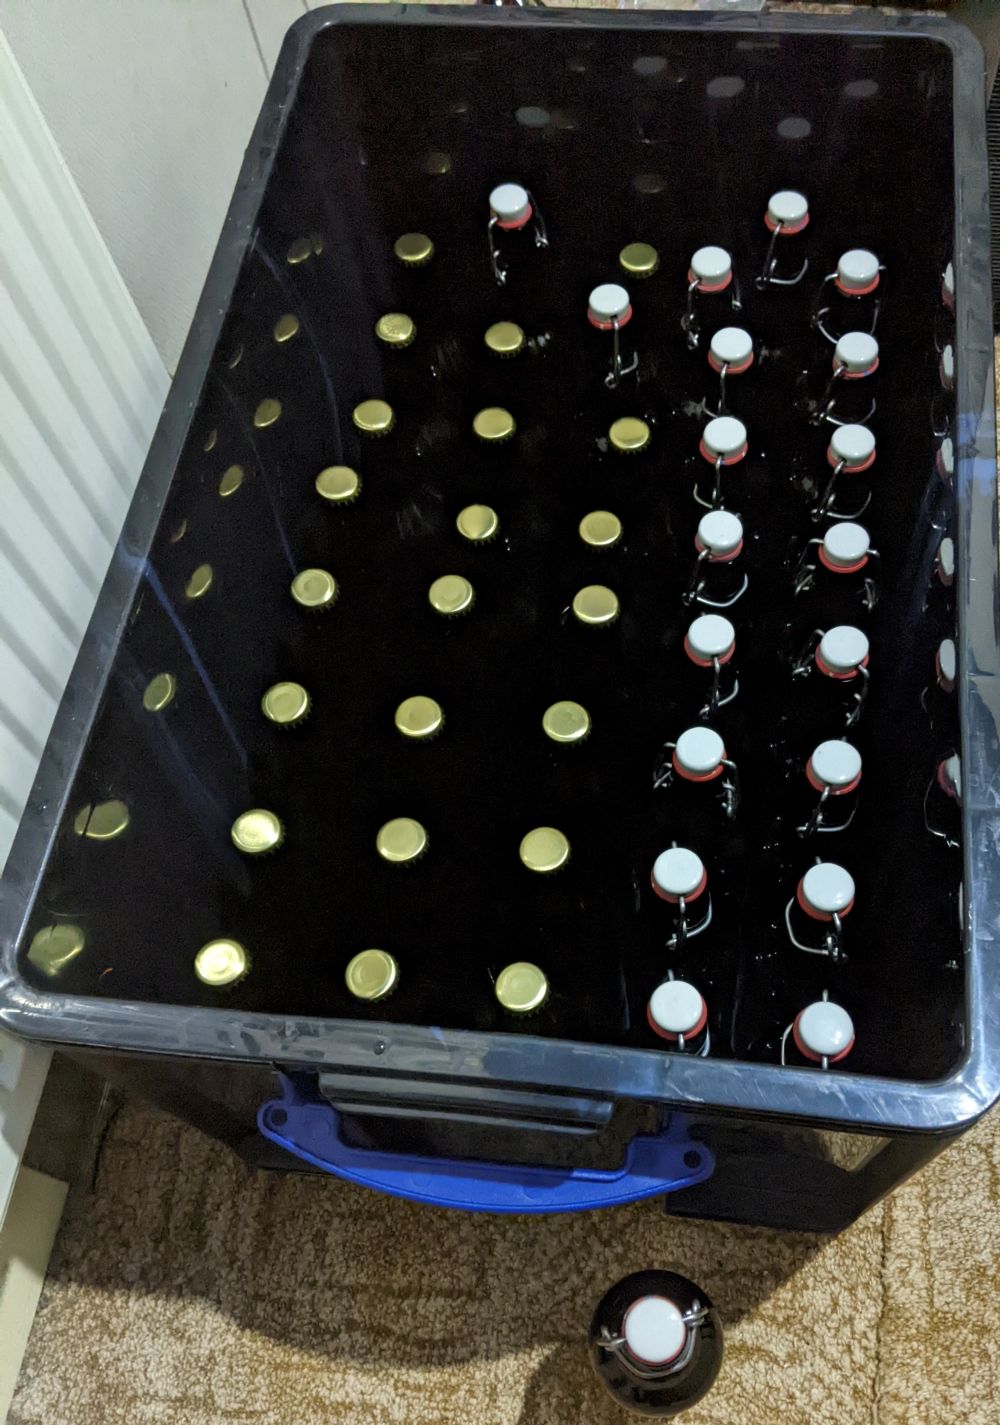
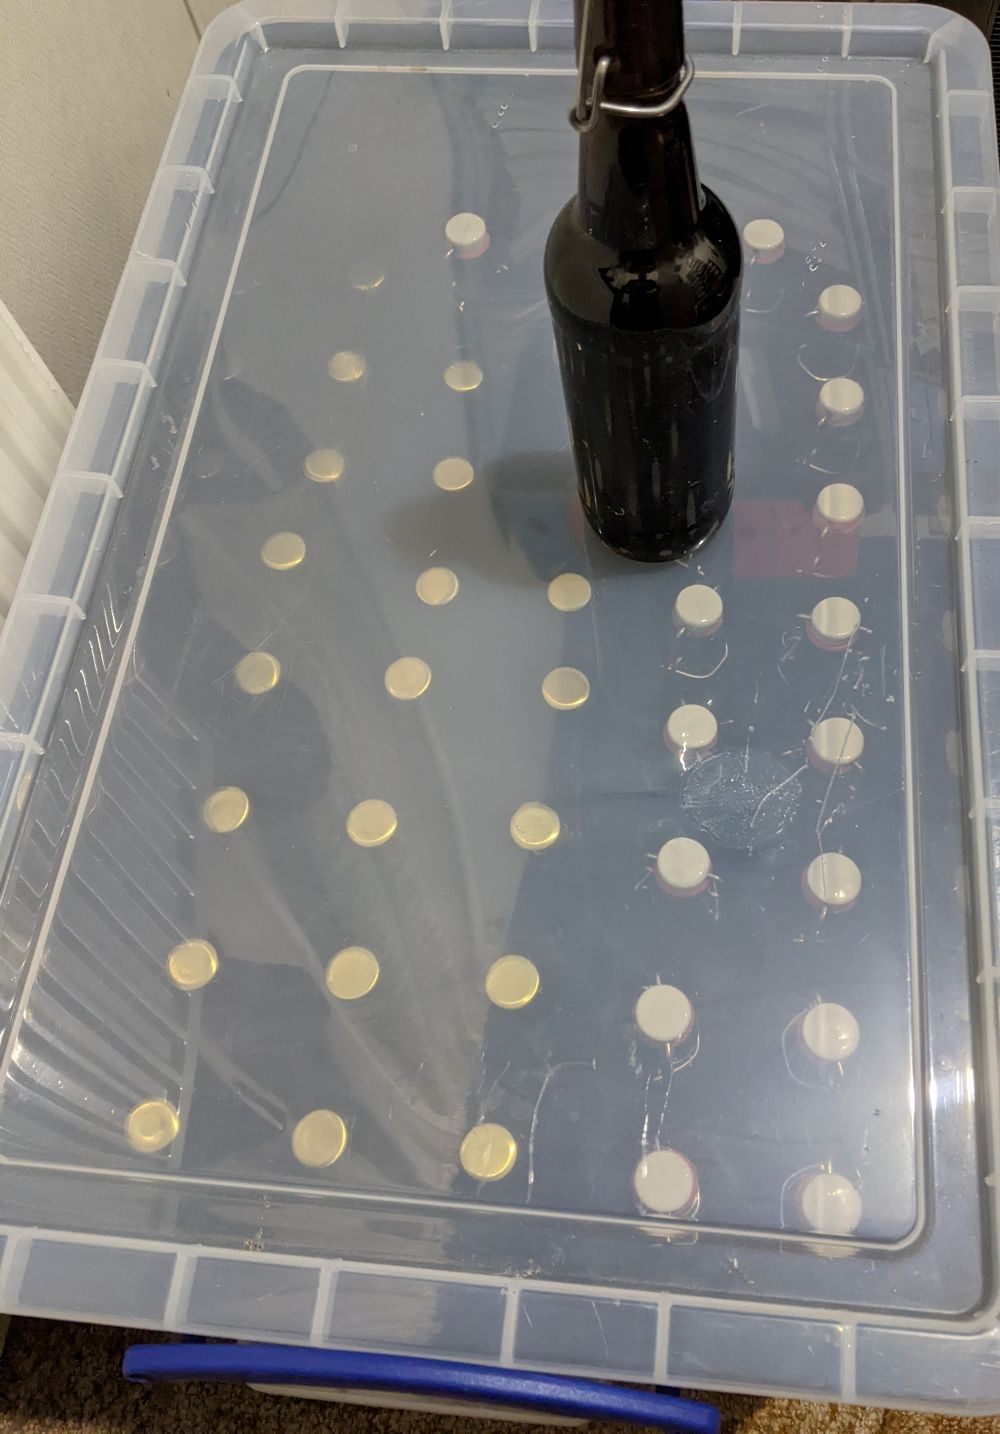
I wanted my beer to have a personalized touch, so I purchased sticky labels and spent a few days designing them and brainstorming names for my brewery. While I wanted to create the labels myself, I ended up using an online label maker to quickly get some printed as people were requesting "free samples." After selecting a few bottles to give away, I labeled them and instructed the recipients to chill them for a few days before drinking. Once I labeled all of the bottles, I left them in the box for 22 days before transferring some to the fridge to cool. I finally drank my first beer 35 days after brewing, savoring the unique taste and satisfaction of creating my own brew.
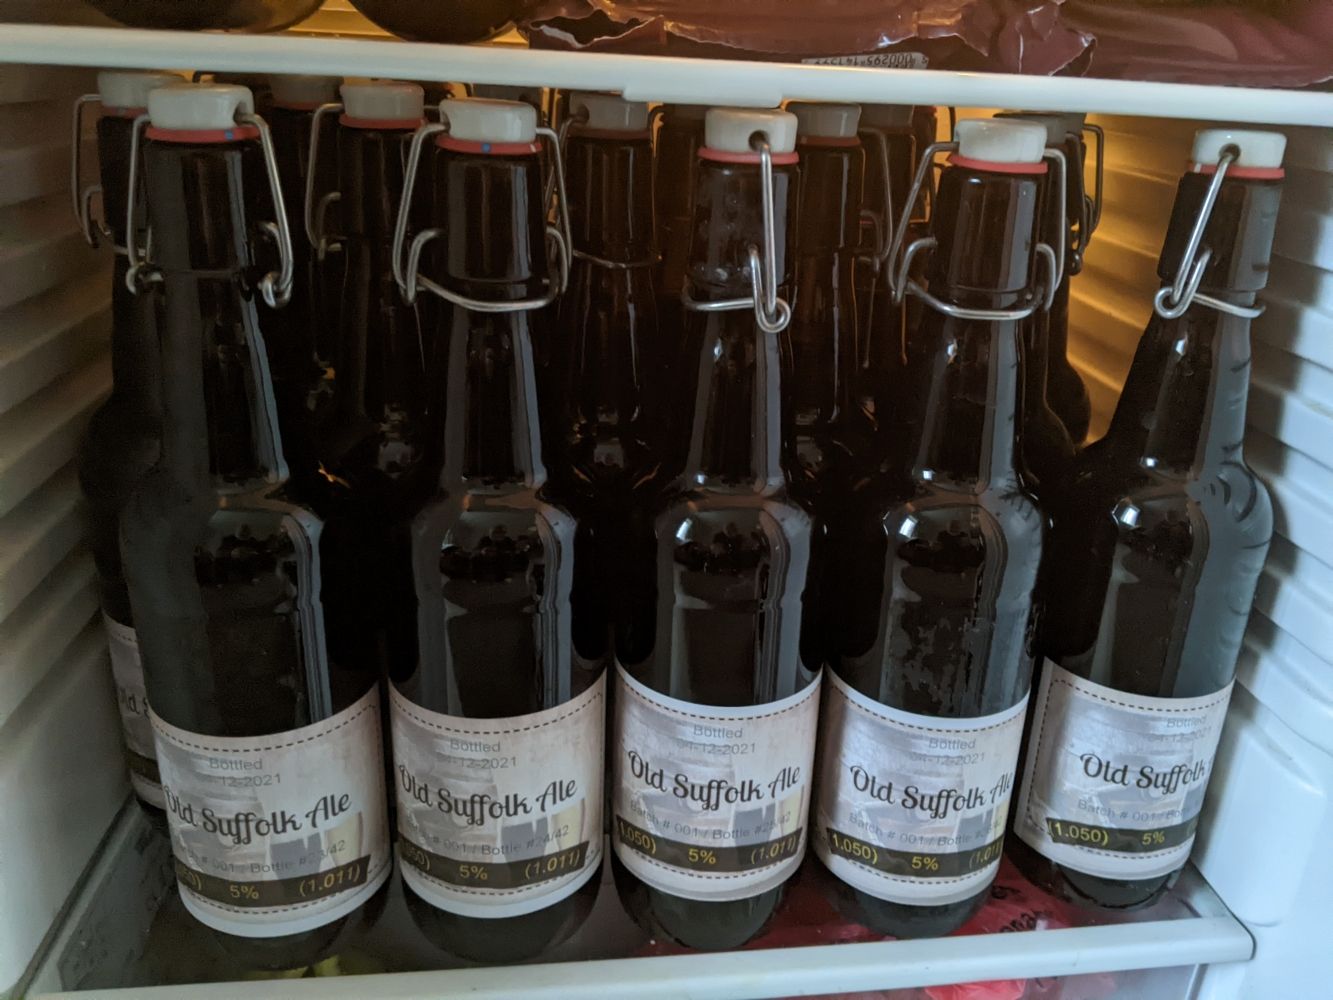
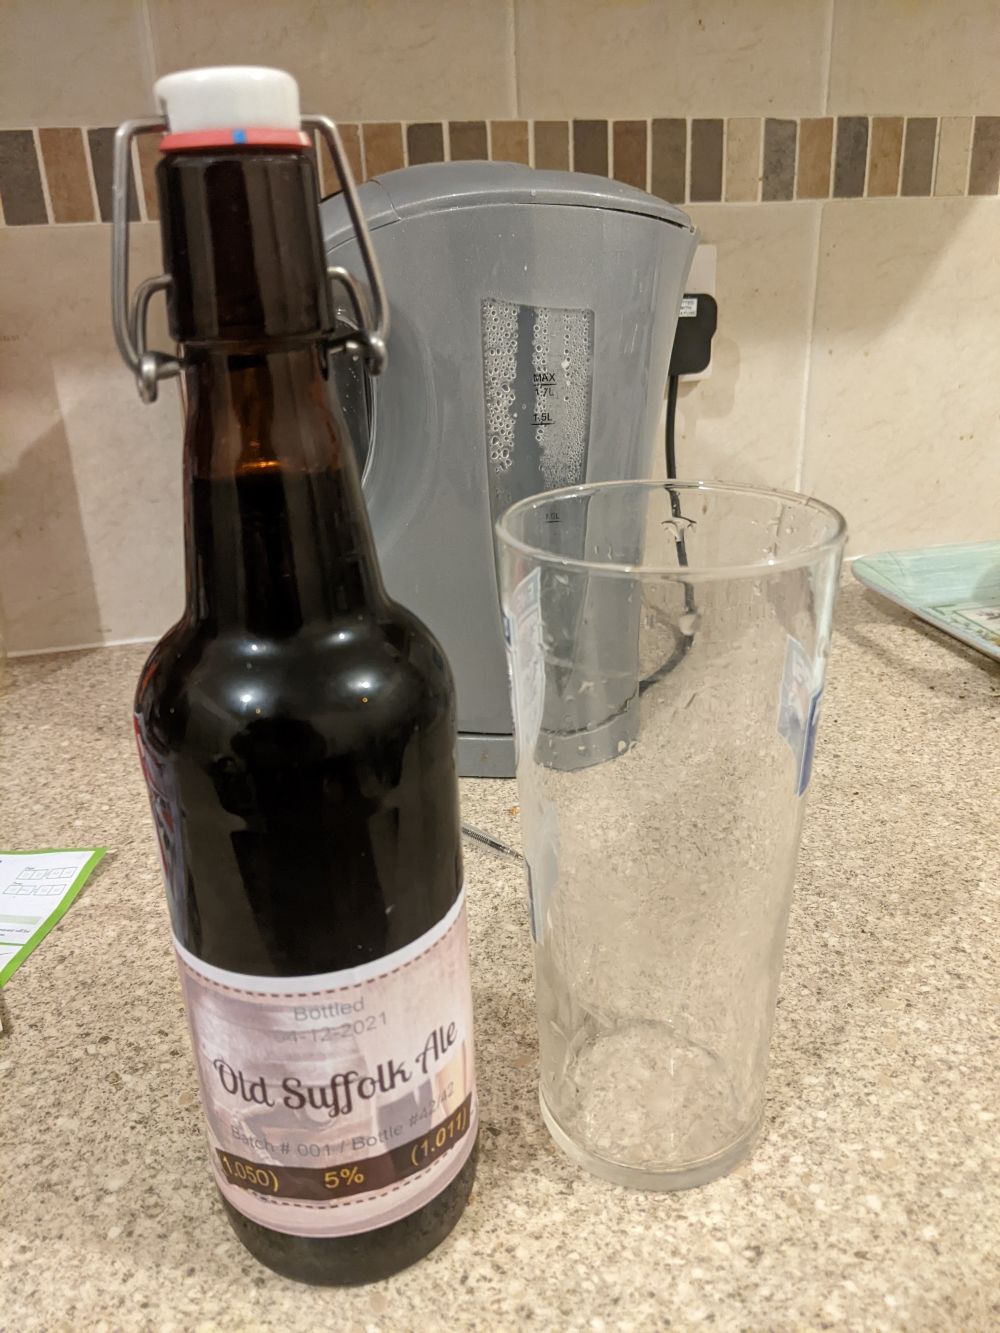

After 16 days, the beer had developed an even richer flavor, leaving me eager and excited to start the next brew.
