Beer Fridge
As a beer enthusiast, the idea of having a Kegerator to serve my own brew was enticing. However, with a hefty price tag of around £600, it was not feasible for me. Similarly, purchasing a specialized fridge for brewing, to maintain precise temperature control during fermentation and cold crashing, was also not within my budget. Undeterred, I embarked on a quest to find a suitable fridge that would meet my brewing needs.
I was specifically looking for a tall fridge that could accommodate the Fermenter King Gen 3, and I planned to install a heater inside the fridge along with an Inkbird temperature controller to maintain a consistent temperature for my brews. This would allow me to cold crash the beer after fermentation, settling down the sediment before transferring it to kegs or bottles.
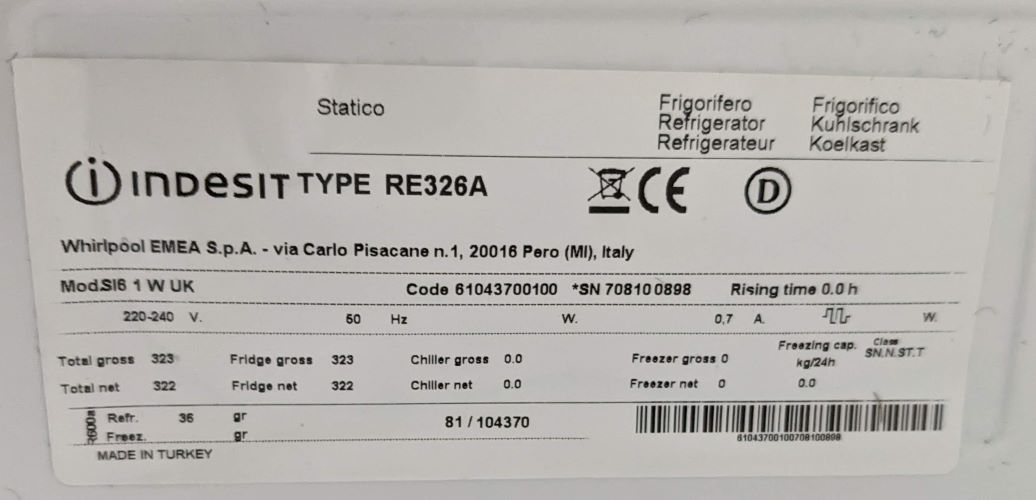
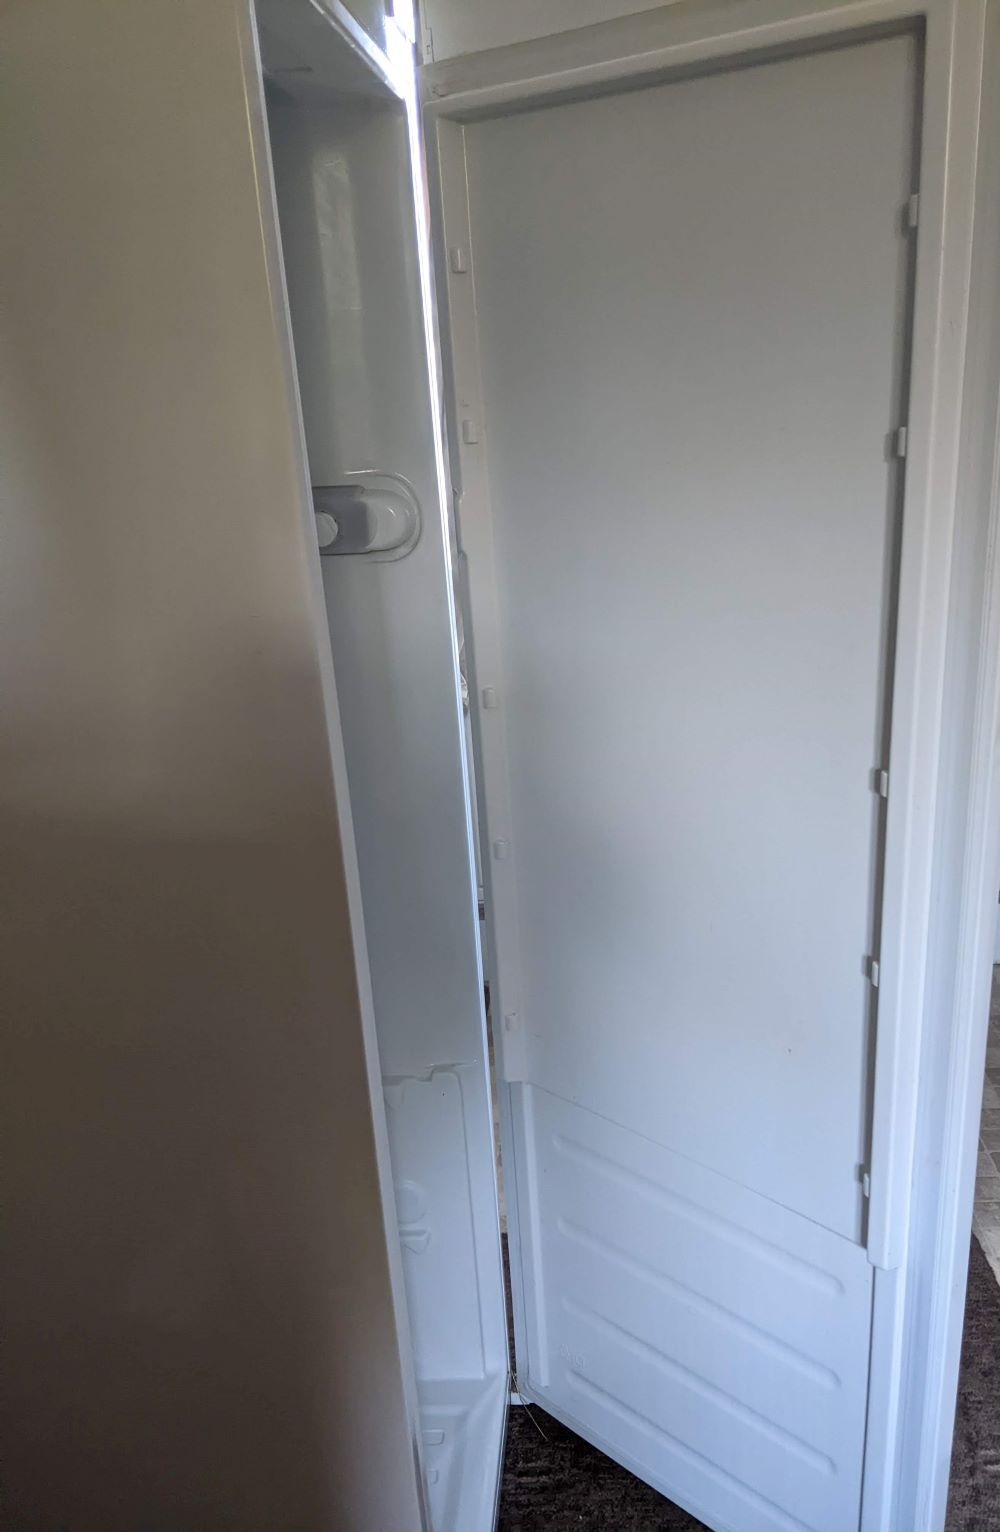
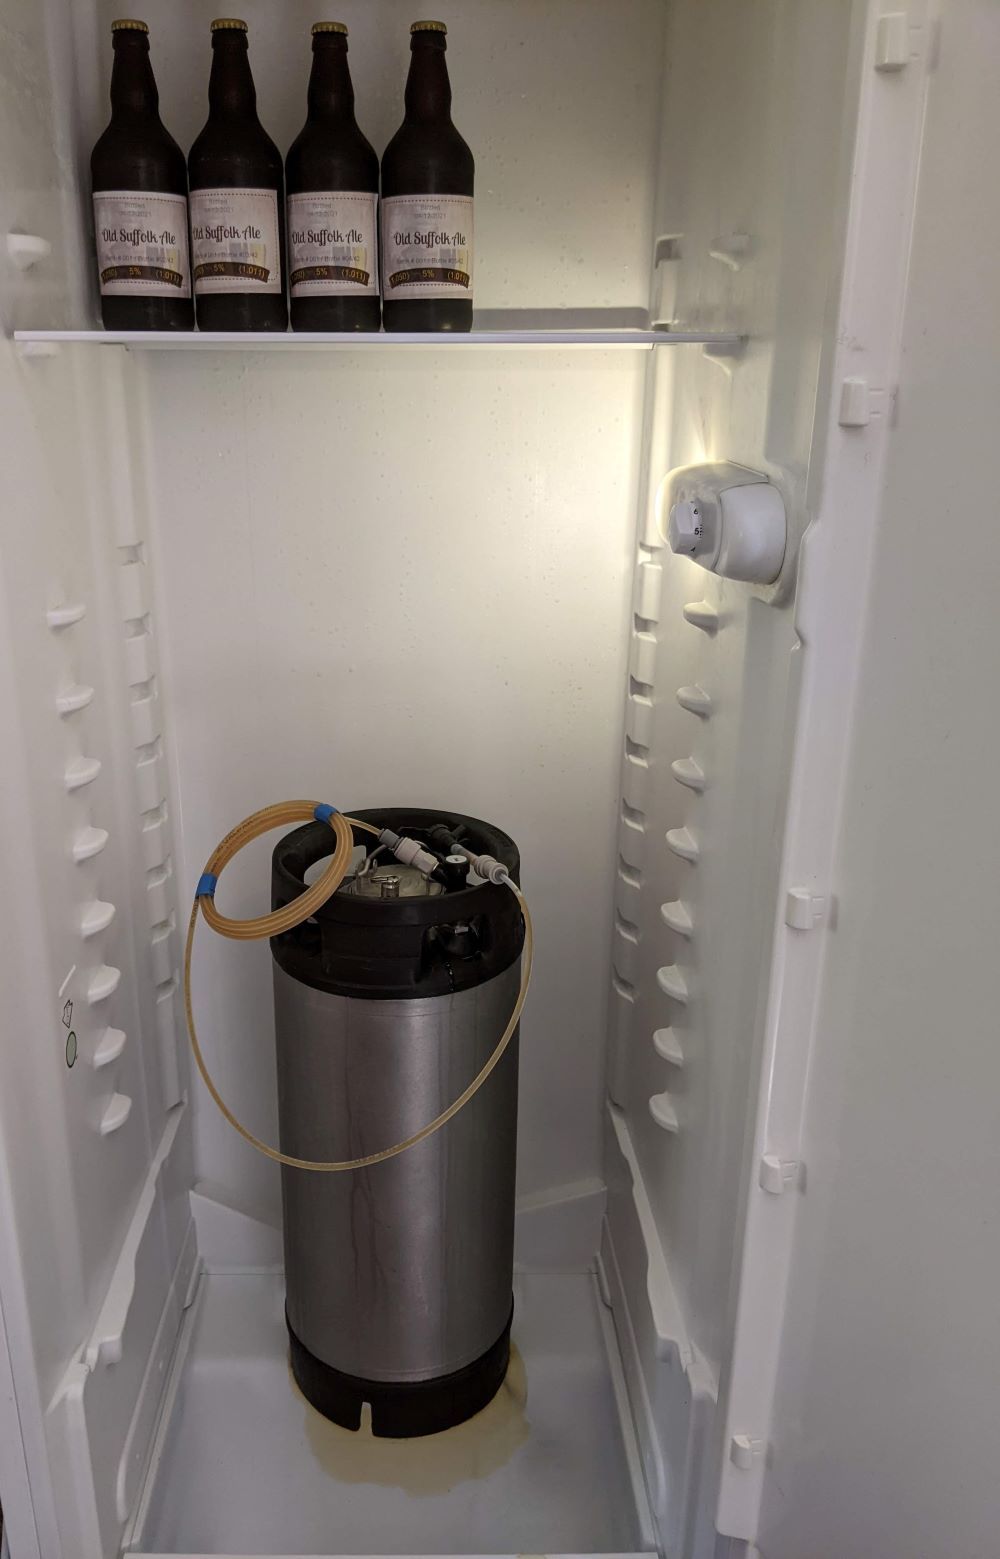
After scouring through new and used options, I finally stumbled upon a gem a few miles away. An old couple was selling their Indesit freestanding white S16 1 W fridge for about £90, and it seemed perfect for my needs. The first order of business was to strip out all the unnecessary shelves and trays, giving it a thorough cleaning. I decided to keep the glass shelves for practicality, but I got rid of the door trays as they were not required for my brewing setup.
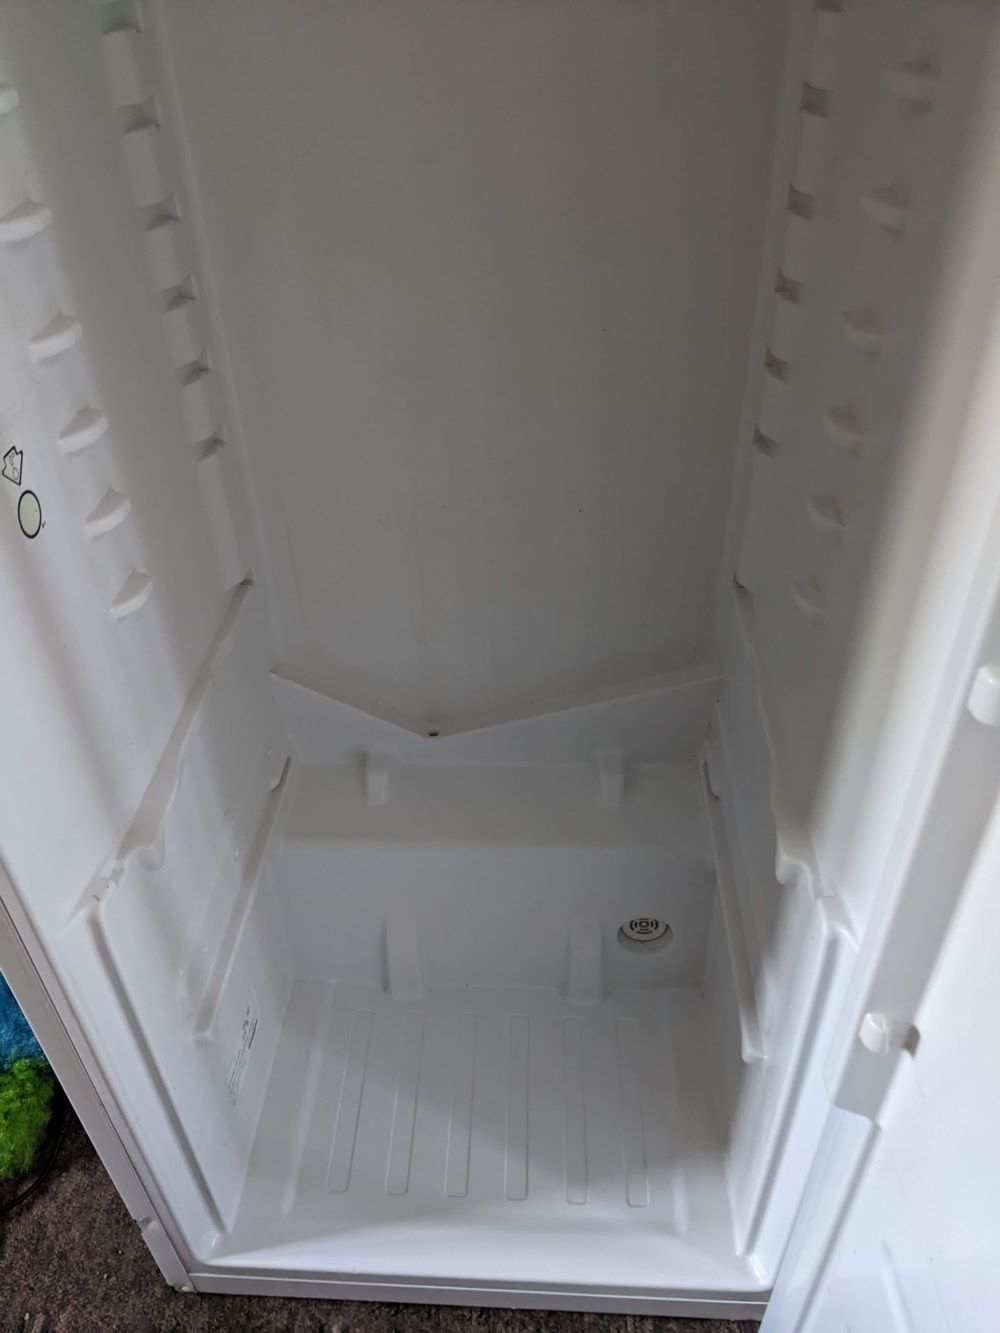
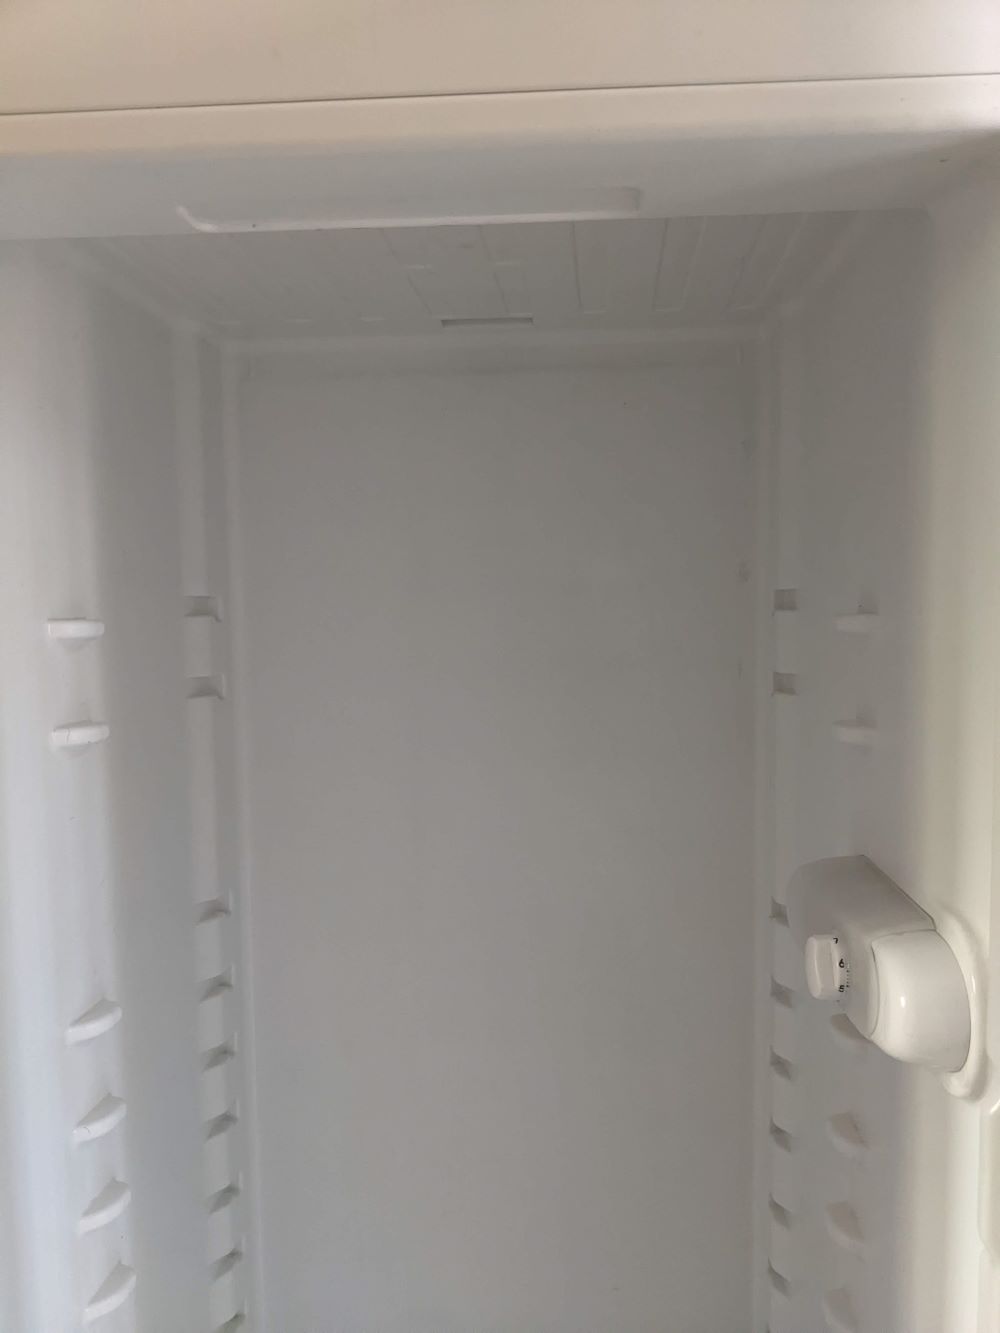
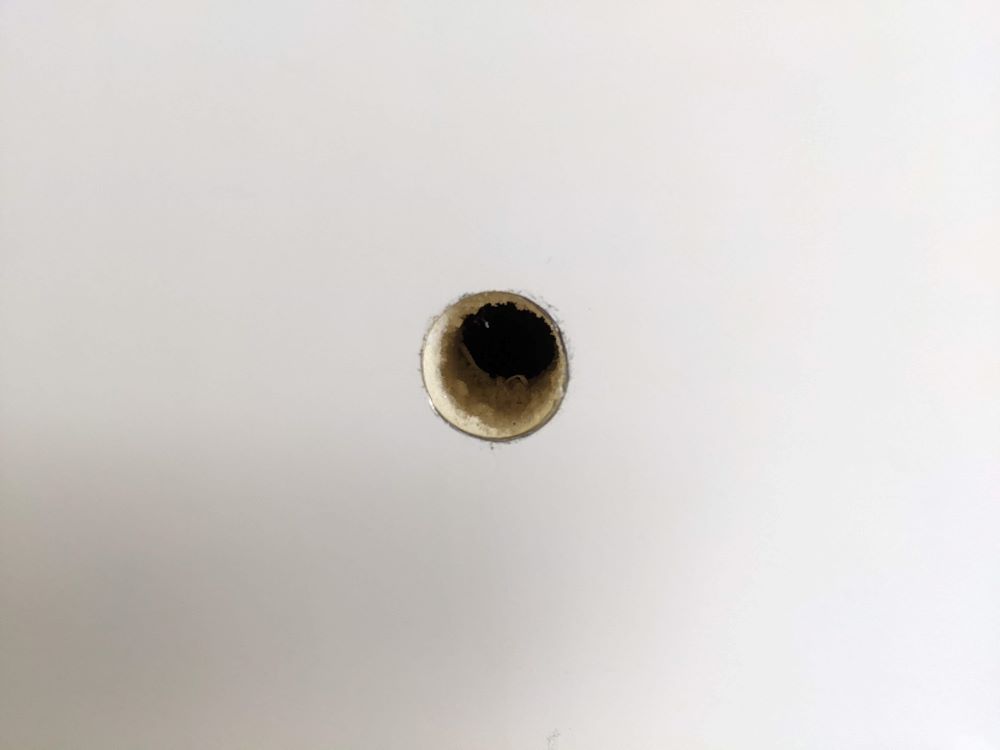
Upon further inspection of the fridge, I noticed a convenient hole at the bottom that was large enough to accommodate any necessary tubing for my brewing setup. Excitedly, I test-fitted the Fermenter King Gen 3 in the fridge, but realized that I would need to install a sturdy shelf at the bottom to support its weight. Despite this minor setback, I was determined to make it work, as the fridge was the perfect size for my needs.
As I evaluated my available space, I realized that a dedicated fermentation chamber would take up too much room under the stairs, which was not practical for my setup. So, I made the decision to repurpose the tall fridge for storing and dispensing my beer.
I had only a few bottles left of my beloved Old Suffolk Ale. I carefully placed them on the top shelf of the fridge, while the keg with 5 litres of my latest brew found its spot on the bottom shelf.
As I eagerly awaited the moment to enjoy my homebrewed beer straight from the keg in the fridge, I encountered a minor setback. It turned out that there was an issue with the beer out ball connector on the keg. While the keg held pressure perfectly fine until I fitted the party dispenser, the ball valve did not reseal properly after I removed the dispenser to clean it. As a result, I lost just over a pint of beer, but it wasn't a major problem. To remedy the situation I ordered two new ball valves and replaced them when this keg was empty and since then, I haven't encountered any further issues.
Another challenge I faced was that the party dispenser was slow to fill a pint glass, and it was cumbersome to keep the fridge door open while doing so. This inconvenience led me to explore options to convert the fridge into a proper Kegerator, just like some other DIY brewers do. I started researching beer taps and watched videos of drilling holes in fridges to install them.
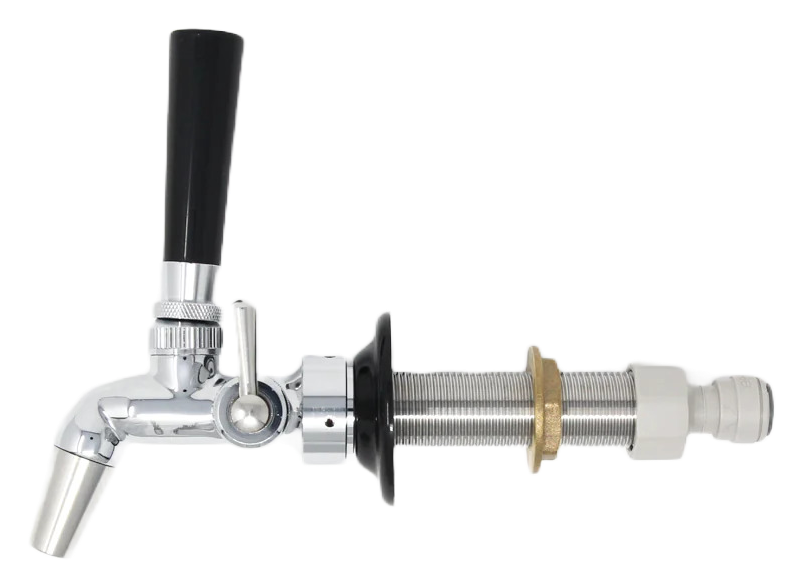
After careful consideration, I decided to invest in a Nukatap with flow control, as it seemed like the perfect fit for my needs. This would allow me to have a dedicated beer tap on the fridge door, making dispensing beer much more convenient and efficient. I was excited about the potential for an upgraded setup that would enhance the overall enjoyment of my homebrewed beer.
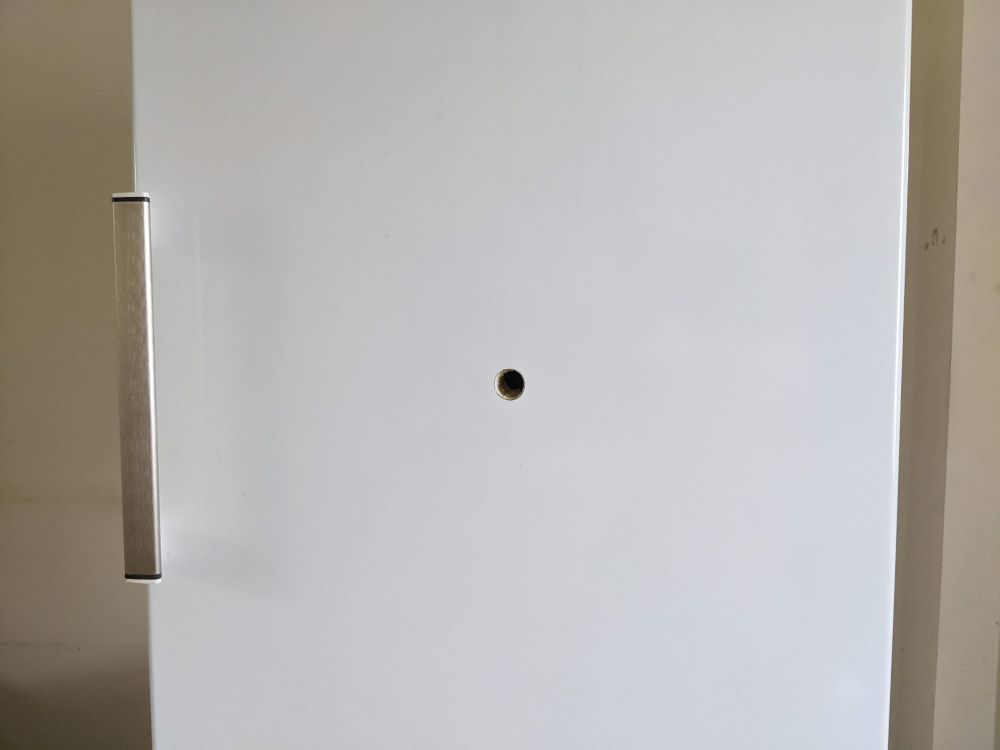
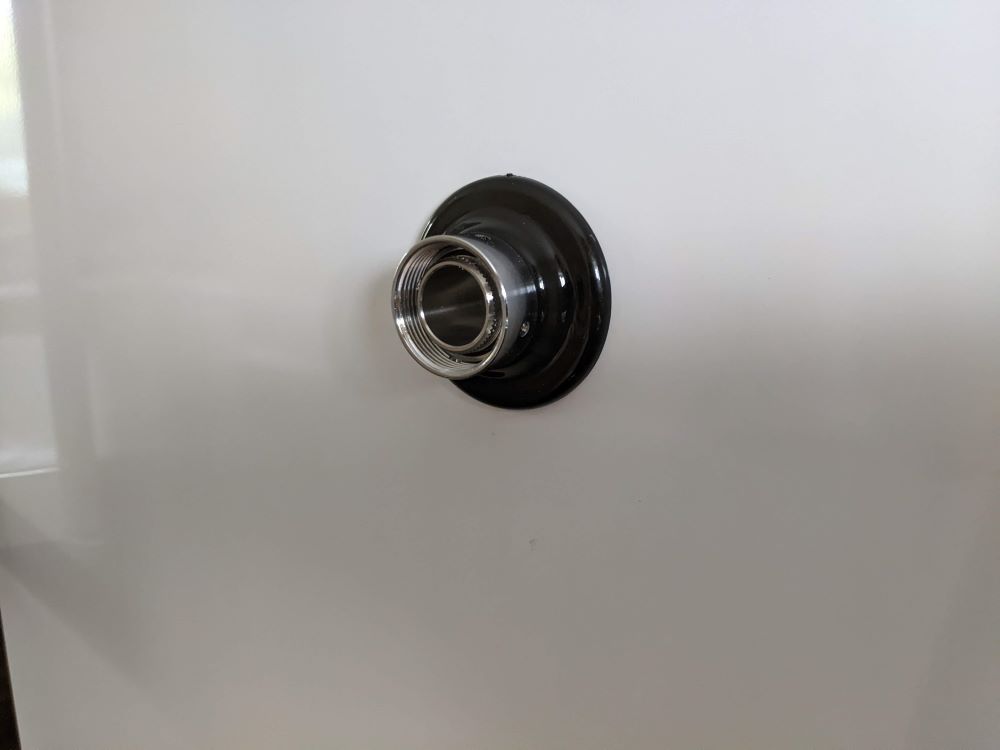
With the goal of converting my fridge into a Kegerator and installing a Nukatap with flow control, I carefully measured the front of the fridge to ensure I got the tap at the right position. I knew that once the hole was drilled, there would be no going back, so precision was key. After marking the door and confirming the position, I took a deep breath and drilled a pilot hole all the way through the door. Then, with steady hands and cautious movements, I drilled the correct size hole from the front and then from the back of the door, ensuring a clean hole without any splintering or damage.
It was an exhilarating and nerve-wracking moment, I double-checked the alignment and fitted the Nukatap, and it looked perfect. The tap would sit securely in the hole, allowing me to dispense beer with ease while maintaining a clean and professional look.
After successfully drilling the hole for the Nukatap, the next step was to install the tap itself. I began by fitting the threaded bar with the tap connector, ensuring it was tightened securely with a wrench on the inside of the door. Next, I screwed on the John Guest fitting, which would connect the tap to the beer lines.
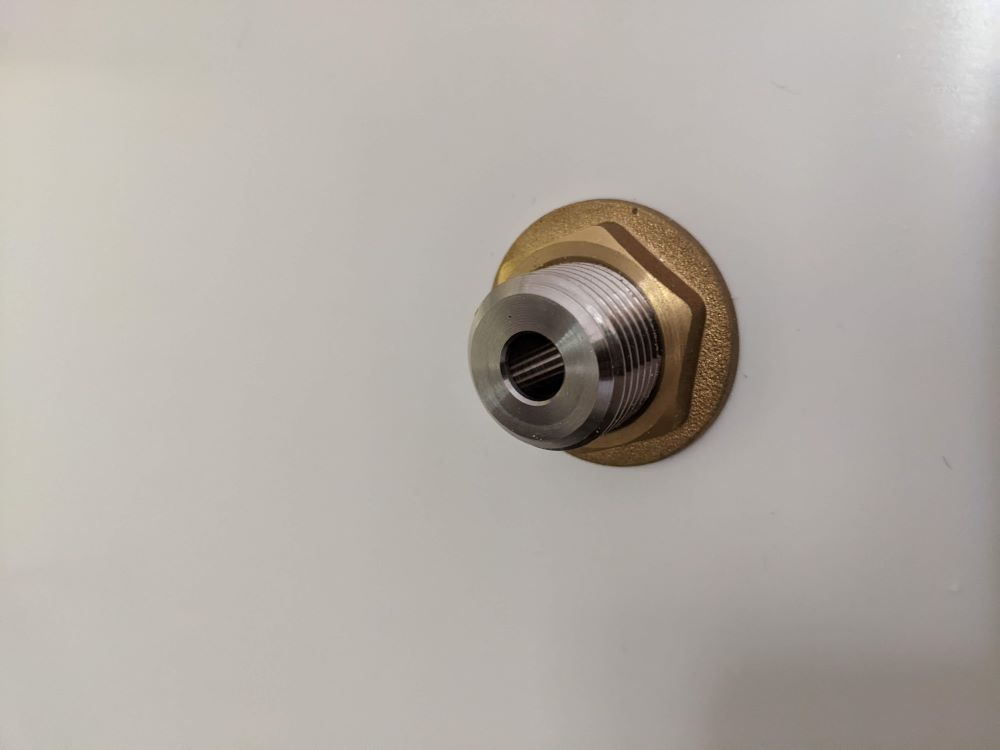
Finally, it was time to complete the installation of the tap on my DIY Kegerator. I carefully attached the tap to the front of the fridge. I made sure it was aligned properly and tightened it down firmly.
Once the tap was securely attached, I connected the party dispenser from the keg to the back of the tap. This involved attaching the beer line from the keg to the quick disconnect on the back of the tap, ensuring a tight and secure connection.

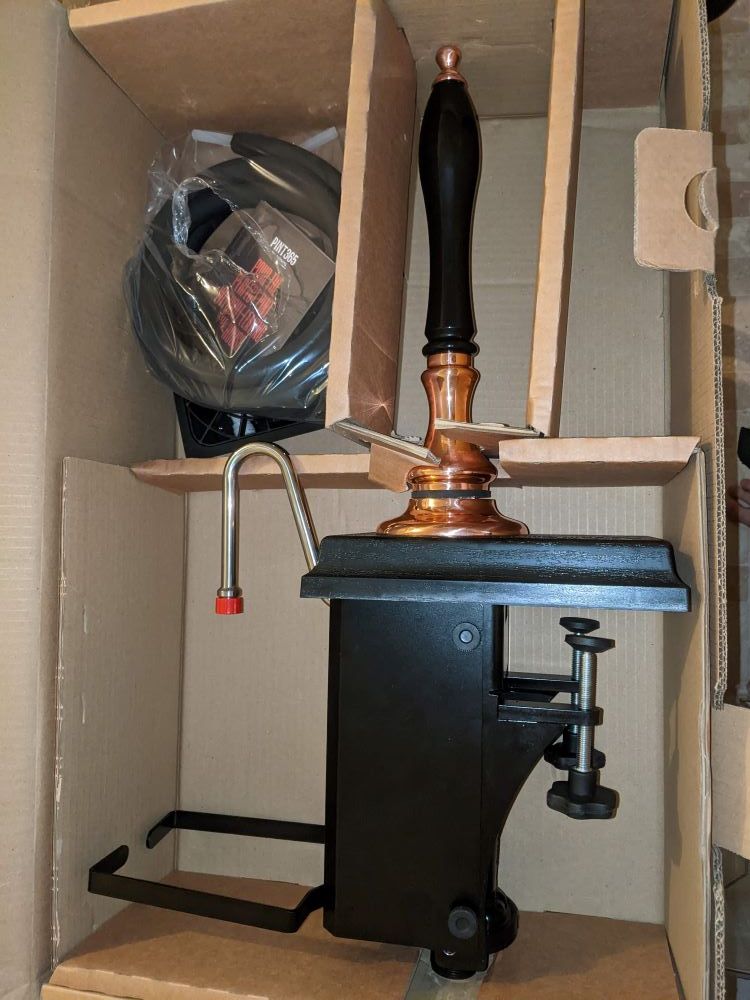
After successfully converting my fridge into a Kegerator and enjoying the convenience of having my own beer on tap, I stumbled upon another exciting addition to my home bar setup. It was the Pint365 beer engine, and I couldn't resist buying one to further enhance my beer dispensing experience.
I am now faced the challenge of finding the perfect spot to install it, one option that I've been considering is creating a dedicated bar area, I've been researching different bar designs, considering factors like space, aesthetics, and functionality, I've also been contemplating the logistics of installing the Pint365 beer engine
While I haven't yet made a final decision on the location and setup for my Pint365 beer engine, I'm excited about the possibilities it brings to my home bar. It's another step towards creating a personalized and enjoyable beer drinking experience right at home.

In conclusion, my journey with my DIY Kegerator has taken an exciting turn with the addition of the Pint365 beer engine. I'm now on the lookout for the perfect spot to create a dedicated bar area where I can showcase this unique and authentic piece of equipment. I can't wait to see how it enhances my overall beer dispensing setup and elevates my home bar experience to the next level. Cheers to more beer adventures and the joy of creating a personalized home bar setup!